

Creatium Studio User Guide
User GuideCreating a simulation
Creating a simulation
What you’ll learn
How to create interactive simulations in Creatium Studio using AI-generated prompts, including interactive assessments, games, puzzles, and more. It follows three stages:
- Add topic: describe what you want on each screen, and Creatium generates your simulation.
- Edit simulation: refine it in the split-screen editor until it works the way you want.
- Share simulation: finalize the details, then publish and share it with your learners.
Creating a Simulation
Step 1: Create a simulation
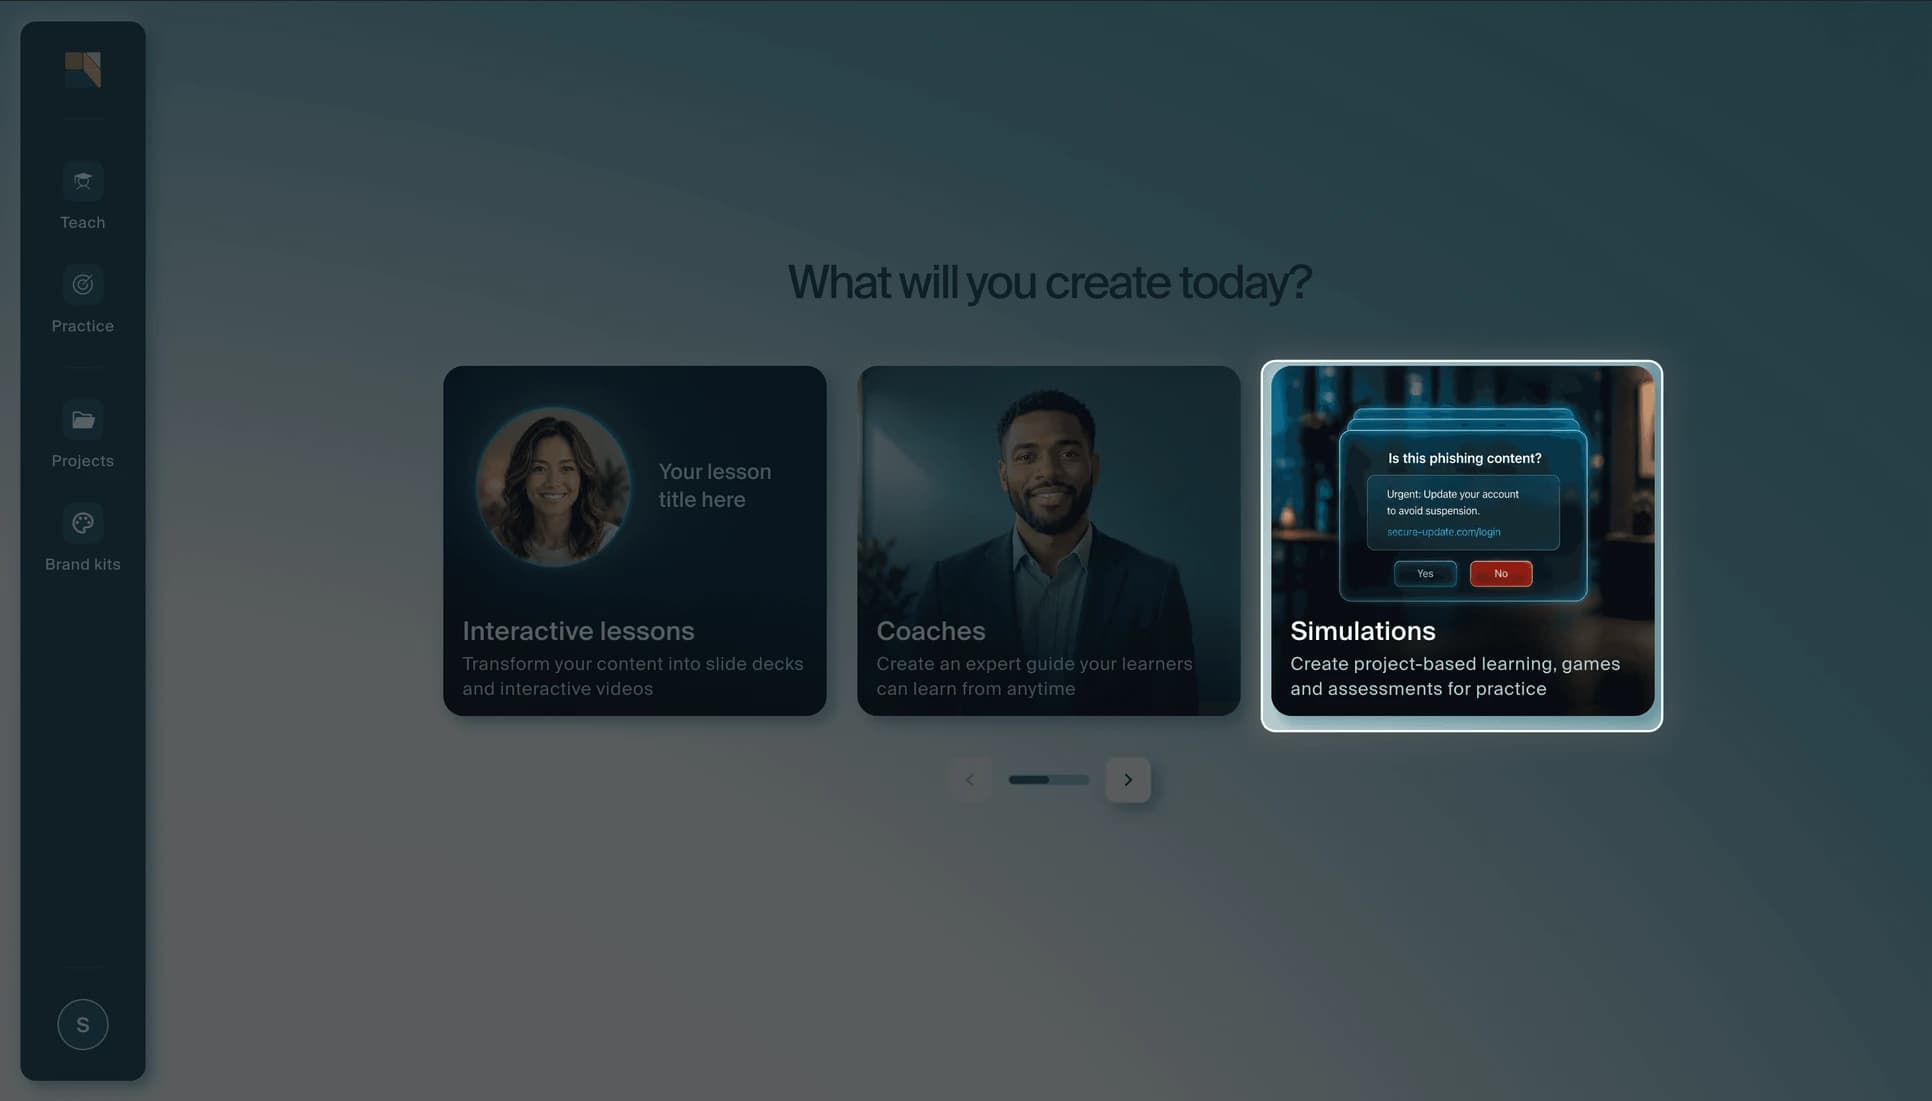
From the Creatium Studio home page, click the Simulations card. This is where you can create your simulation.
Step 2: Enter your simulation prompt
- In the prompt field, describe the simulation you want to create. Be as detailed as possible, the more context you provide, the better the output.
Example prompts:- "Create an email phishing simulation with a sample email inbox, with emails specifically targeted towards marketing employees."
- "Build a simulation where an employee reviews AI-generated reports and identifies errors, biases, and hallucinations before sharing with their team."
- "Build an activity where the learner rates 10 workplace statements from Disagree to Agree and receives a work style profile with strengths and blind spots."
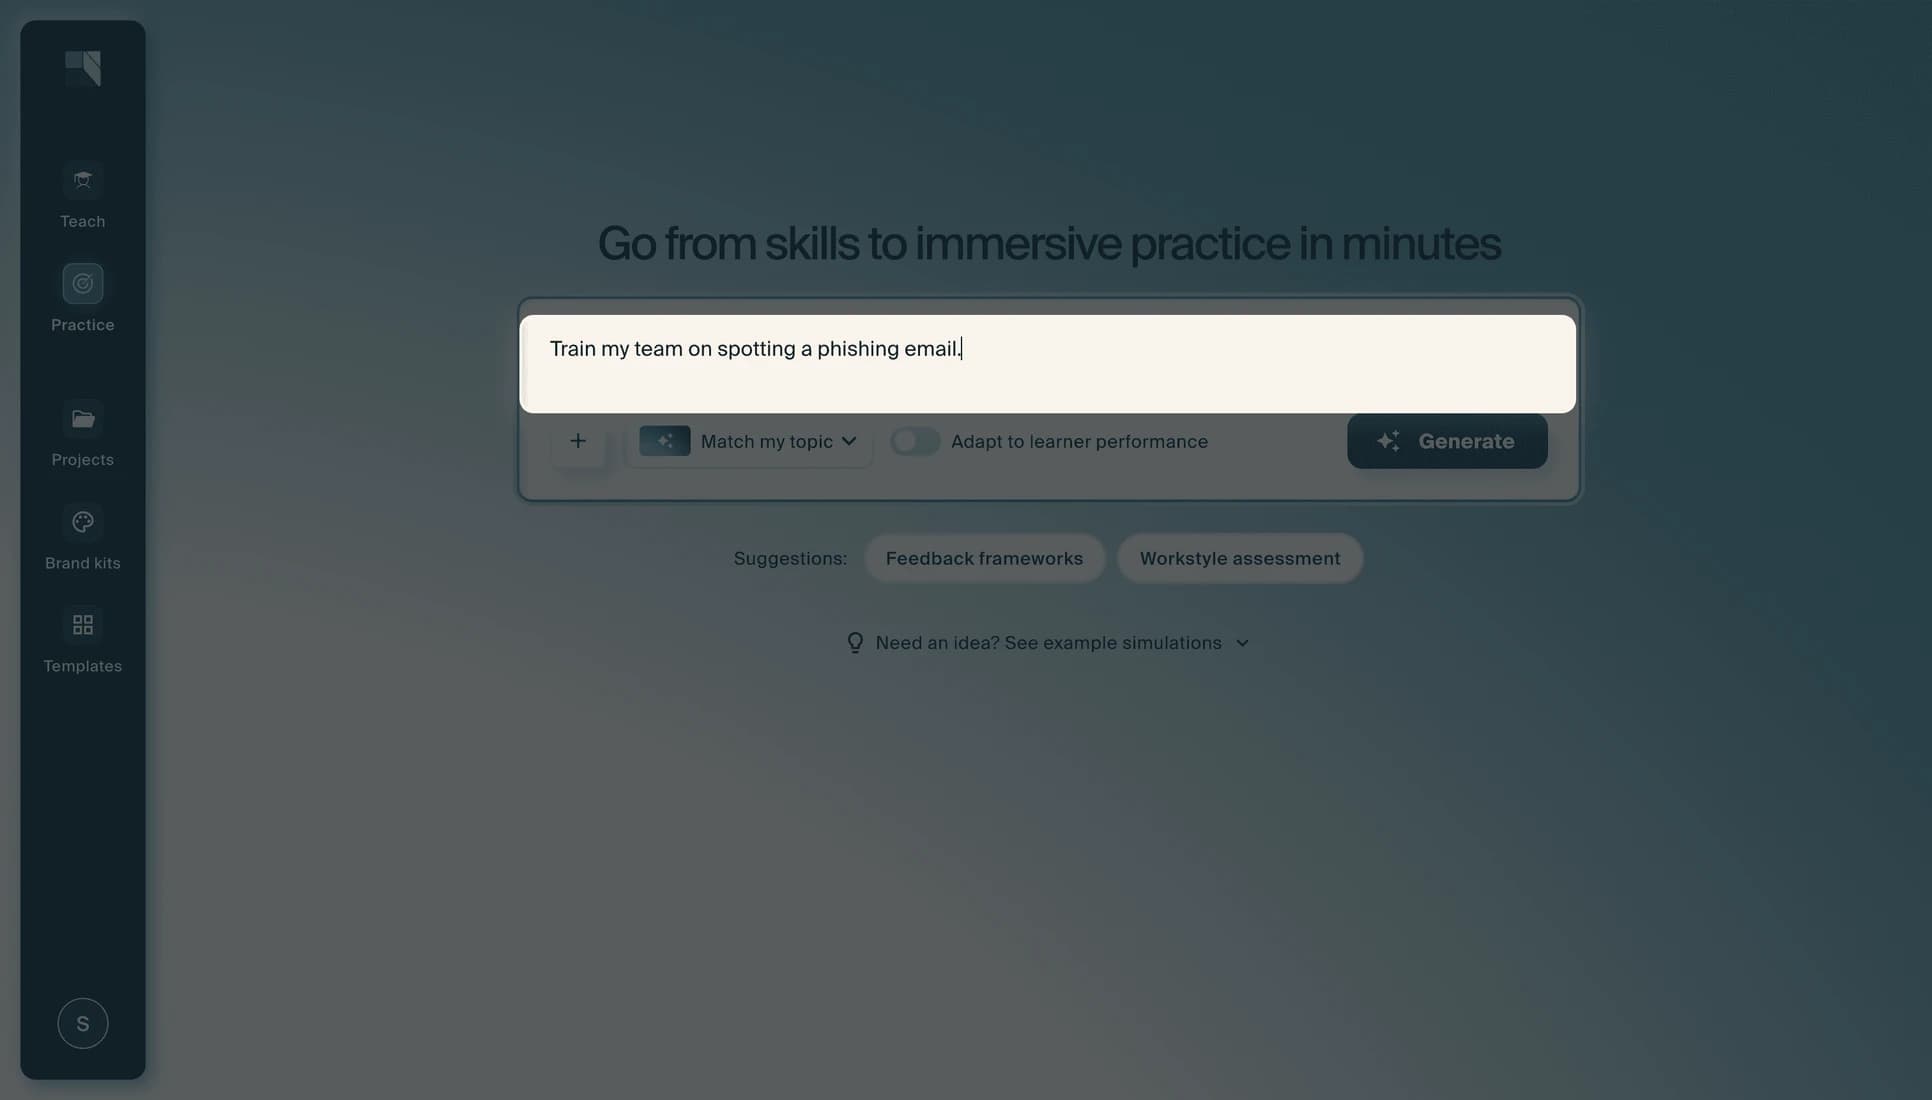
You can also upload a PDF or slides using the + button to give the AI source material to build from.
Step 3: Wait for your simulation to generate
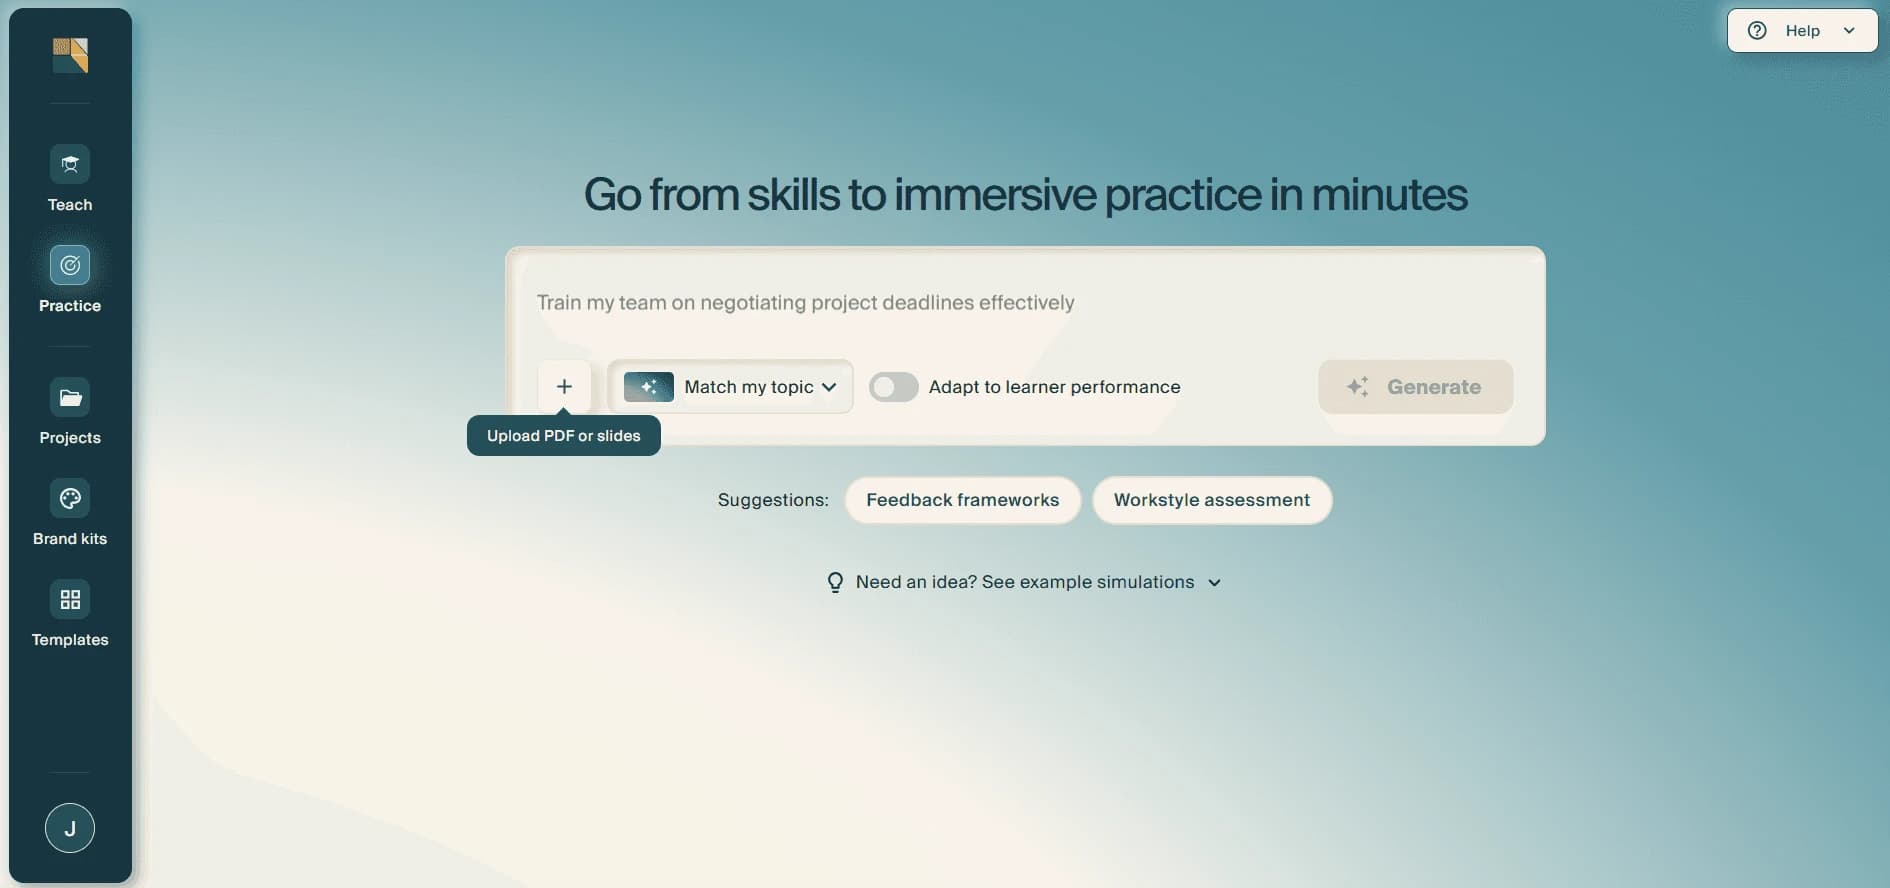
After you click Generate, you'll see the progress on the right, showing the current phase, for example "Planning" then "Preparing your simulation." This may take 5 to 7 minutes to generate.
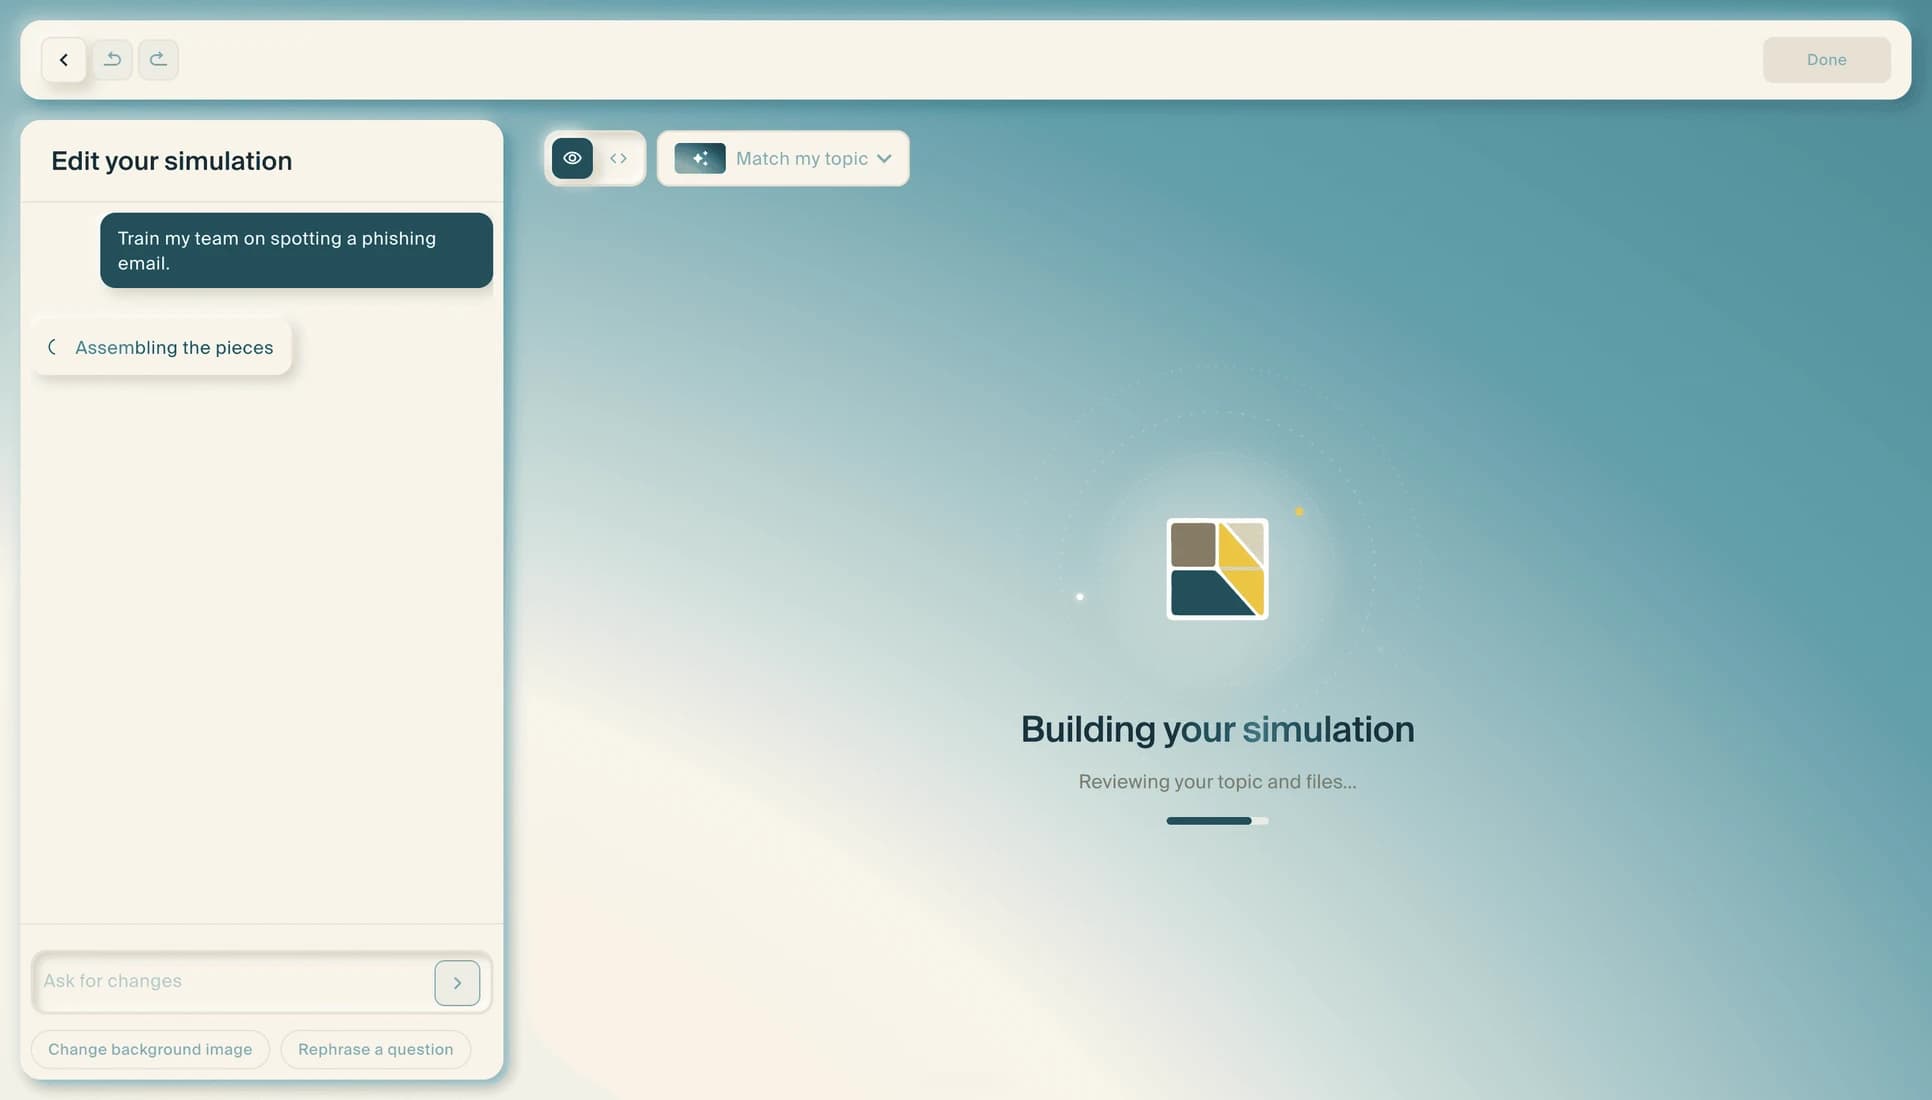
Once you're satisfied with your simulation, hit Done at the top right. You'll then see a full preview of your completed simulation with an auto-generated title and tags.
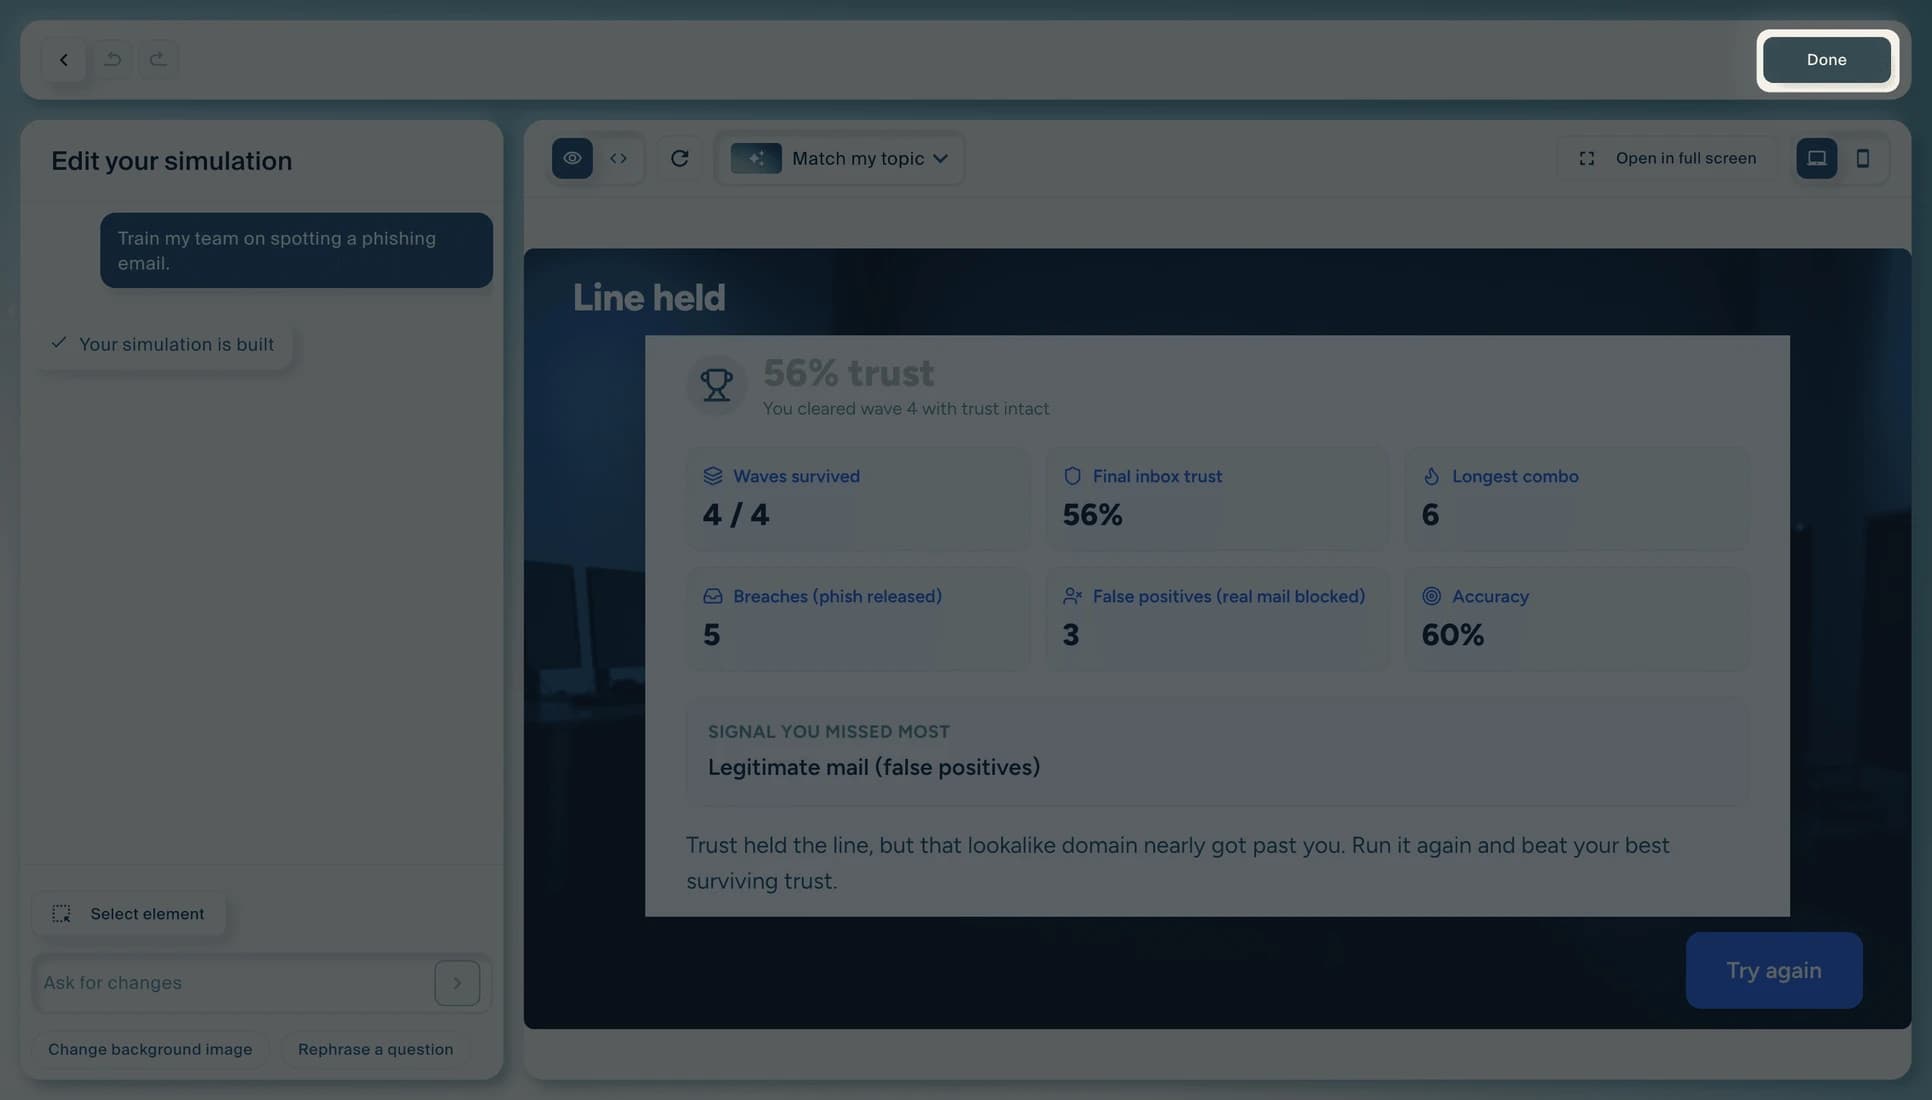
Step 4: Test and refine your simulation
Test the experience from start to finish, including results and scoring. To make changes, use the options on the left panel:
- Ask for changes: Type what you would like to adjust in the "Ask for changes" field, then select Refine to apply it.
- Change background image: A quick shortcut to swap the simulation's background.
- Rephrase a question: A quick shortcut to reword a question in the simulation.
- Select element: Pick an element in the preview to edit it directly.
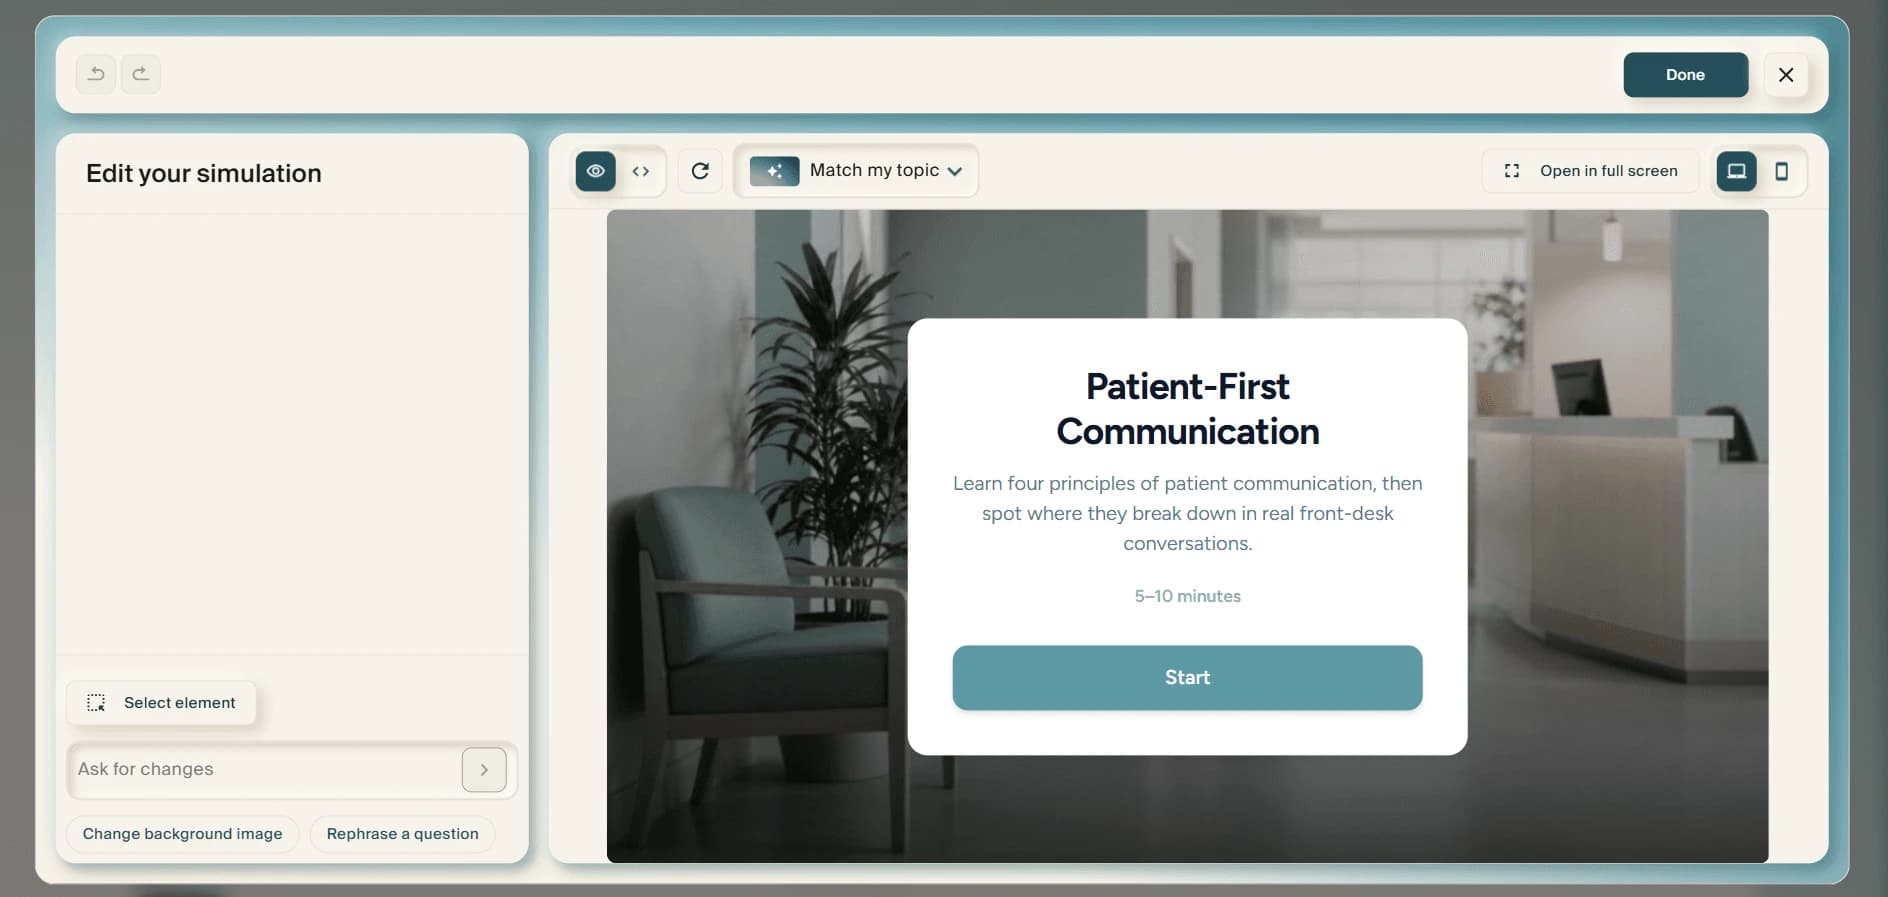
Step 5: Publish, export or embed your simulation
After clicking Done, you'll see a full preview of your completed simulation with an auto-generated title and tags. From here you have several options:
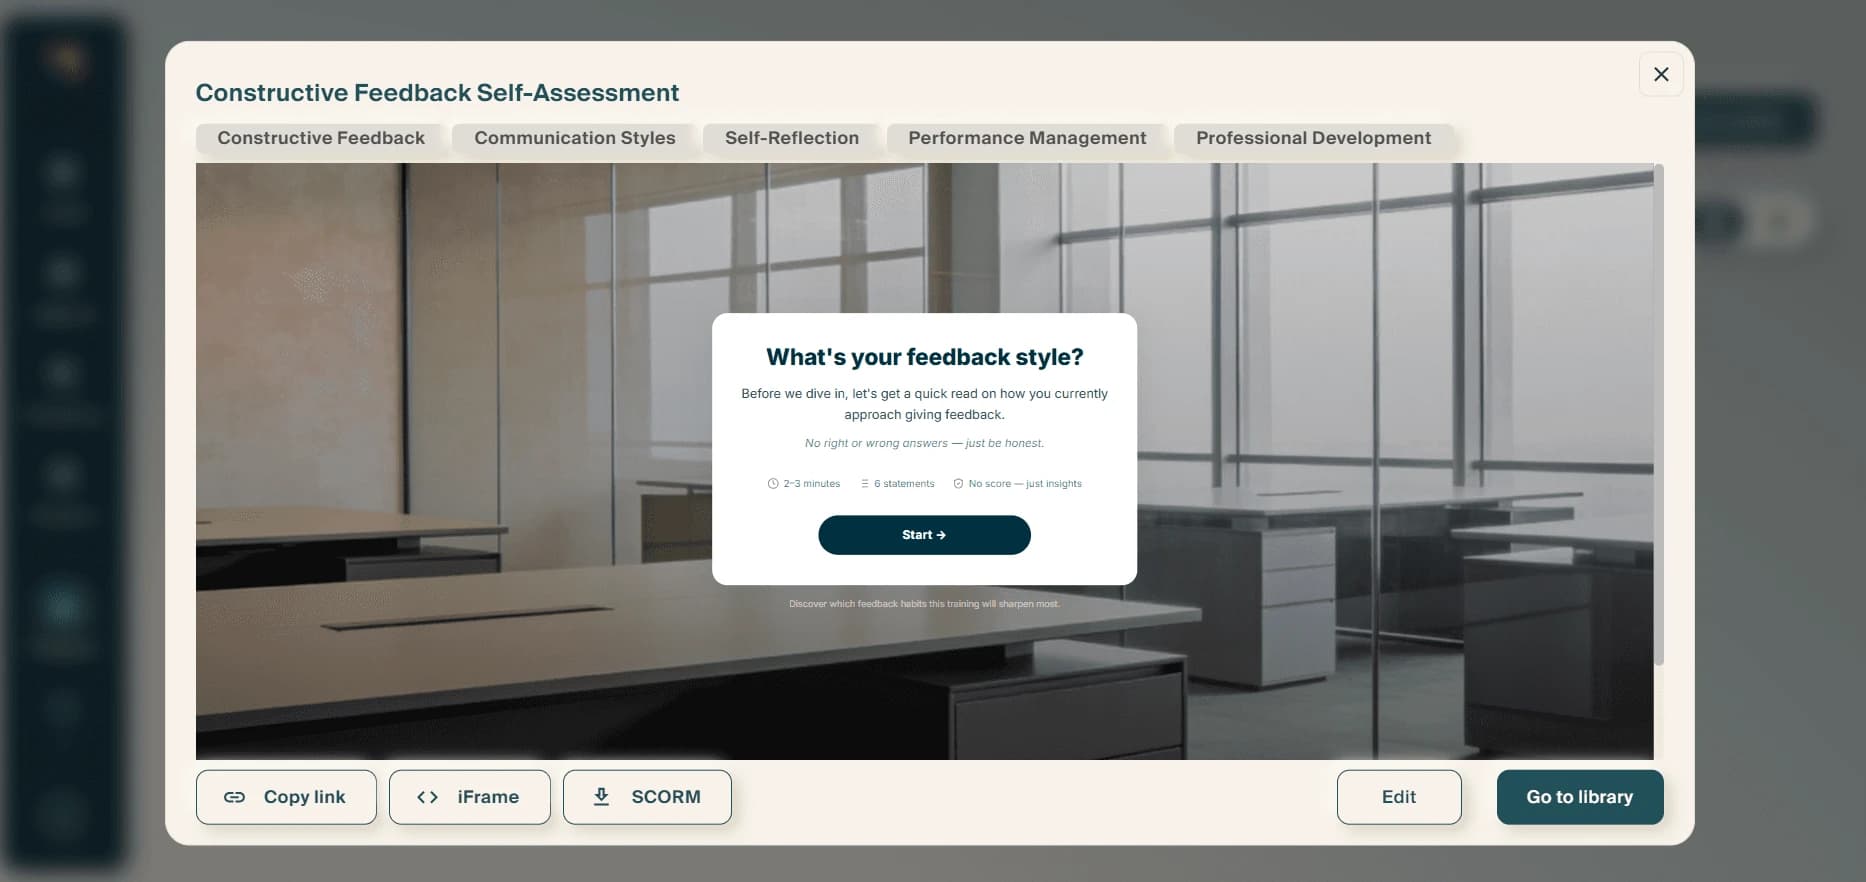
- Copy link: Share the simulation directly with learners via its own URL.
- iFrame: Get an embed code to place the simulation into a website or learning platform.
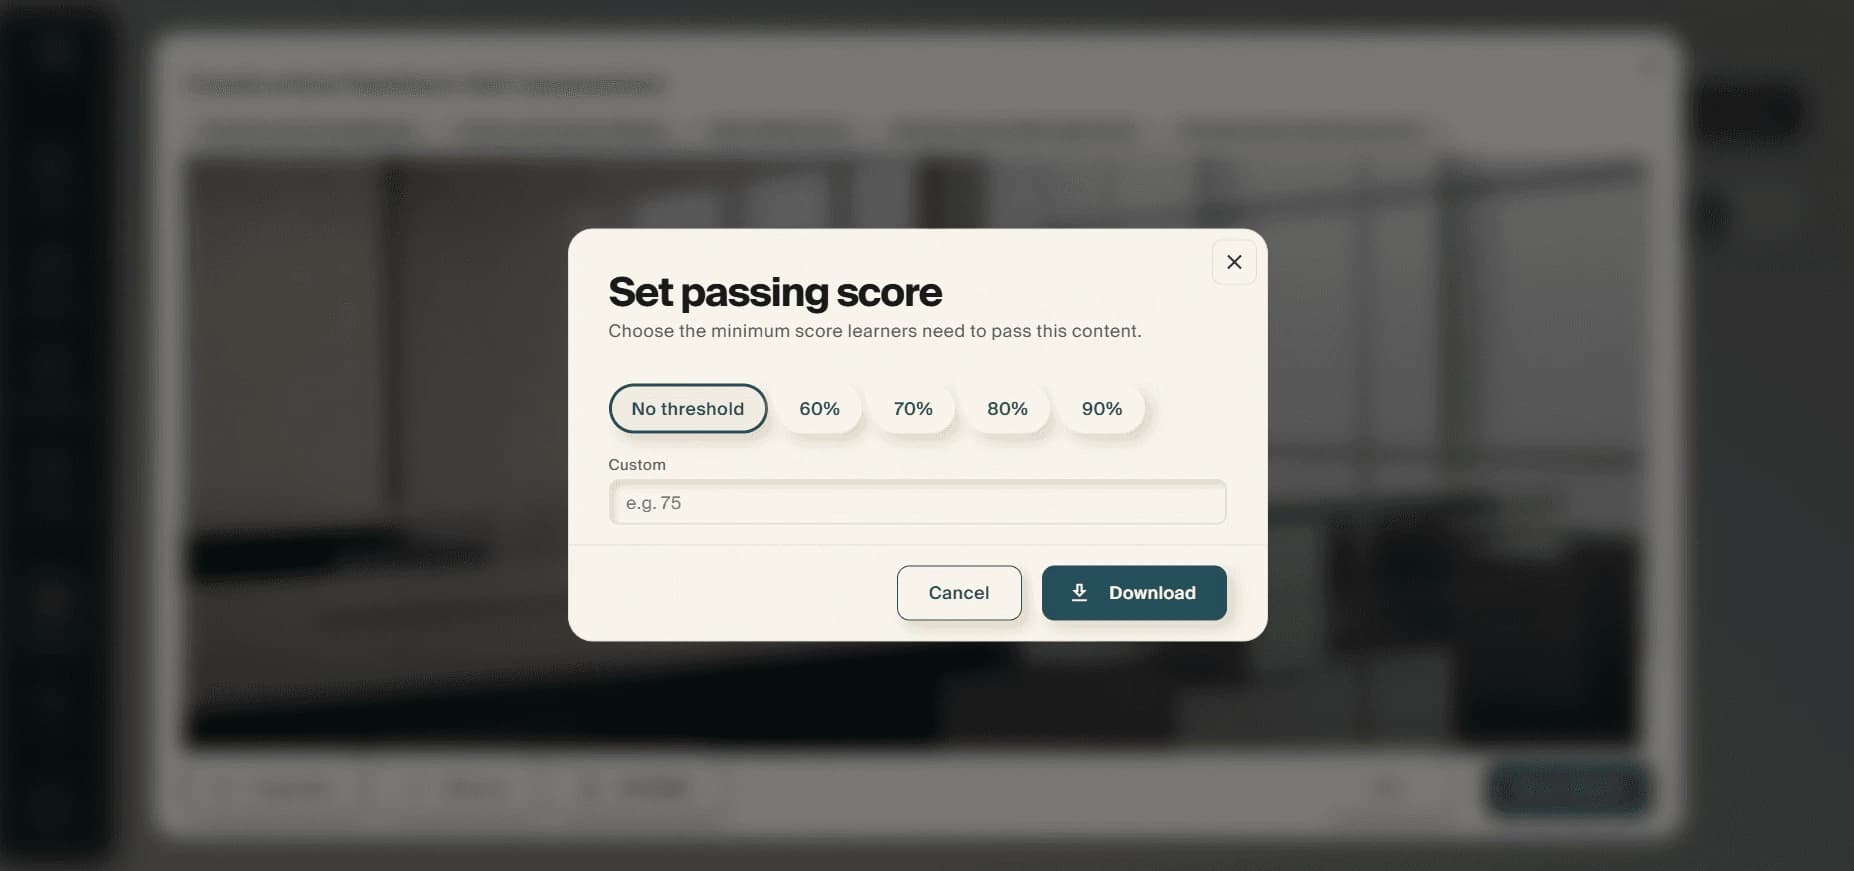
- SCORM: Download the simulation as a SCORM package for your LMS. When exporting, you can set a passing score by choosing a preset threshold (60%, 70%, 80%, 90%), entering a custom score, or selecting "No threshold."
Step 6: Manage your simulations in Projects
- Navigate to Projects in the left sidebar to find all your saved simulations. Use the filter tabs at the top (Lessons, Coaches, Roleplays, Knowledge checks, Simulations) to view just your simulations.
- Click the three-dot menu (⋯) on any simulation card to Edit, Duplicate, Share, or Revoke access.
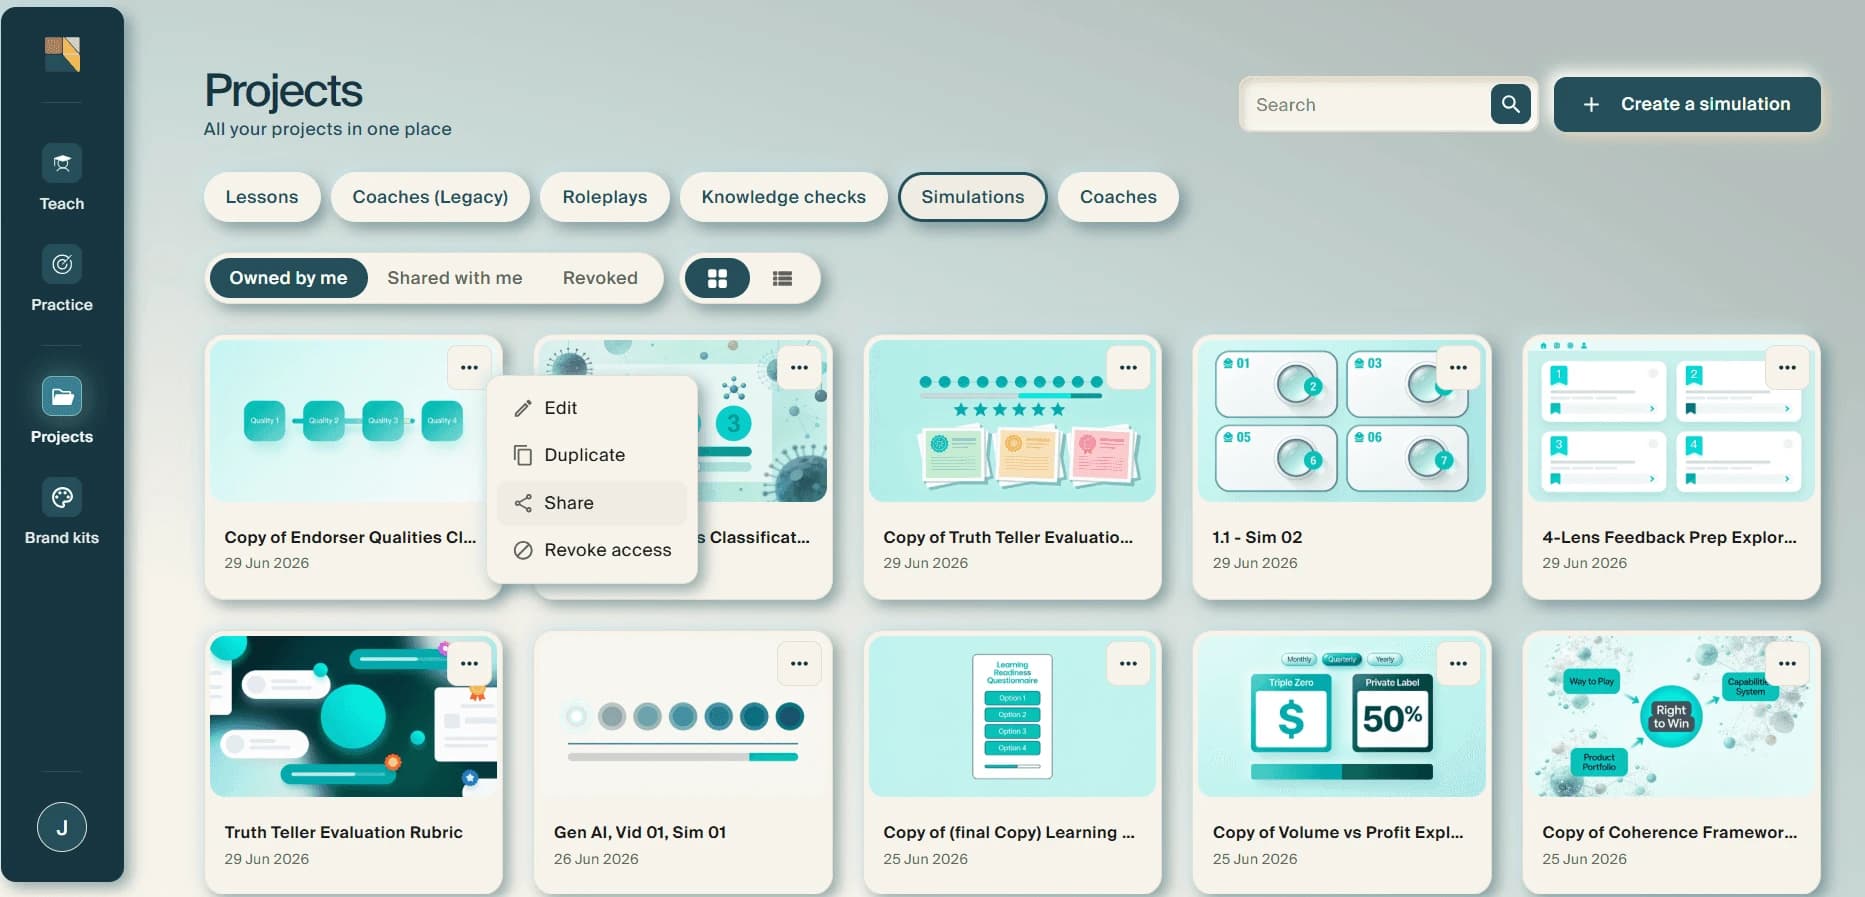
- You can also click + Create a simulation in the top right of the Projects page to start a new one directly from here.