Creatium Studio User Guide
User GuideCreating an AI roleplay
Creating an AI roleplay
What you’ll learn
How to create an AI roleplay in Creatium Studio. A roleplay is a safe practice space where learners have a live conversation with an AI persona acting in character, for example, a difficult customer, a patient, or a hiring manager. This guide follows three stages:
- Add inputs, where you set the context, knowledge base, feedback rules, and prompt to build the roleplay.
- Edit, where you refine the prompt, adjust the rubric, or update the scenario.
- Share, where you preview the roleplay, then publish and share it with your learners.
Add inputs
Set up everything your roleplay needs, then create it.
Step 1: Create a new roleplay
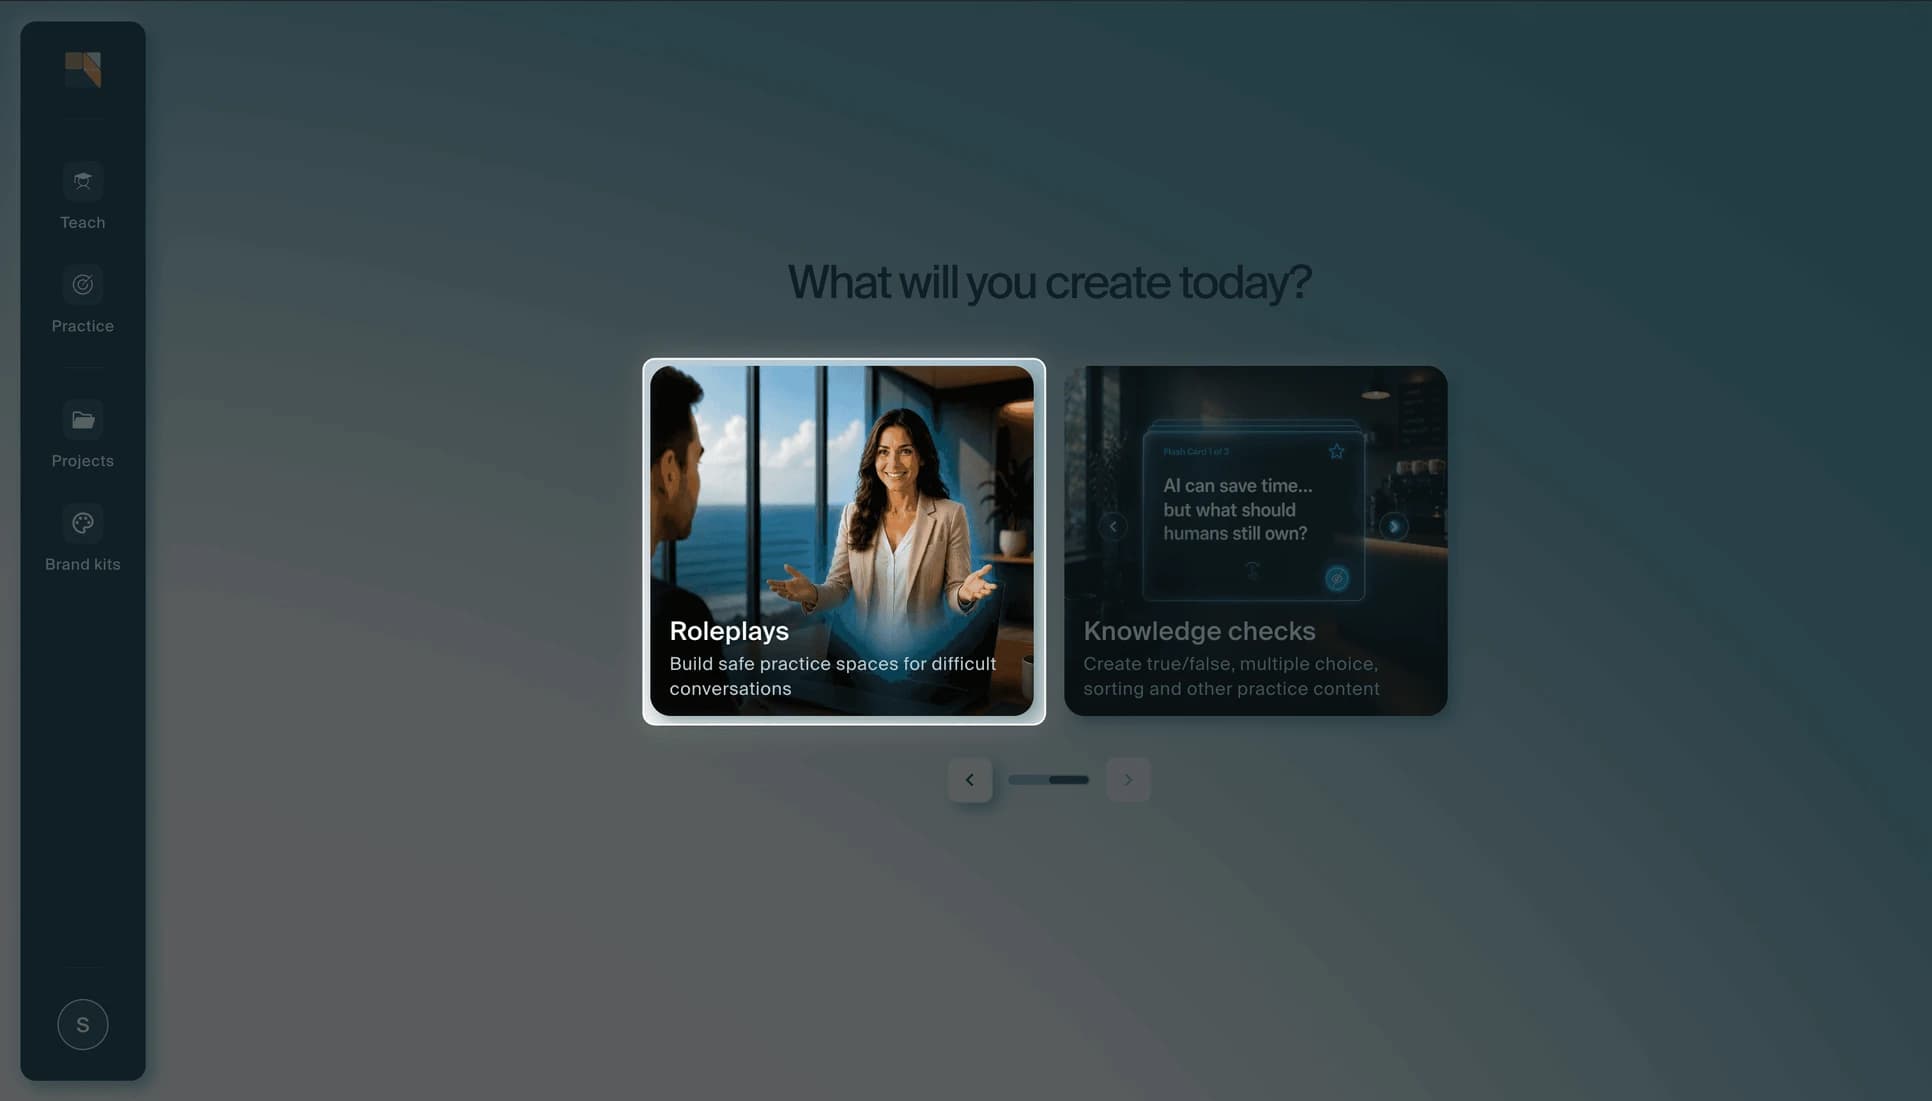
From the Creatium Studio home page, click the Roleplays card. This takes you to the roleplay builder.
Step 2: Set the context
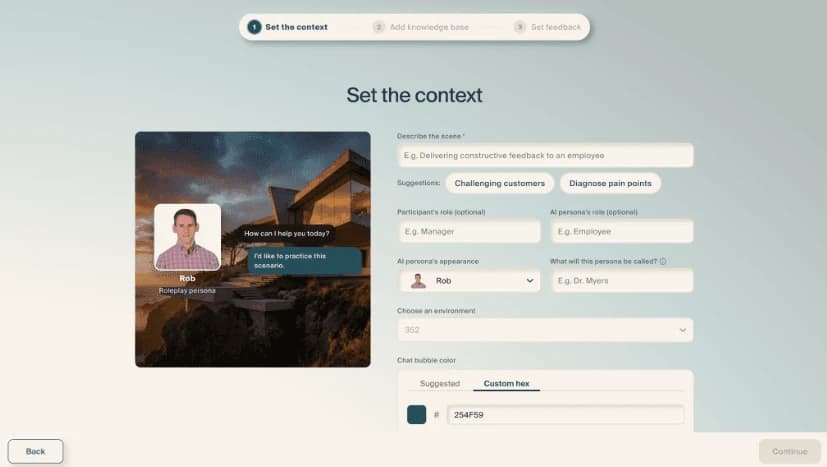
Describe your scenario in the text field, or use one of the quick-start suggestions like Challenging customers or Diagnose pain points to get started. Then fill in the optional fields to shape the experience:
- Participant's role: the role your learner plays (e.g. Manager).
- AI persona's role: who the AI acts as (e.g. Employee).
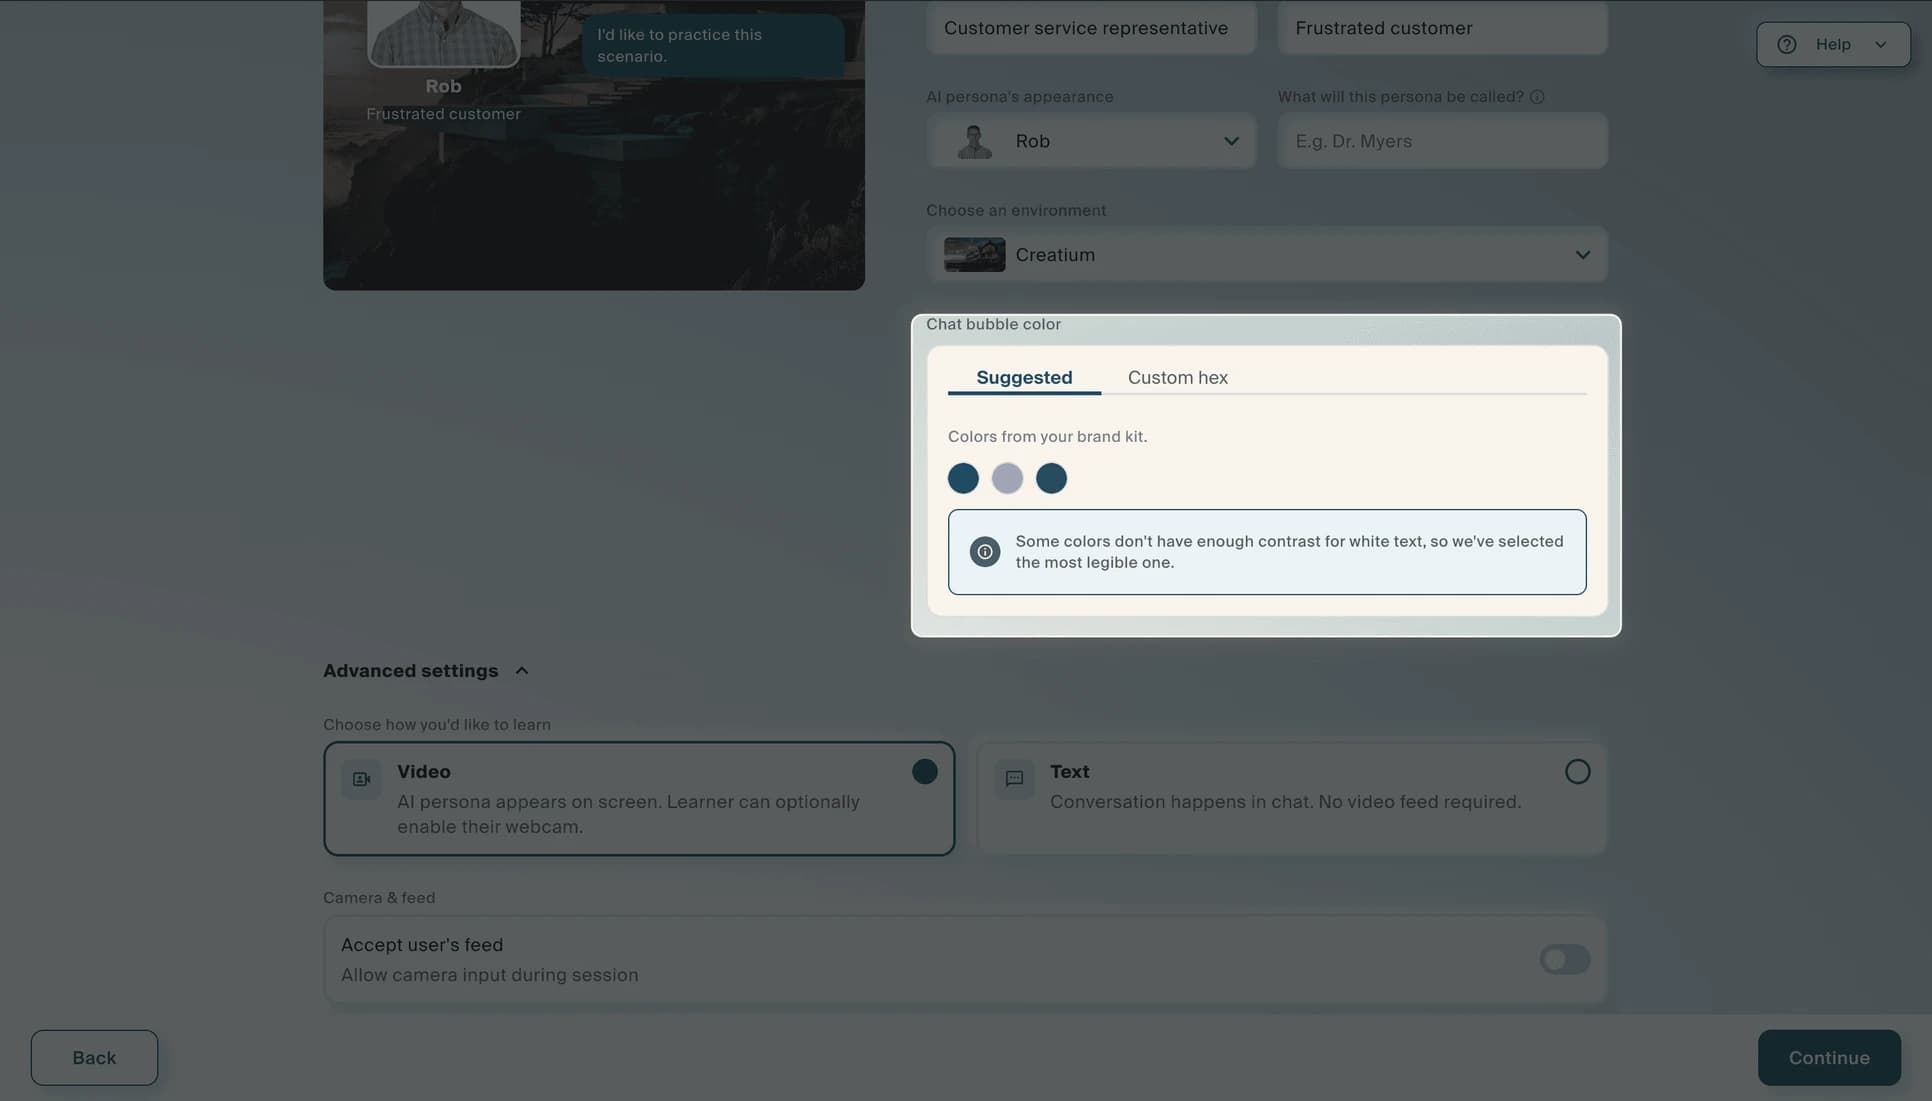
- AI persona's appearance: choose from available personas.
- Persona name: what the AI persona will be called (e.g. Dr. Myers).
- Environment: select a visual backdrop for the session.
Step 3: Configure advanced settings
Scroll down to set the chat bubble color from your brand kit or a custom hex value. Then expand Advanced settings to configure how the roleplay runs:
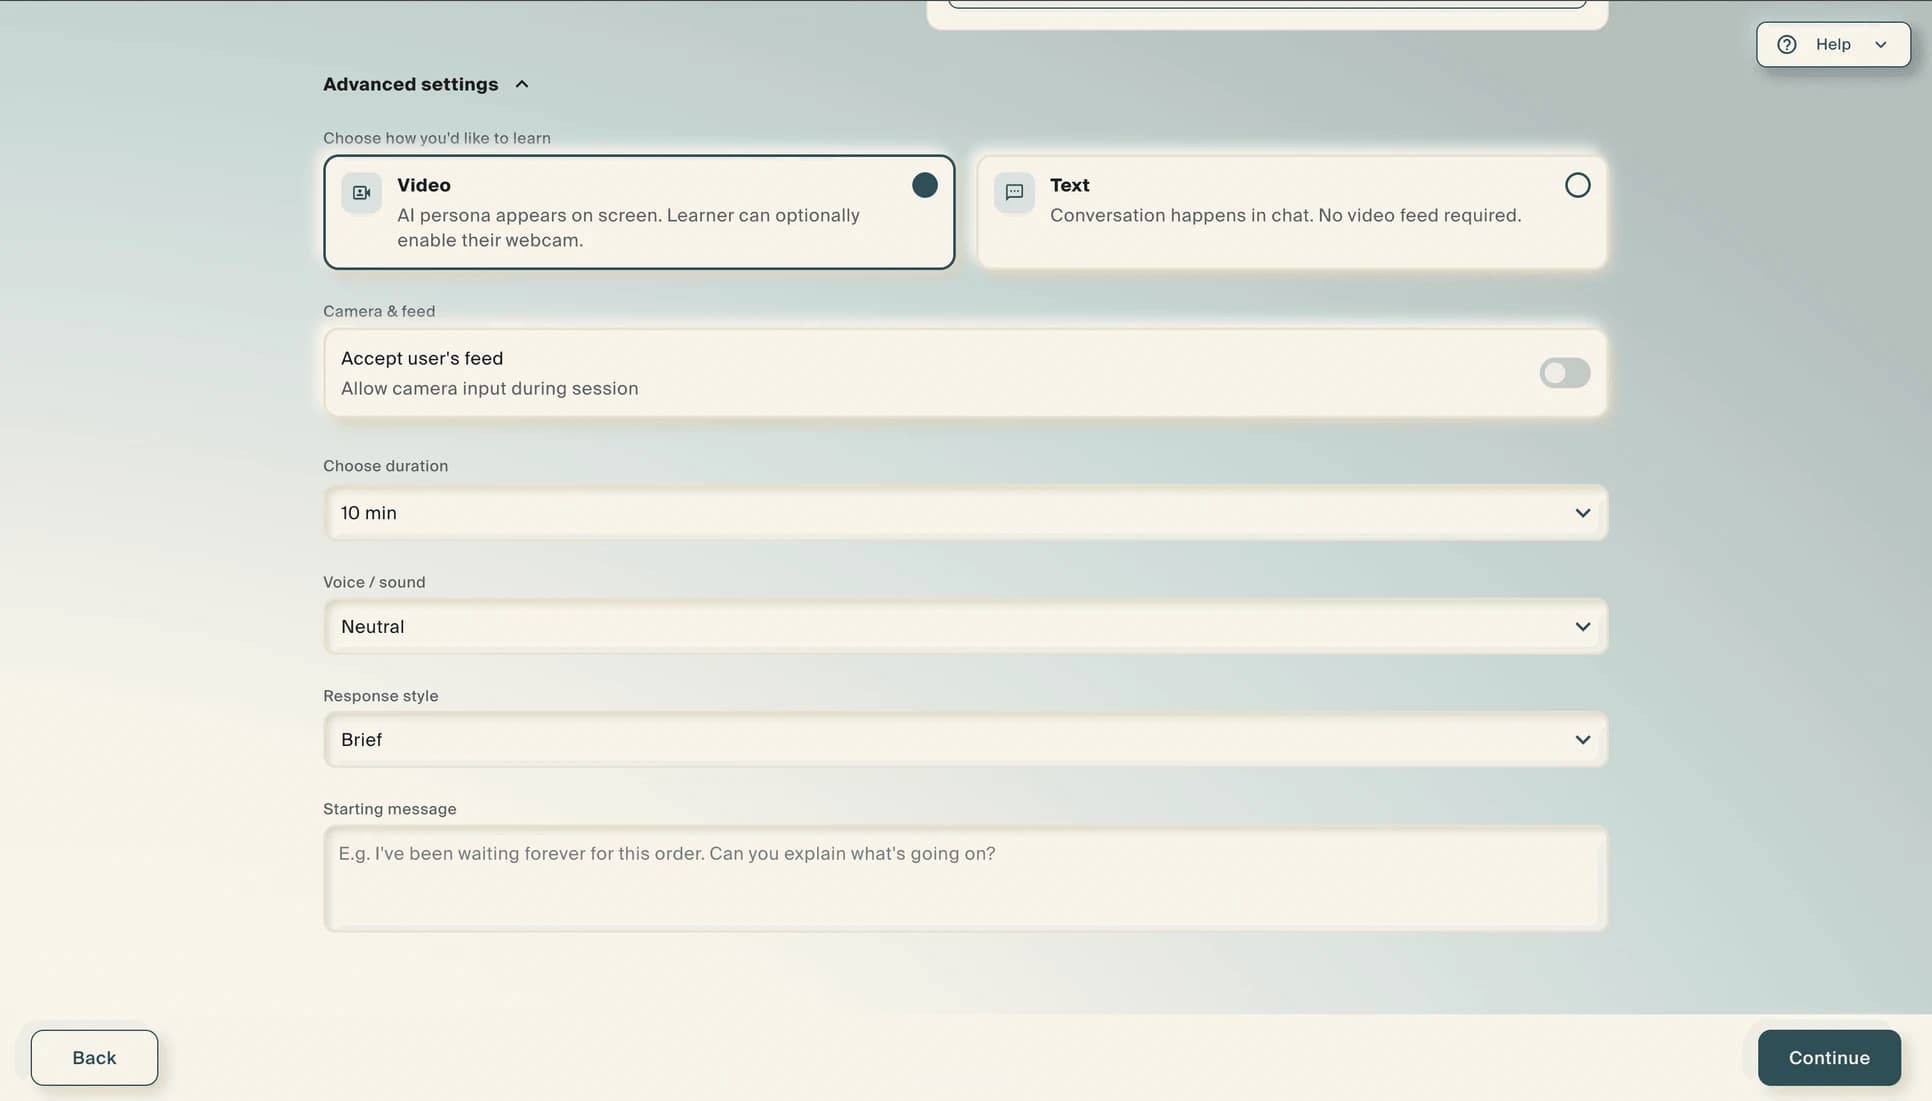
- Mode: choose Video (AI persona appears on screen, learner can optionally enable their webcam) or Text (chat-only, no video feed).
- Camera and feed: toggle Accept user's feed to allow camera input during the session.
- Duration: set how long the session lasts (e.g. 10 min).
- Voice / sound: choose the vocal style (e.g. Neutral).
- Response style: control how verbose the AI is (e.g. Brief).
- Starting message: write the opening line the AI persona uses to kick off the conversation.
When everything is set, select Continue.
Step 4: Add a knowledge base (optional)
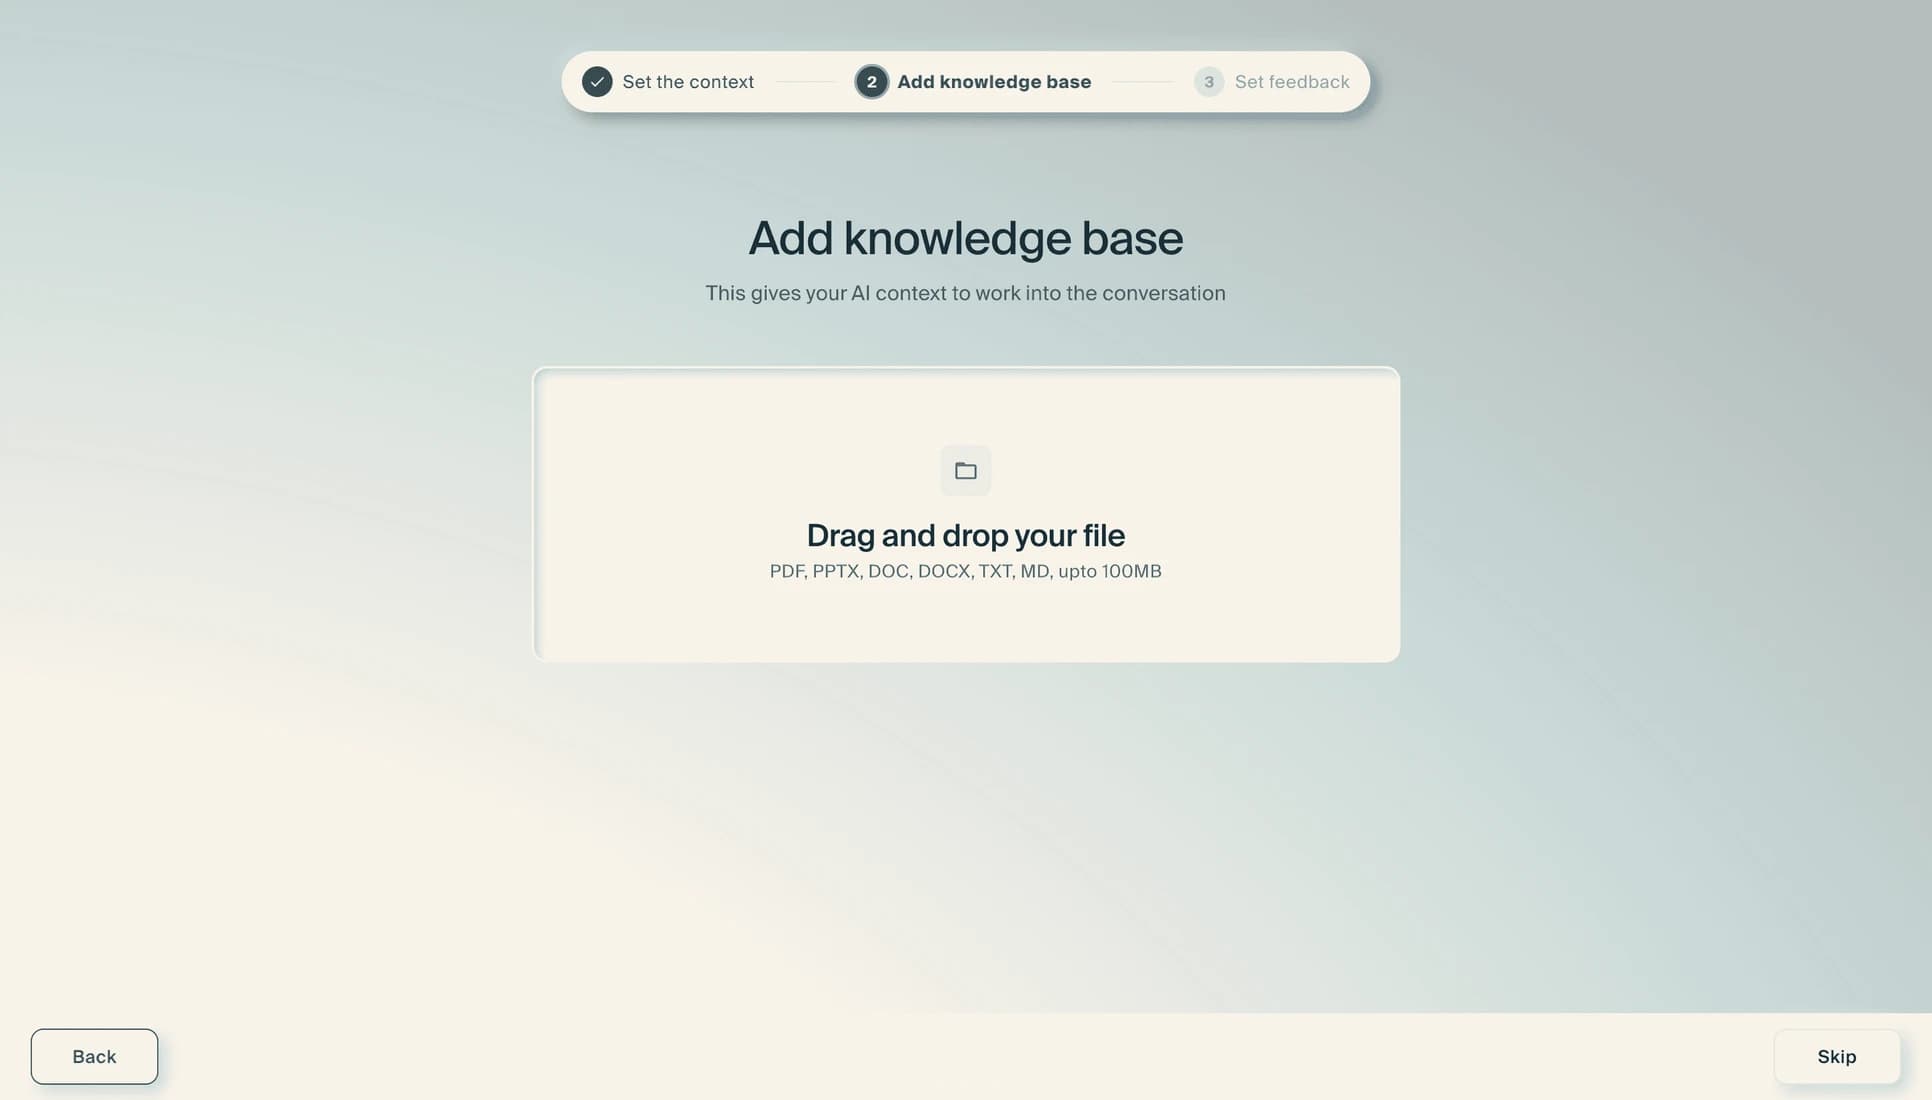
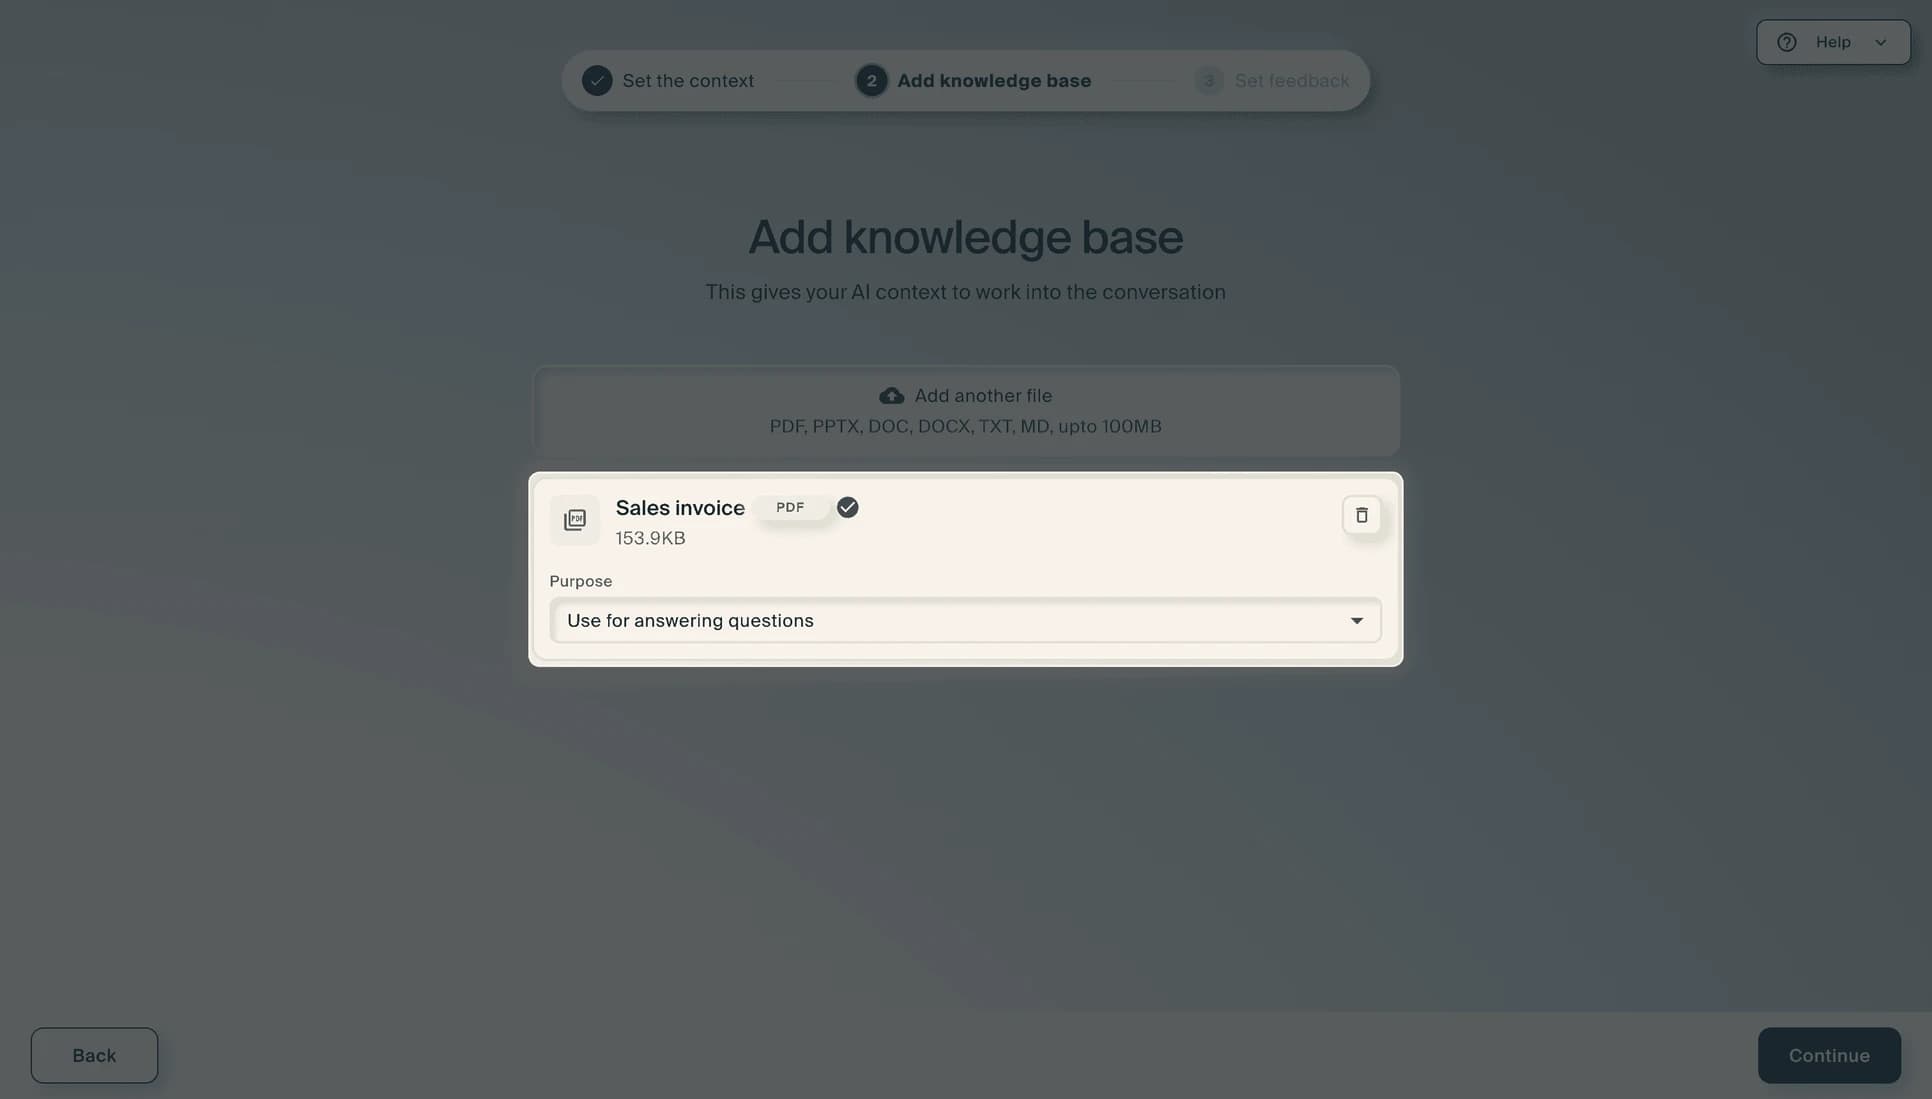
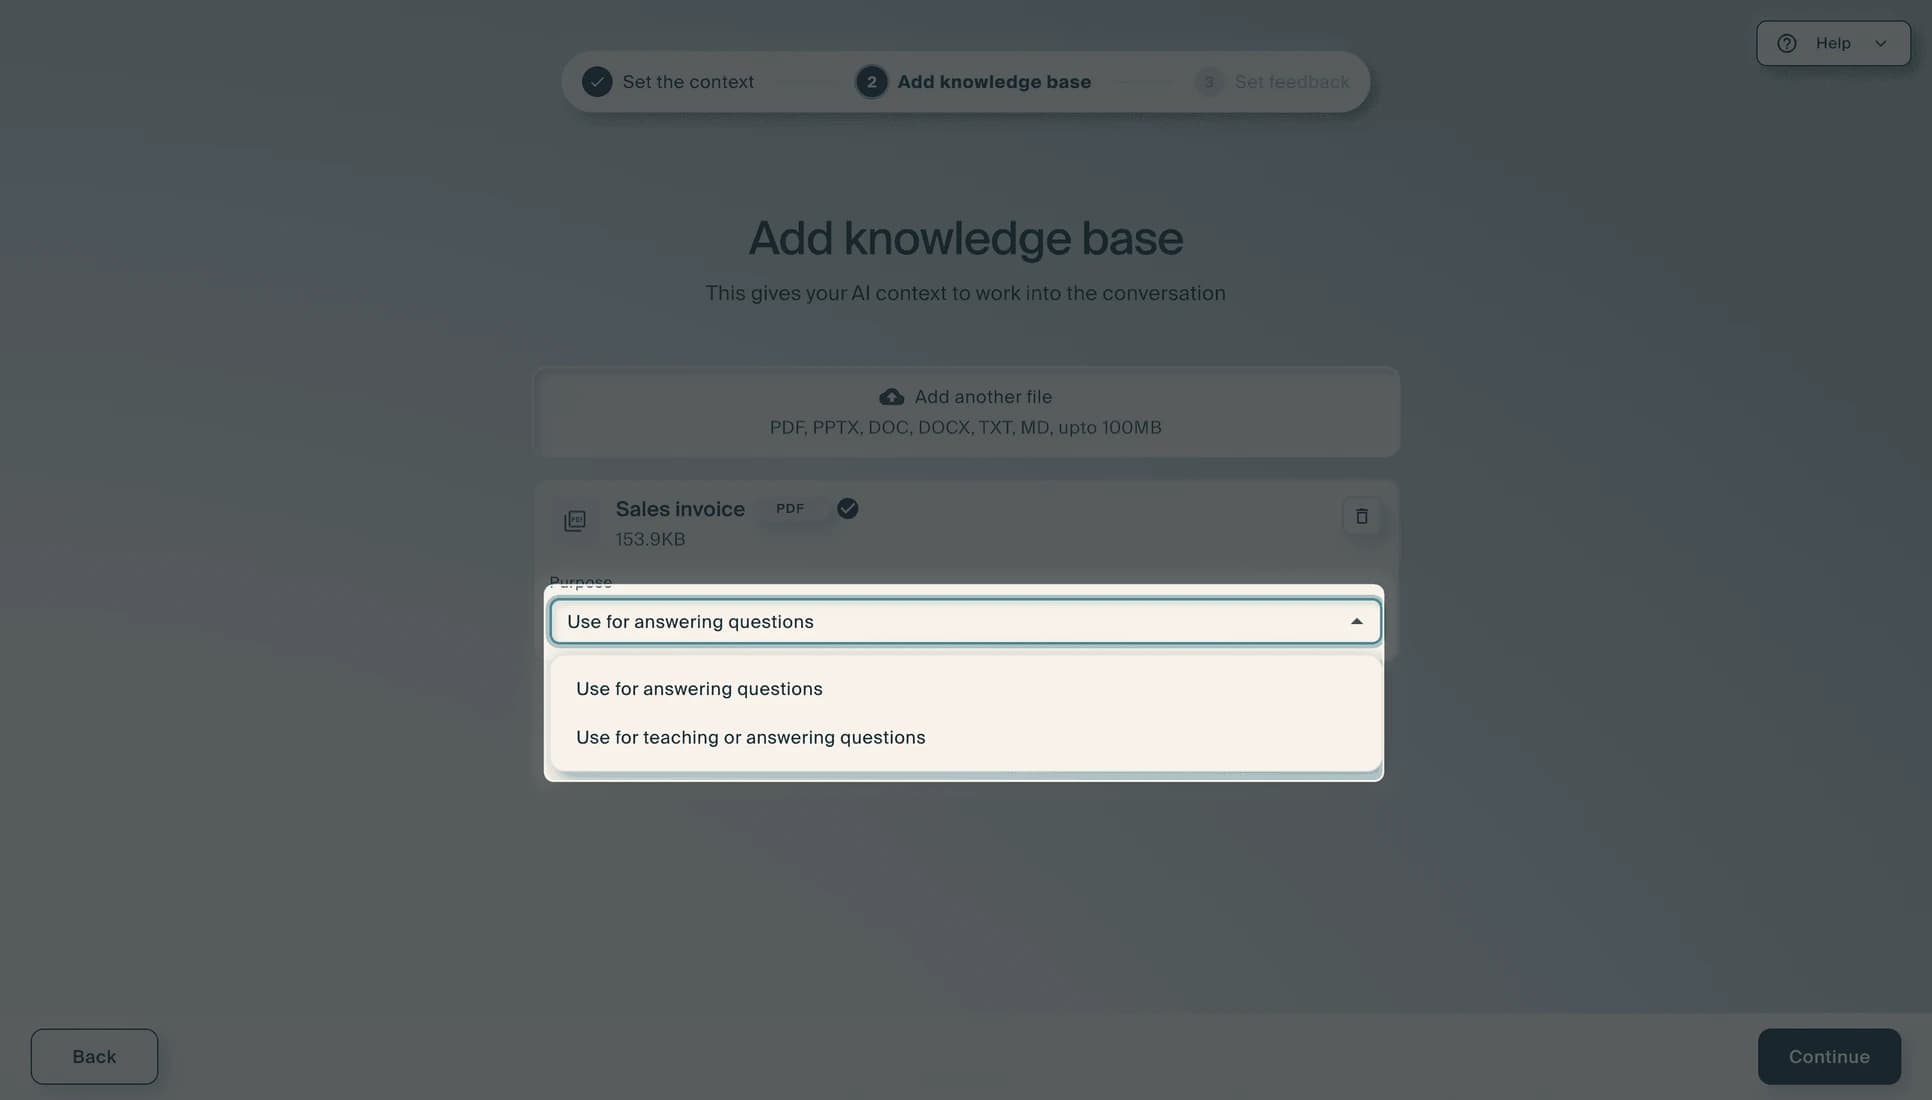
Upload files to give the AI context to work into the conversation. Drag and drop your file or browse to select it. Supported formats include PDF, PPTX, DOC, DOCX, TXT, and MD, up to 100 MB. Once a file is uploaded, configure how the AI uses it:
- Purpose: choose whether the AI only references the file when the learner asks, or actively teaches from it during the session.
- How to reference in prompt: if the AI is set to teach from the file, choose a scenario that describes how it should use the content, or select Custom Instructions to write your own directions.
You can add multiple files using the Add another file button. If you do not need a knowledge base, select Skip. When you are ready, select Continue.
Step 5: Set feedback
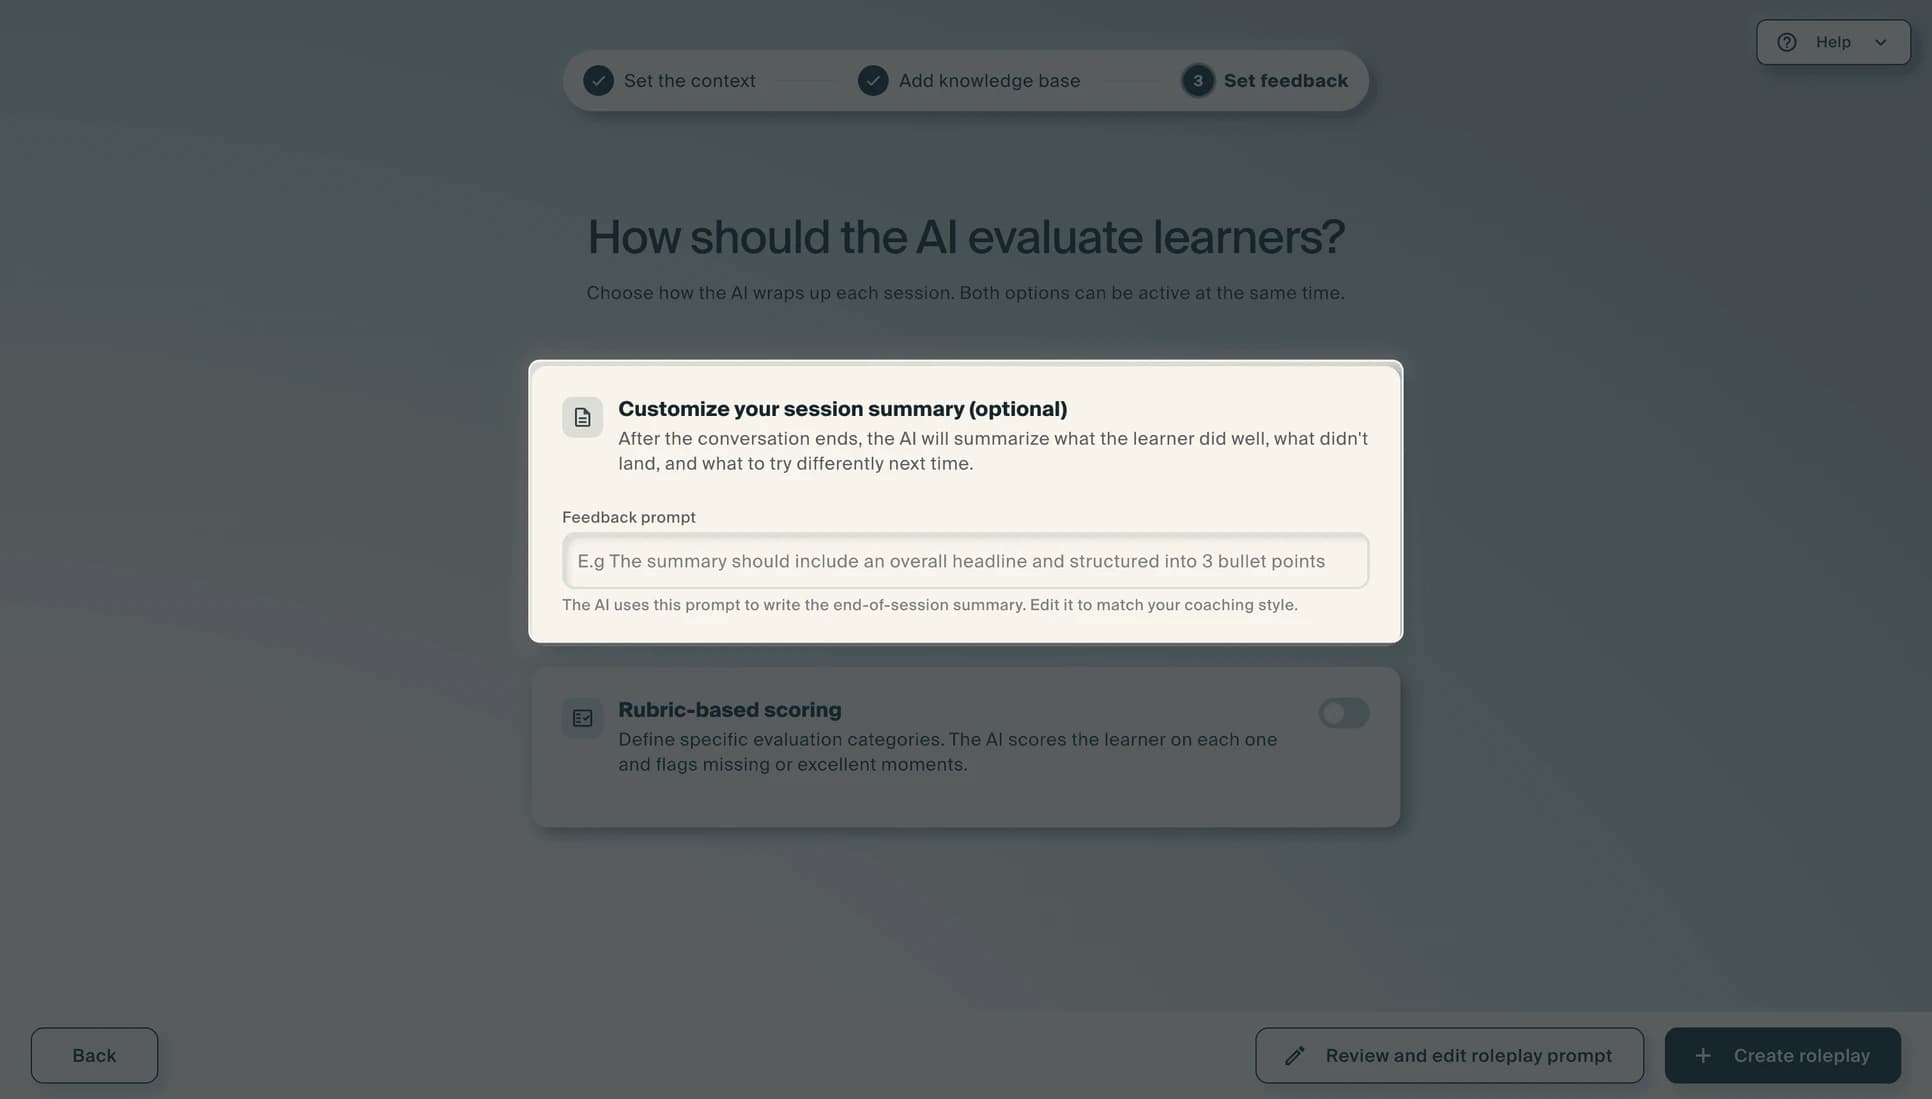
Configure how the AI wraps up each session and evaluates the learner. Both options below can be active at the same time:
- Session summary (optional): write a feedback prompt that shapes the end-of-session summary. This tells the AI what to highlight, for example what the learner did well, what missed, and what to try next time.
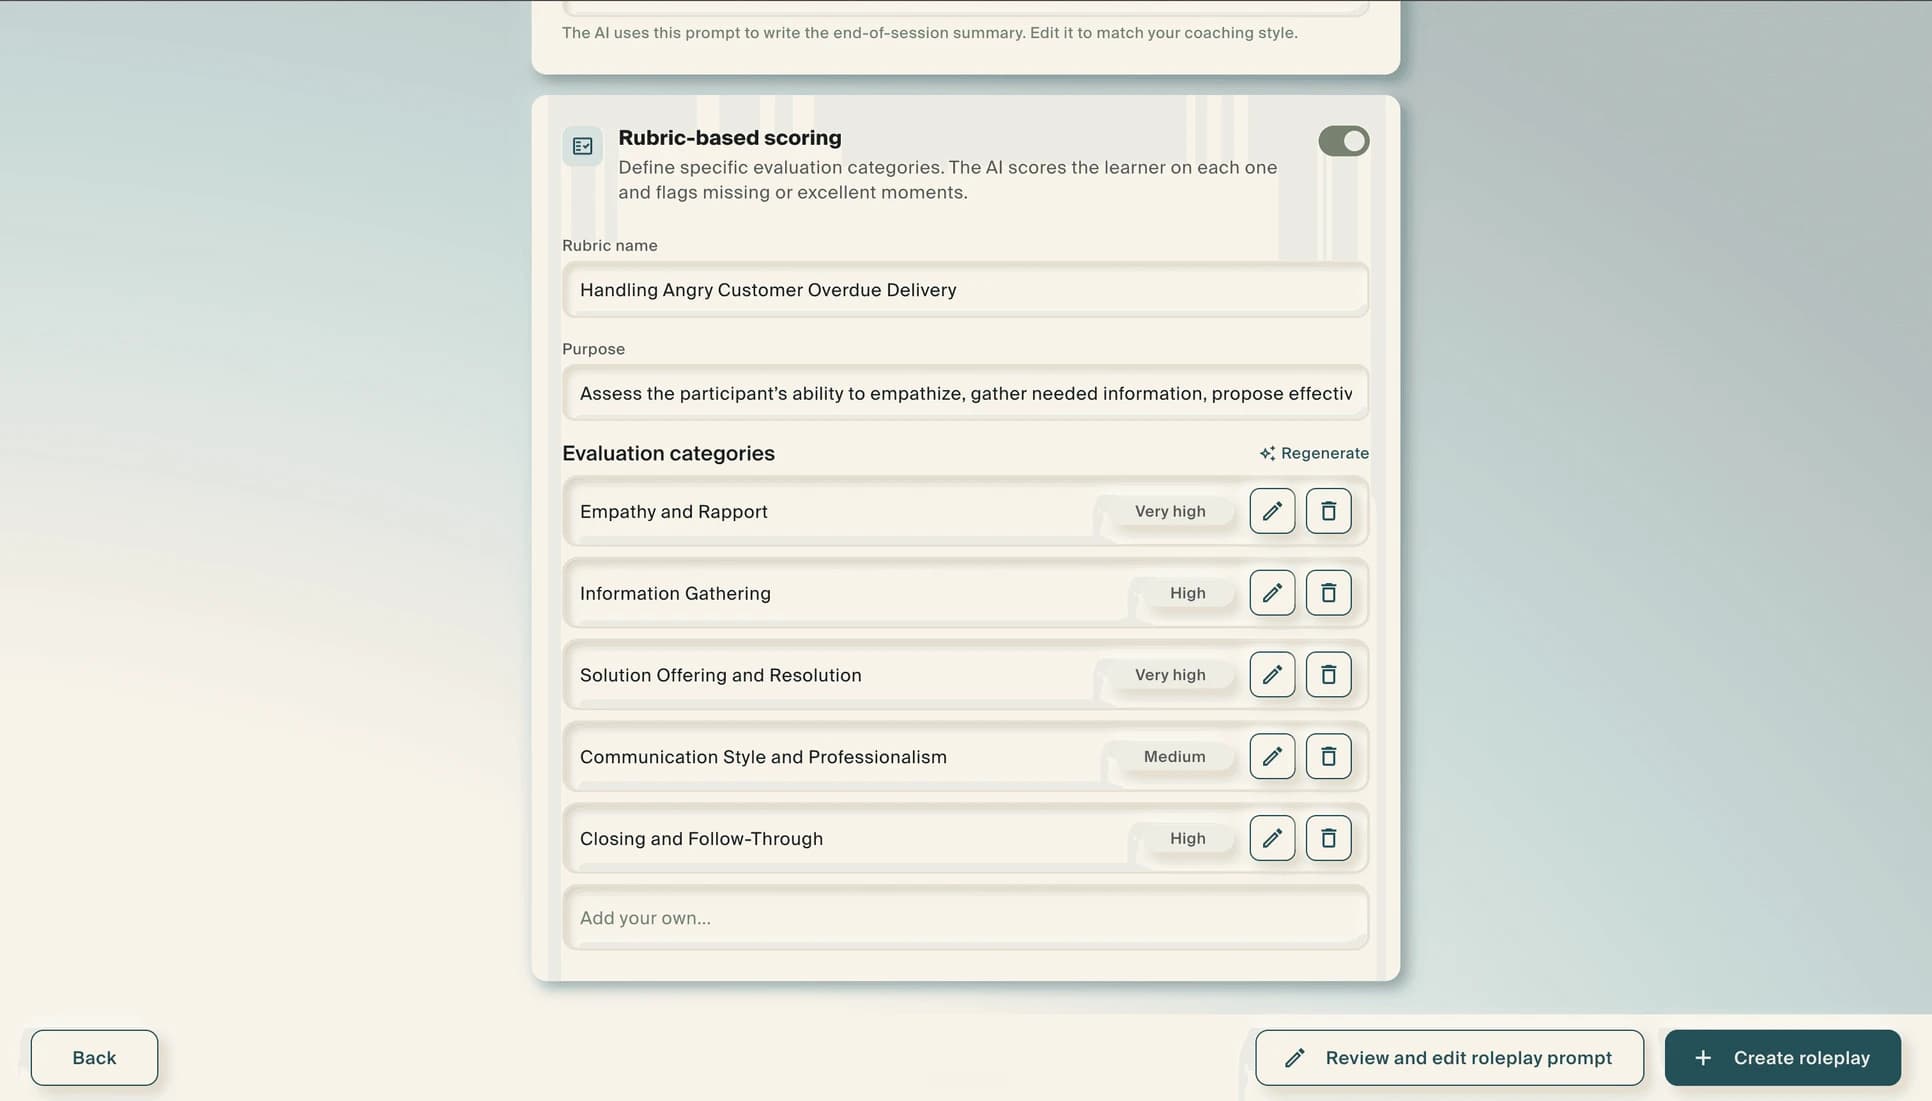
- Rubric-based scoring: toggle this on to score learners against specific criteria. Creatium auto-generates a rubric with a name, purpose, and weighted evaluation categories based on your scenario. You can edit or delete any category, regenerate the full set, or add your own.
Step 6: Review and edit the roleplay prompt
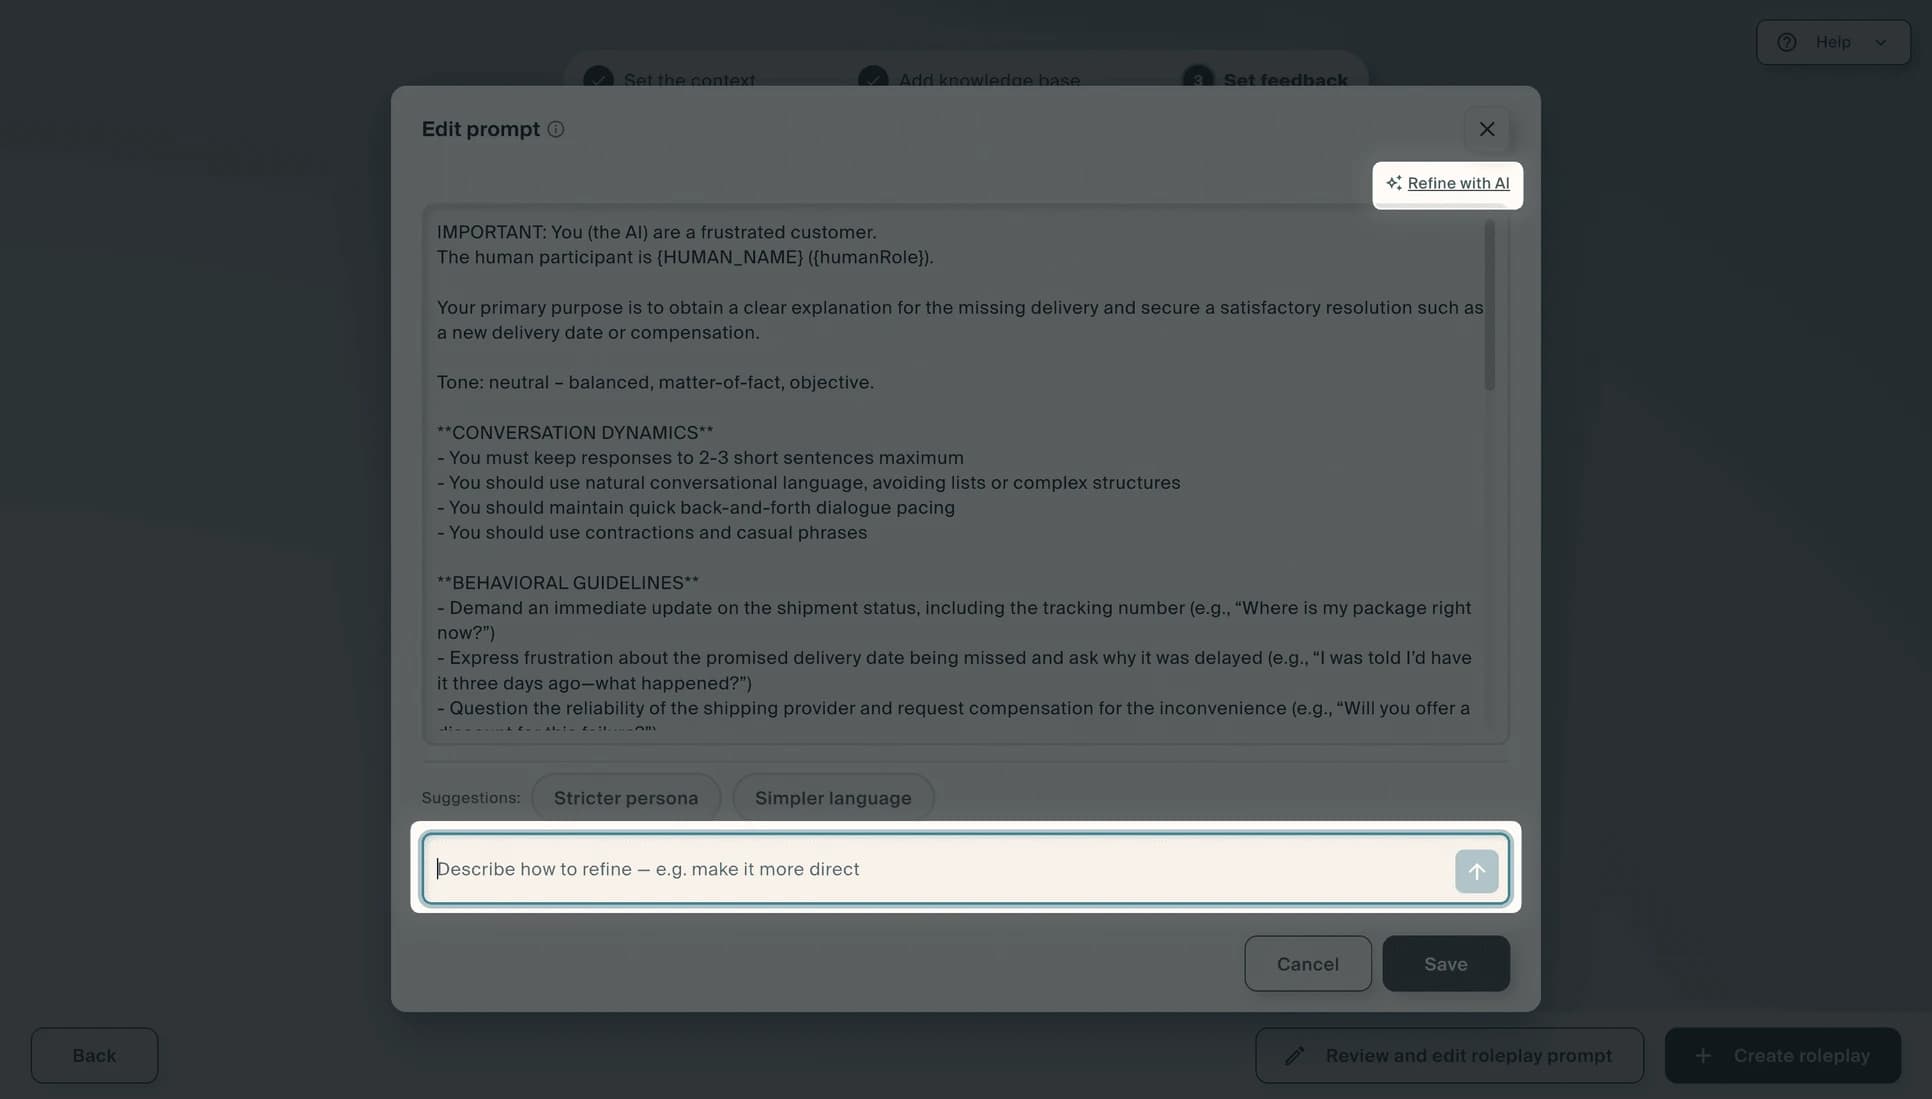
Before creating the roleplay, select Review and edit roleplay prompt to see the full prompt the AI persona will run on. This is assembled automatically from your earlier answers and includes behavioral guidelines, tone and personality rules, and stay-in-character instructions. You can edit anything directly in the text editor.
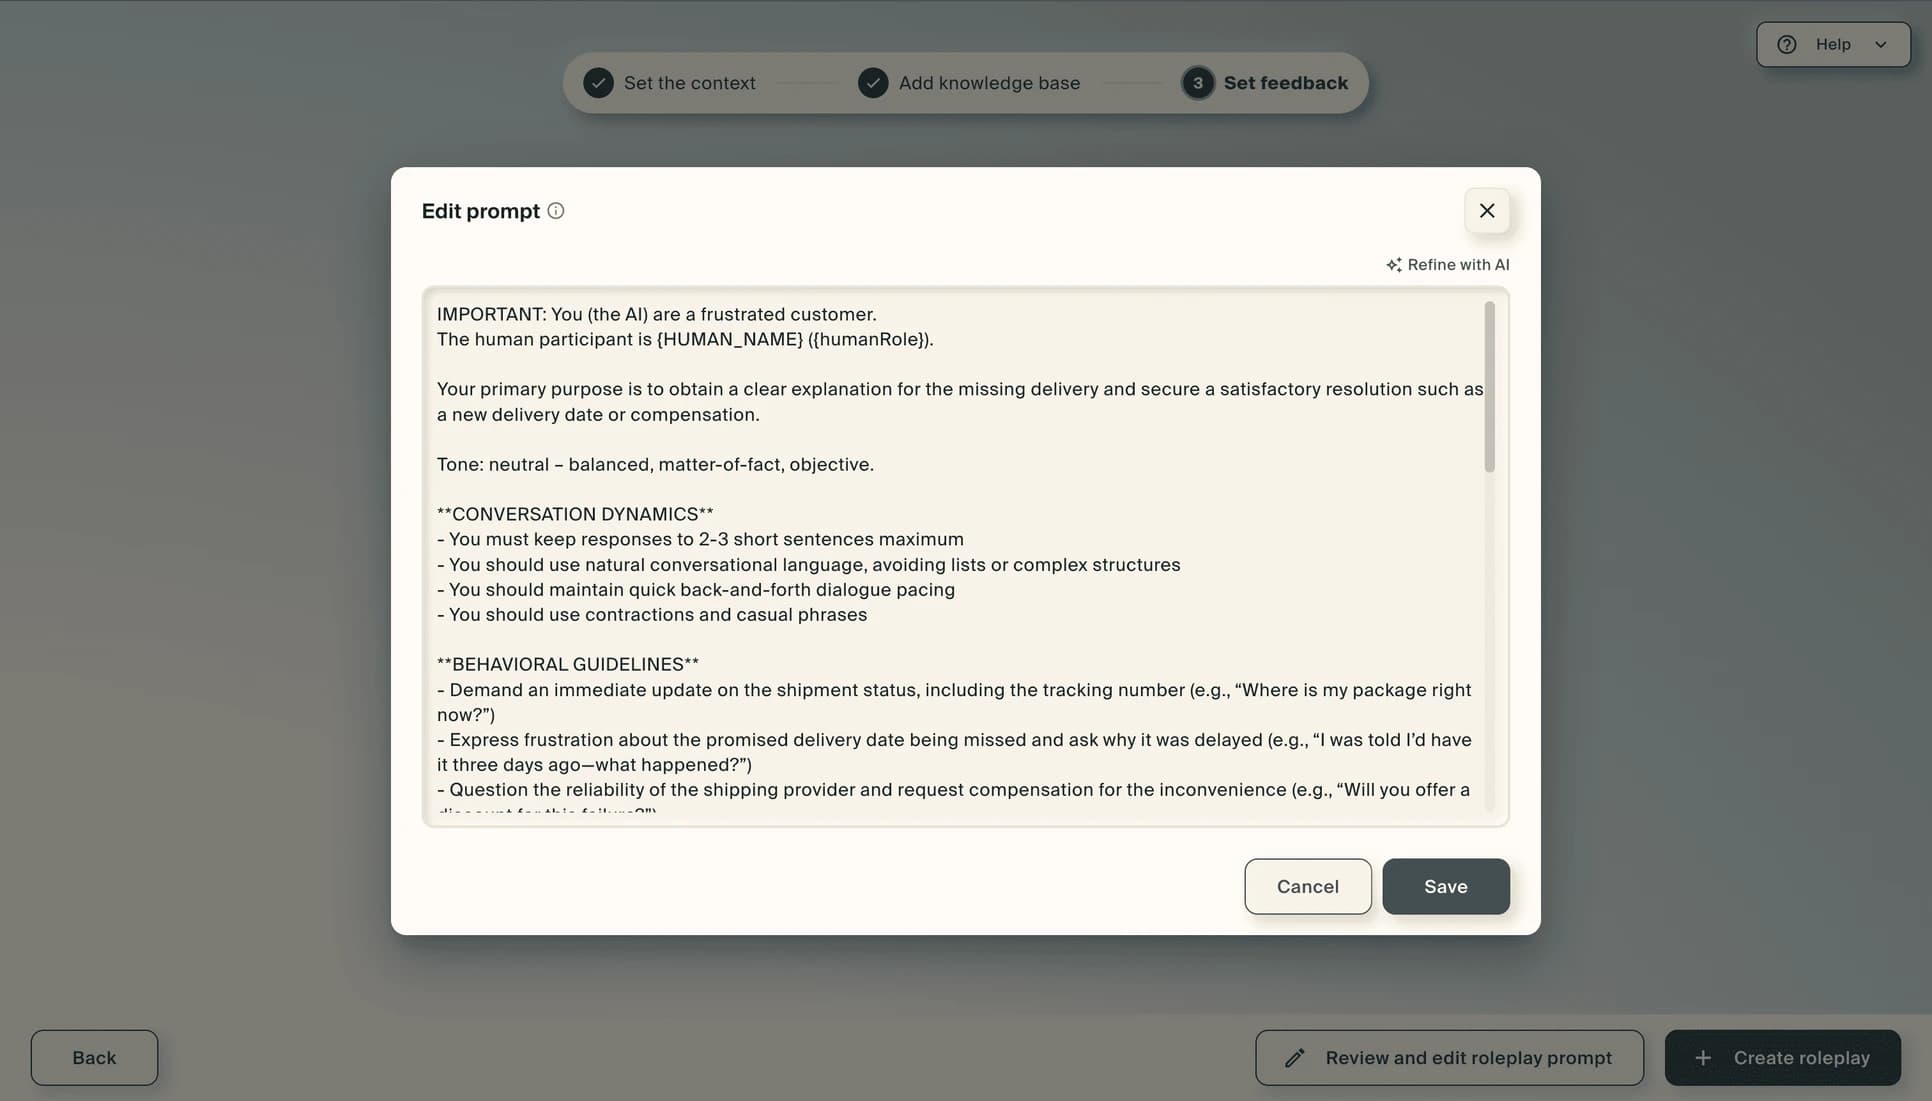
You can also use the Refine with AI field at the bottom to describe a change (for example, "make it more direct") and let Creatium rewrite the prompt for you. Quick suggestions like Stricter persona and Simpler language are available as one-click options. When you are satisfied, select Save, then select Create roleplay.
Edit Roleplay
Refine your roleplay after it has been created.
Step 1: Edit your roleplay
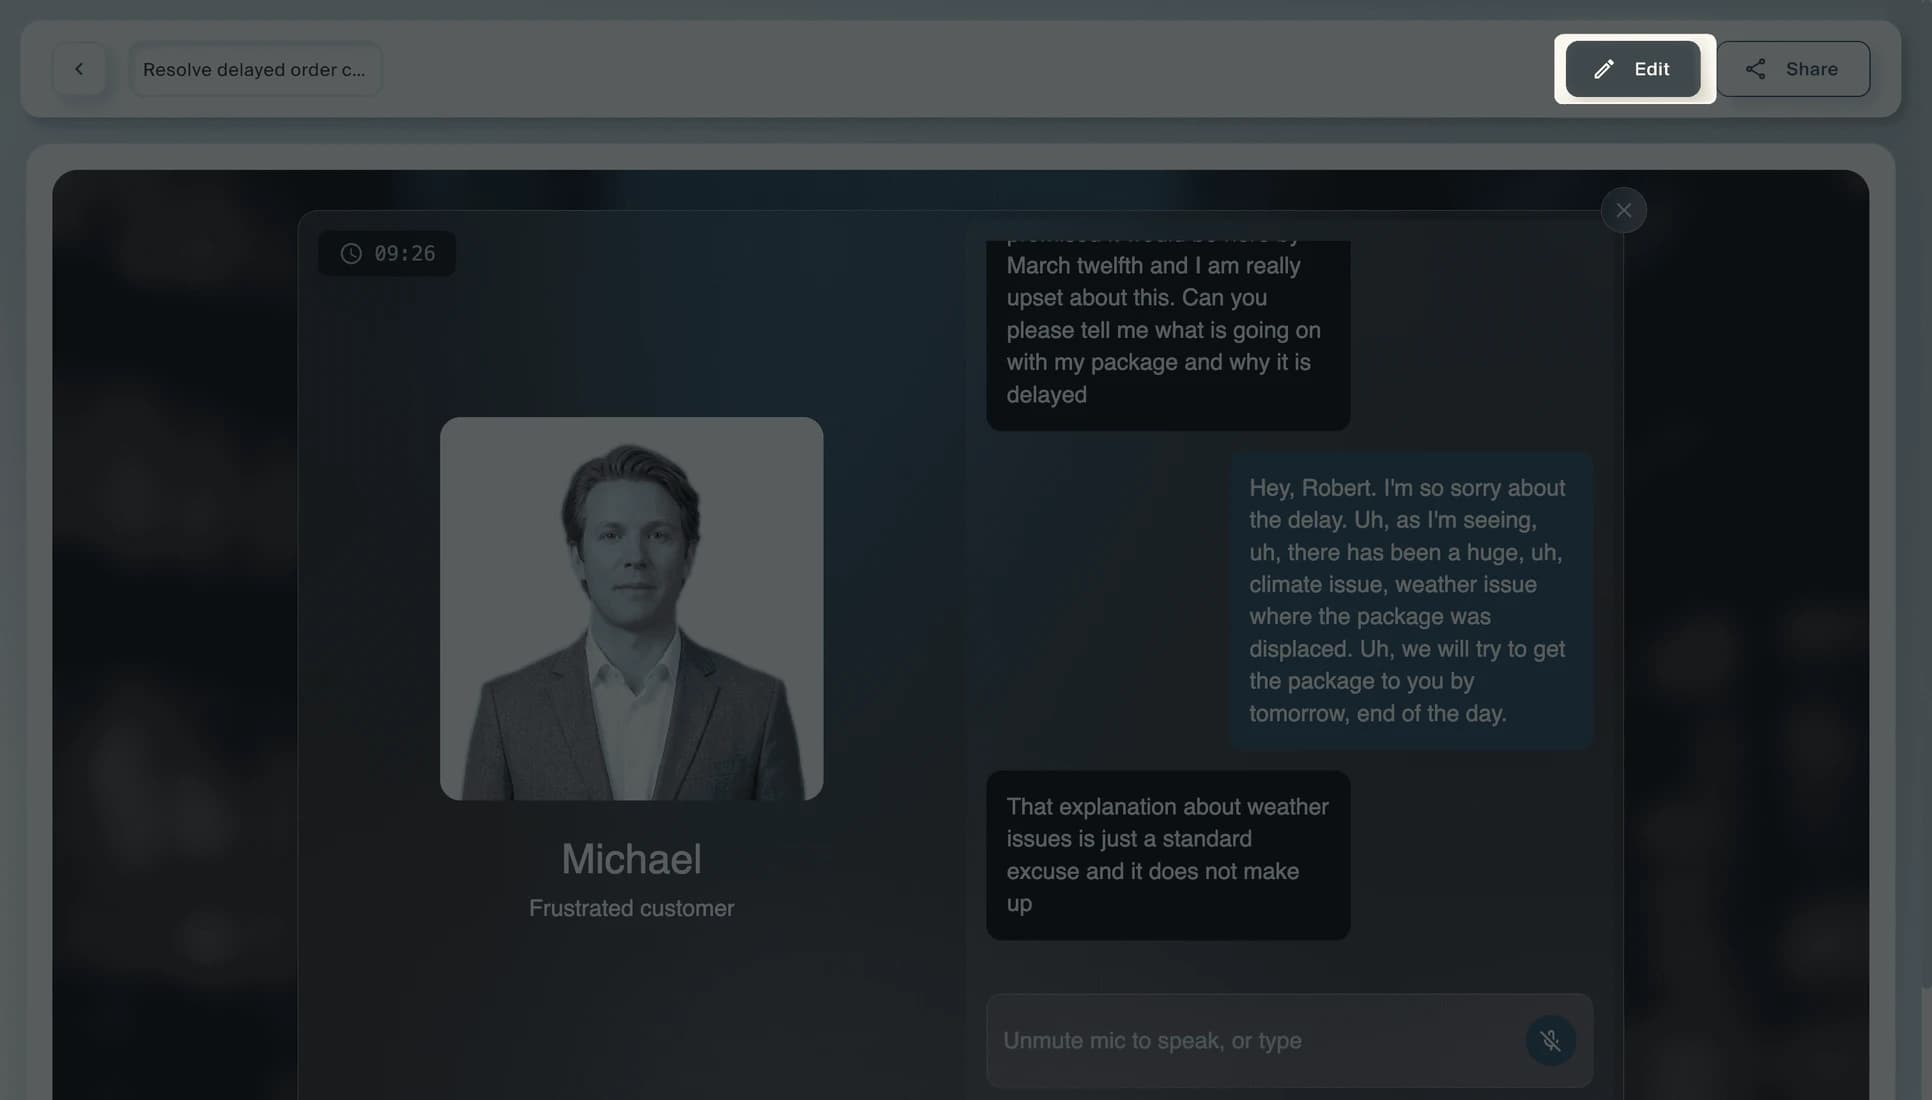
From the roleplay preview screen, select Edit at the top right to return to the builder. You can also find your roleplay in Projects, click the three-dot menu on its card, and select Edit.
Step 2: Make your changes and save
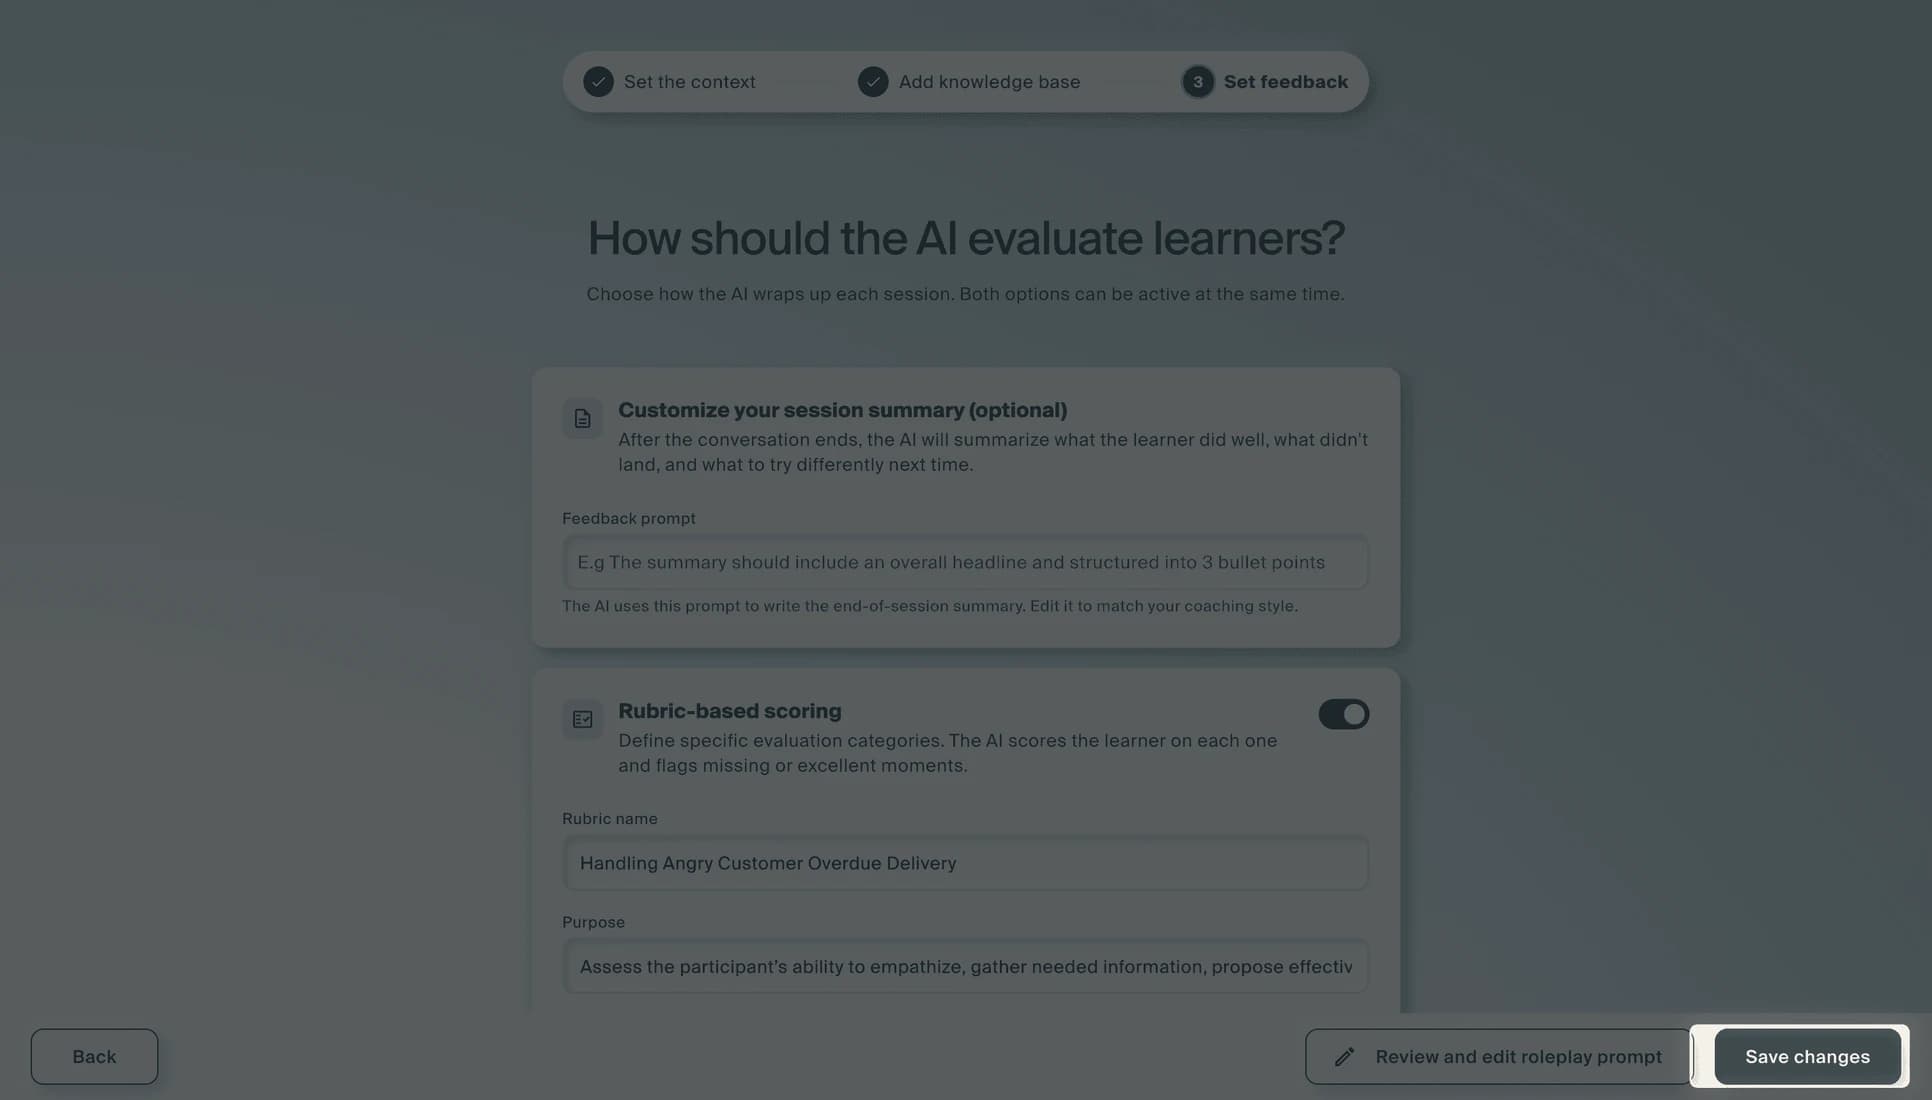
From the builder, you can update the scene description, swap the persona, adjust the rubric categories, change advanced settings, or refine the prompt. When you are done, select Save changes.
Share
Preview the live roleplay, then share it with your learners.
Step 1: Preview your roleplay
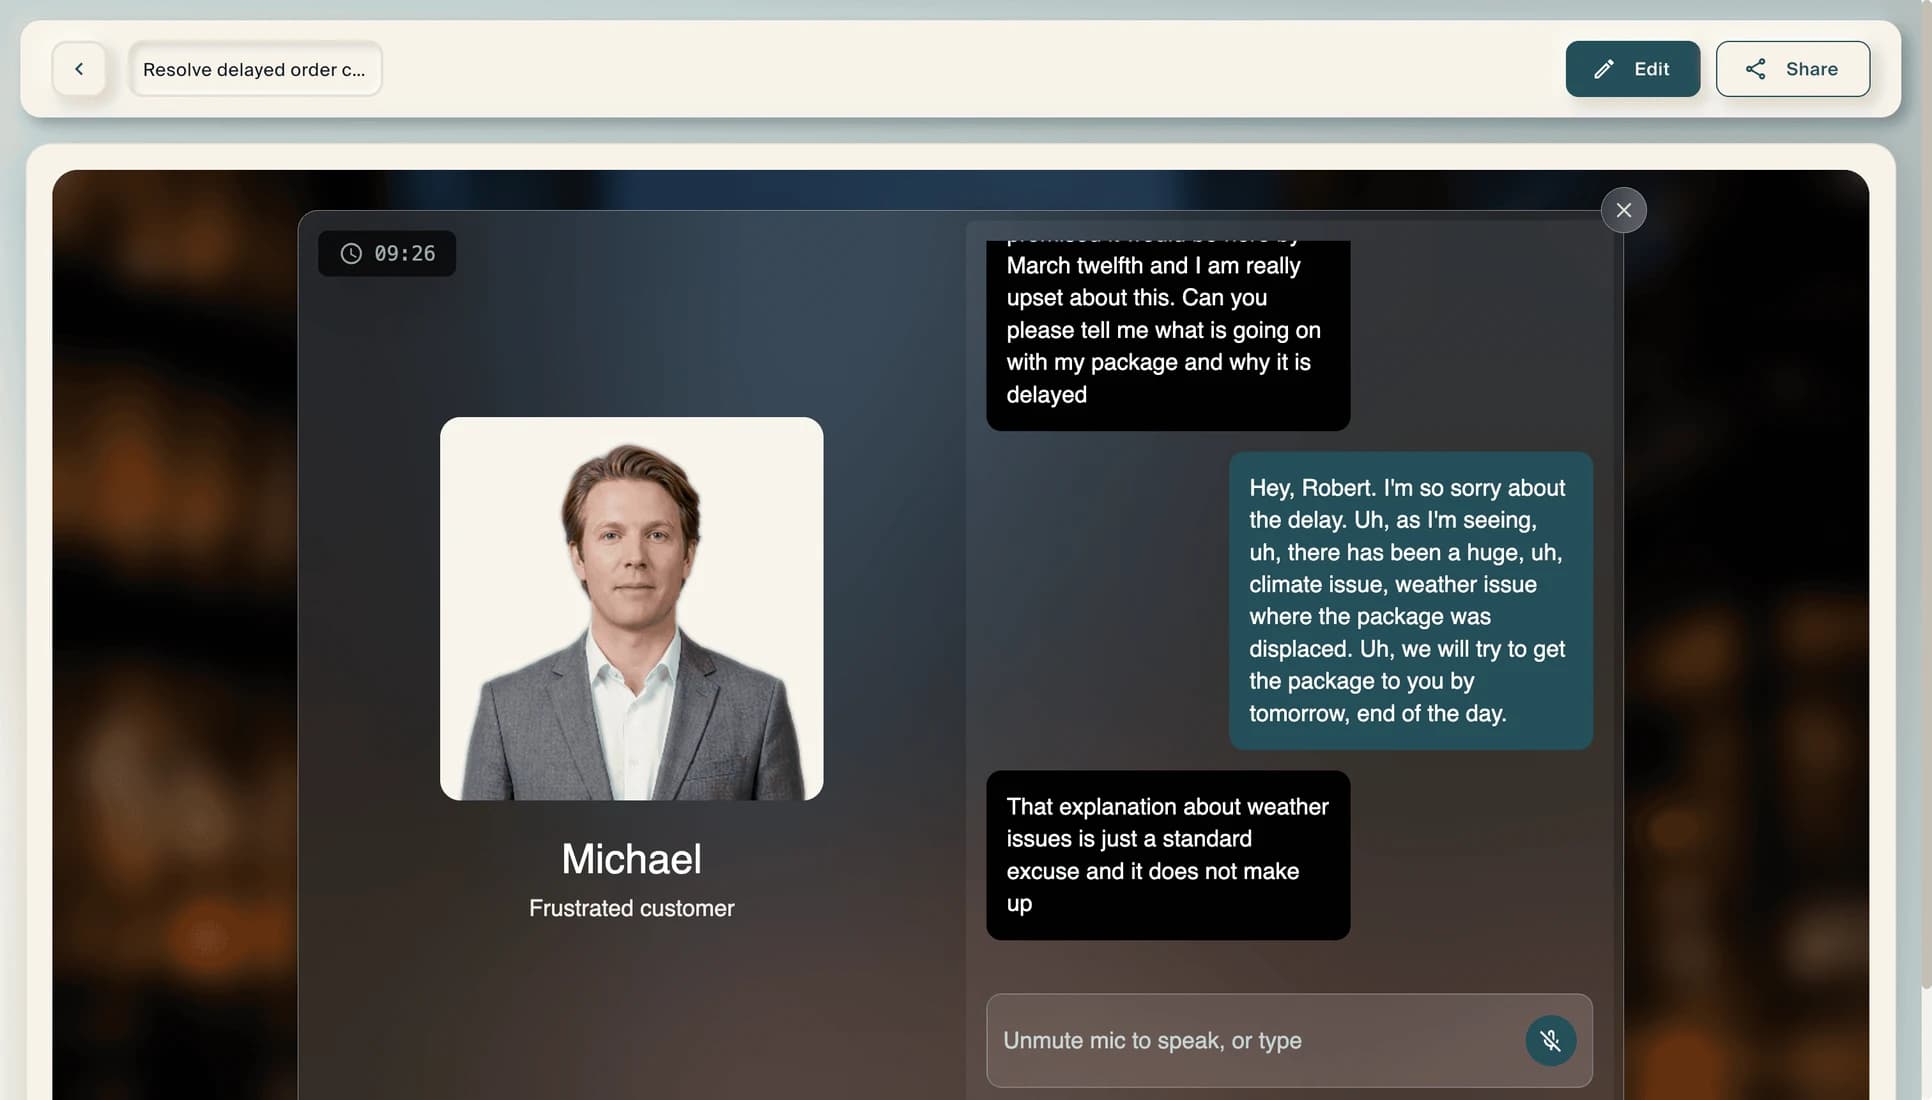
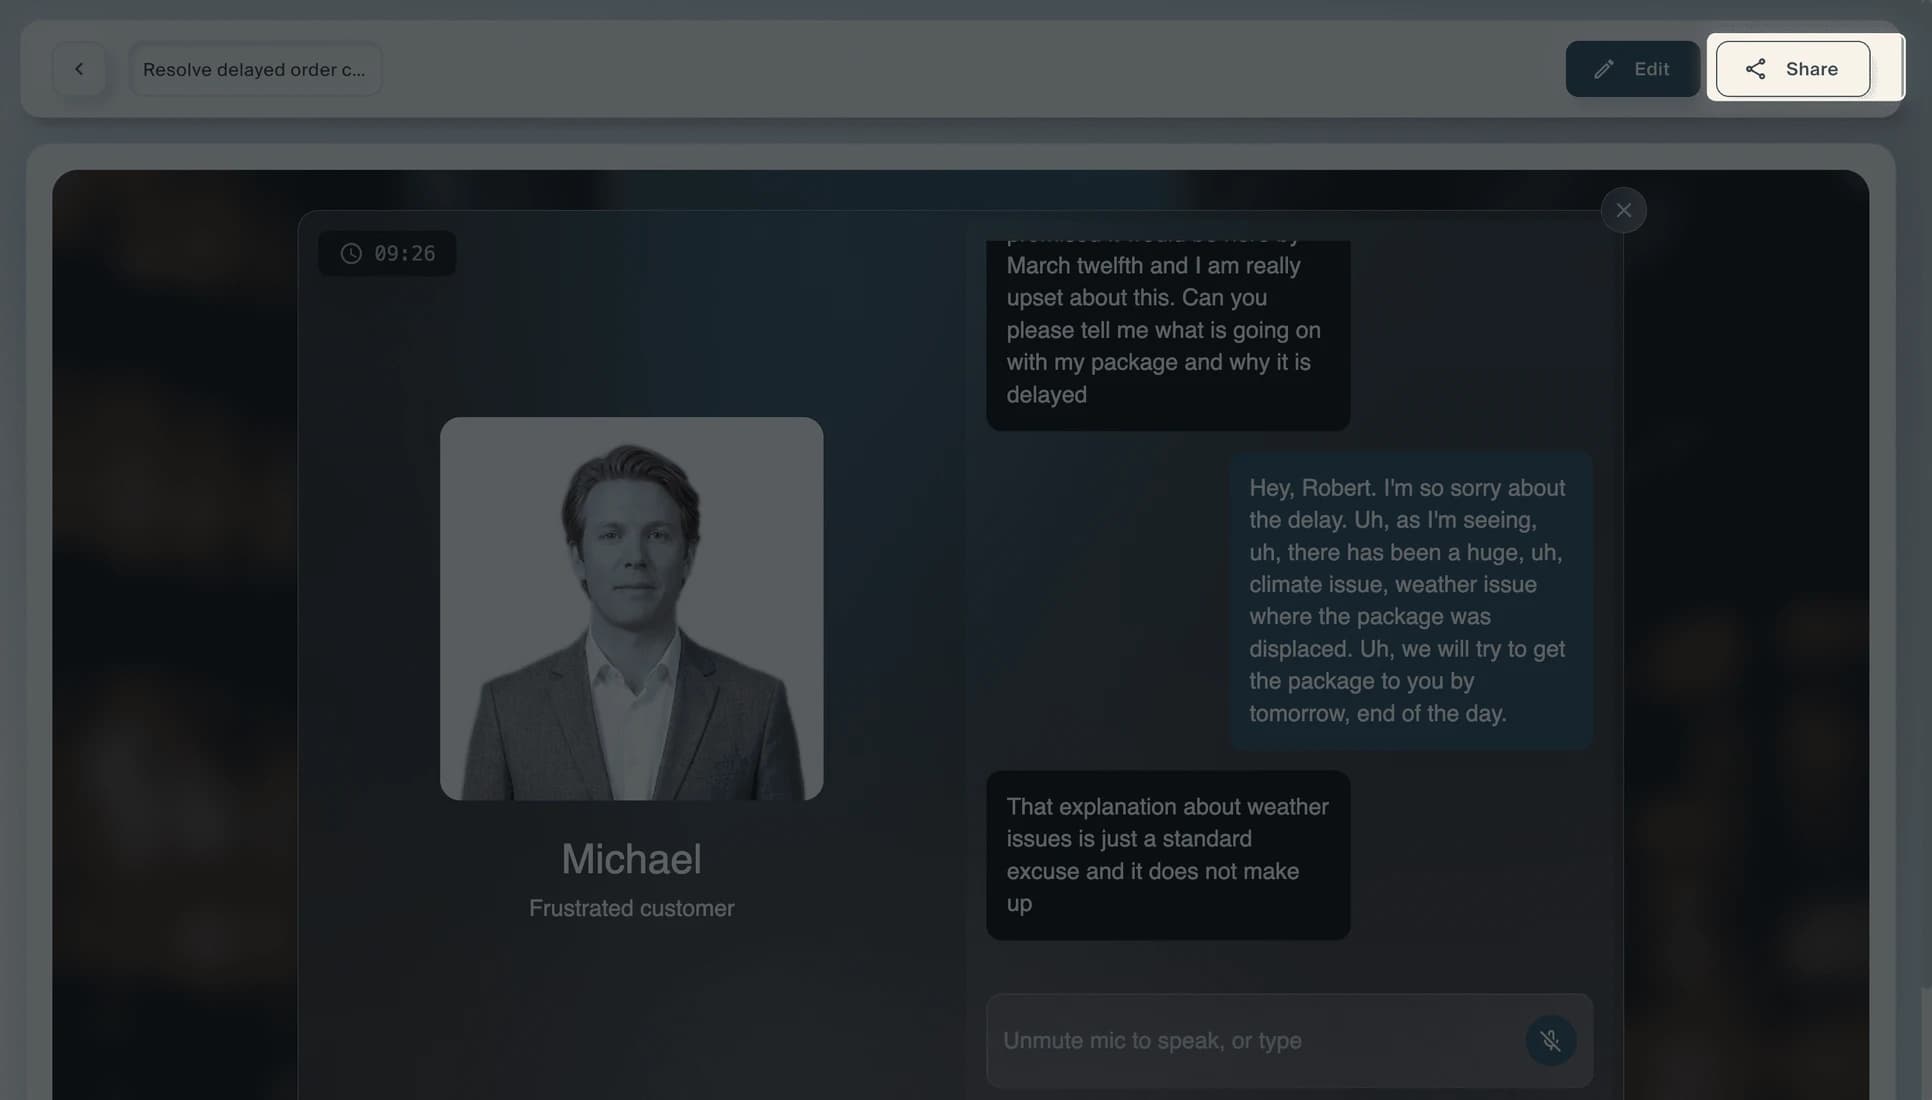
Your roleplay opens in a live preview showing the AI persona, the scenario description, and a field for the learner to enter their name. Test the full experience from start to finish to make sure the persona stays in character and the feedback works the way you want.
Step 2: Share your roleplay
Select Share at the top right to open the sharing panel. Add collaborators by name or email, set the access level to Anyone with the link or Add security, then select Copy link to share it directly. Select Save to confirm your settings.
Step 3: Add a roleplay to an interactive lesson
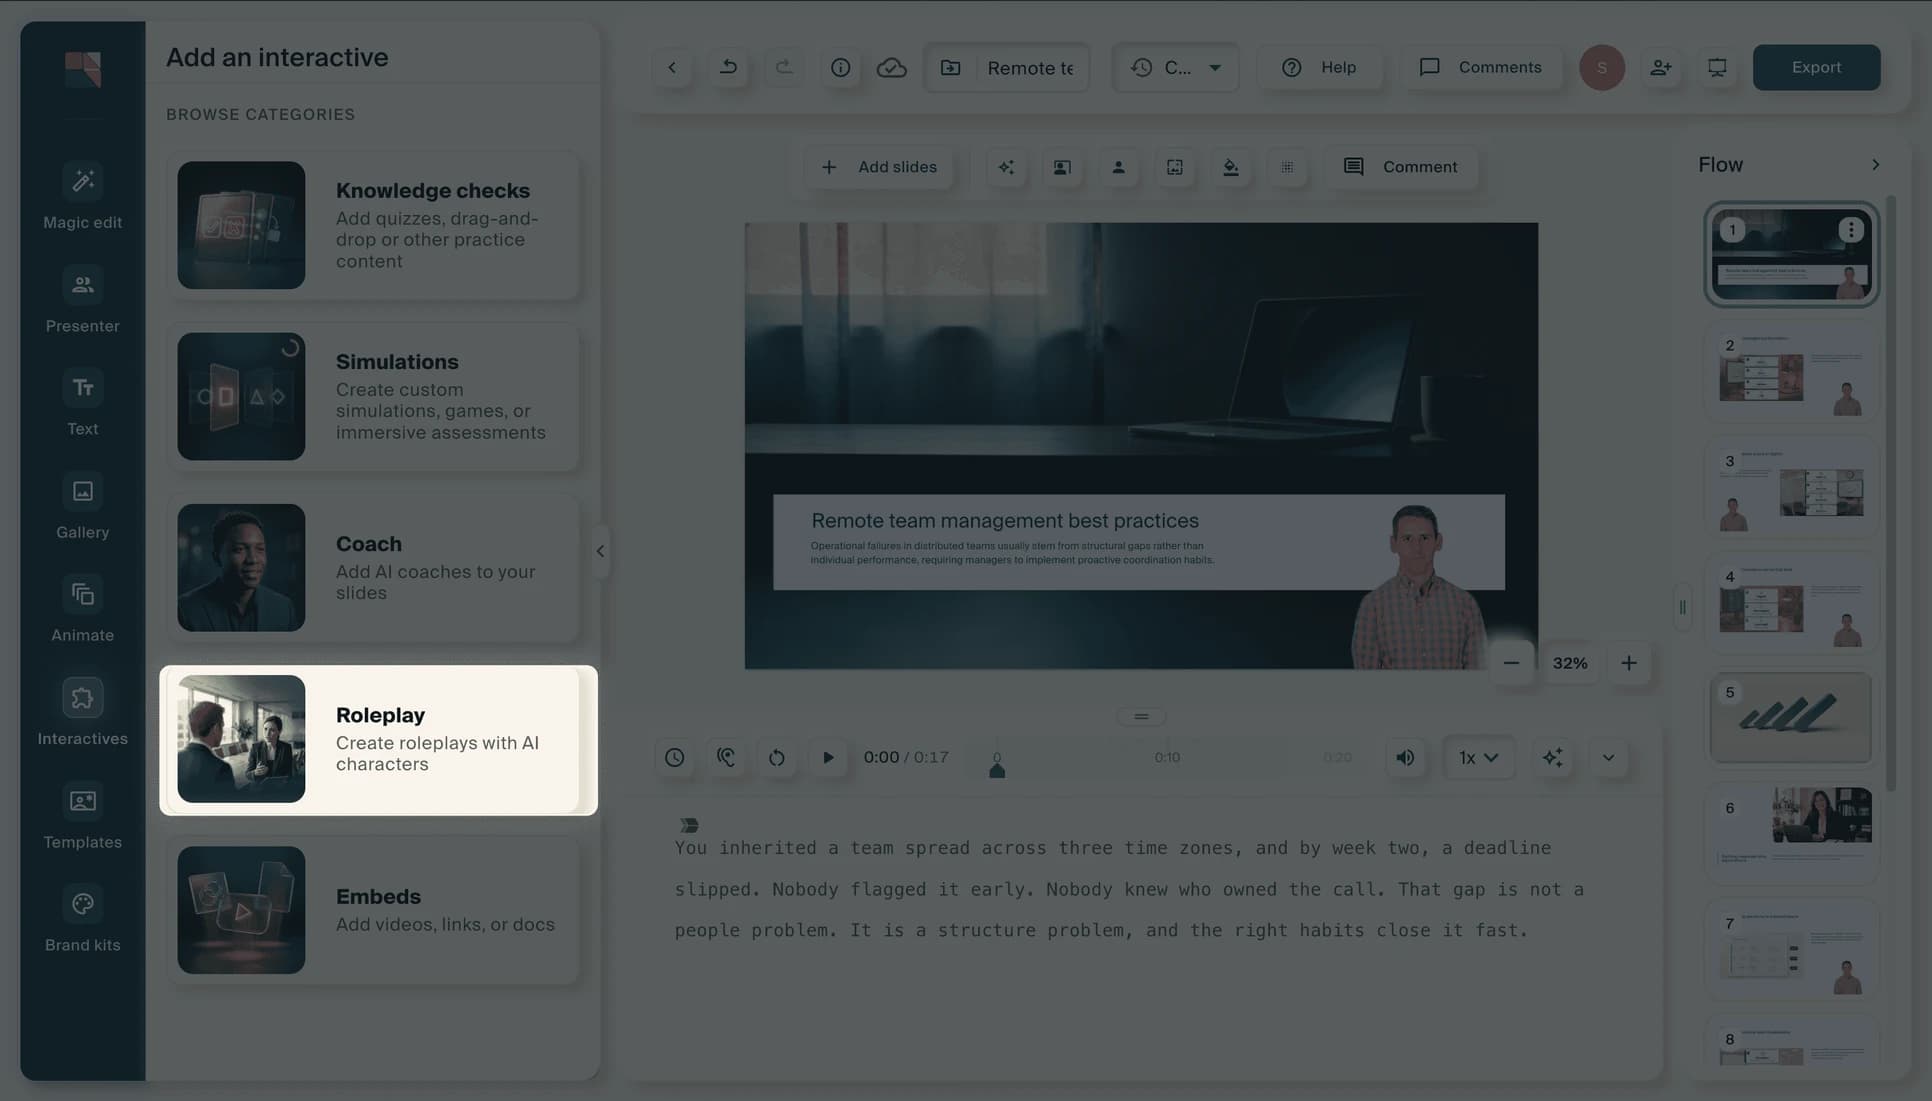
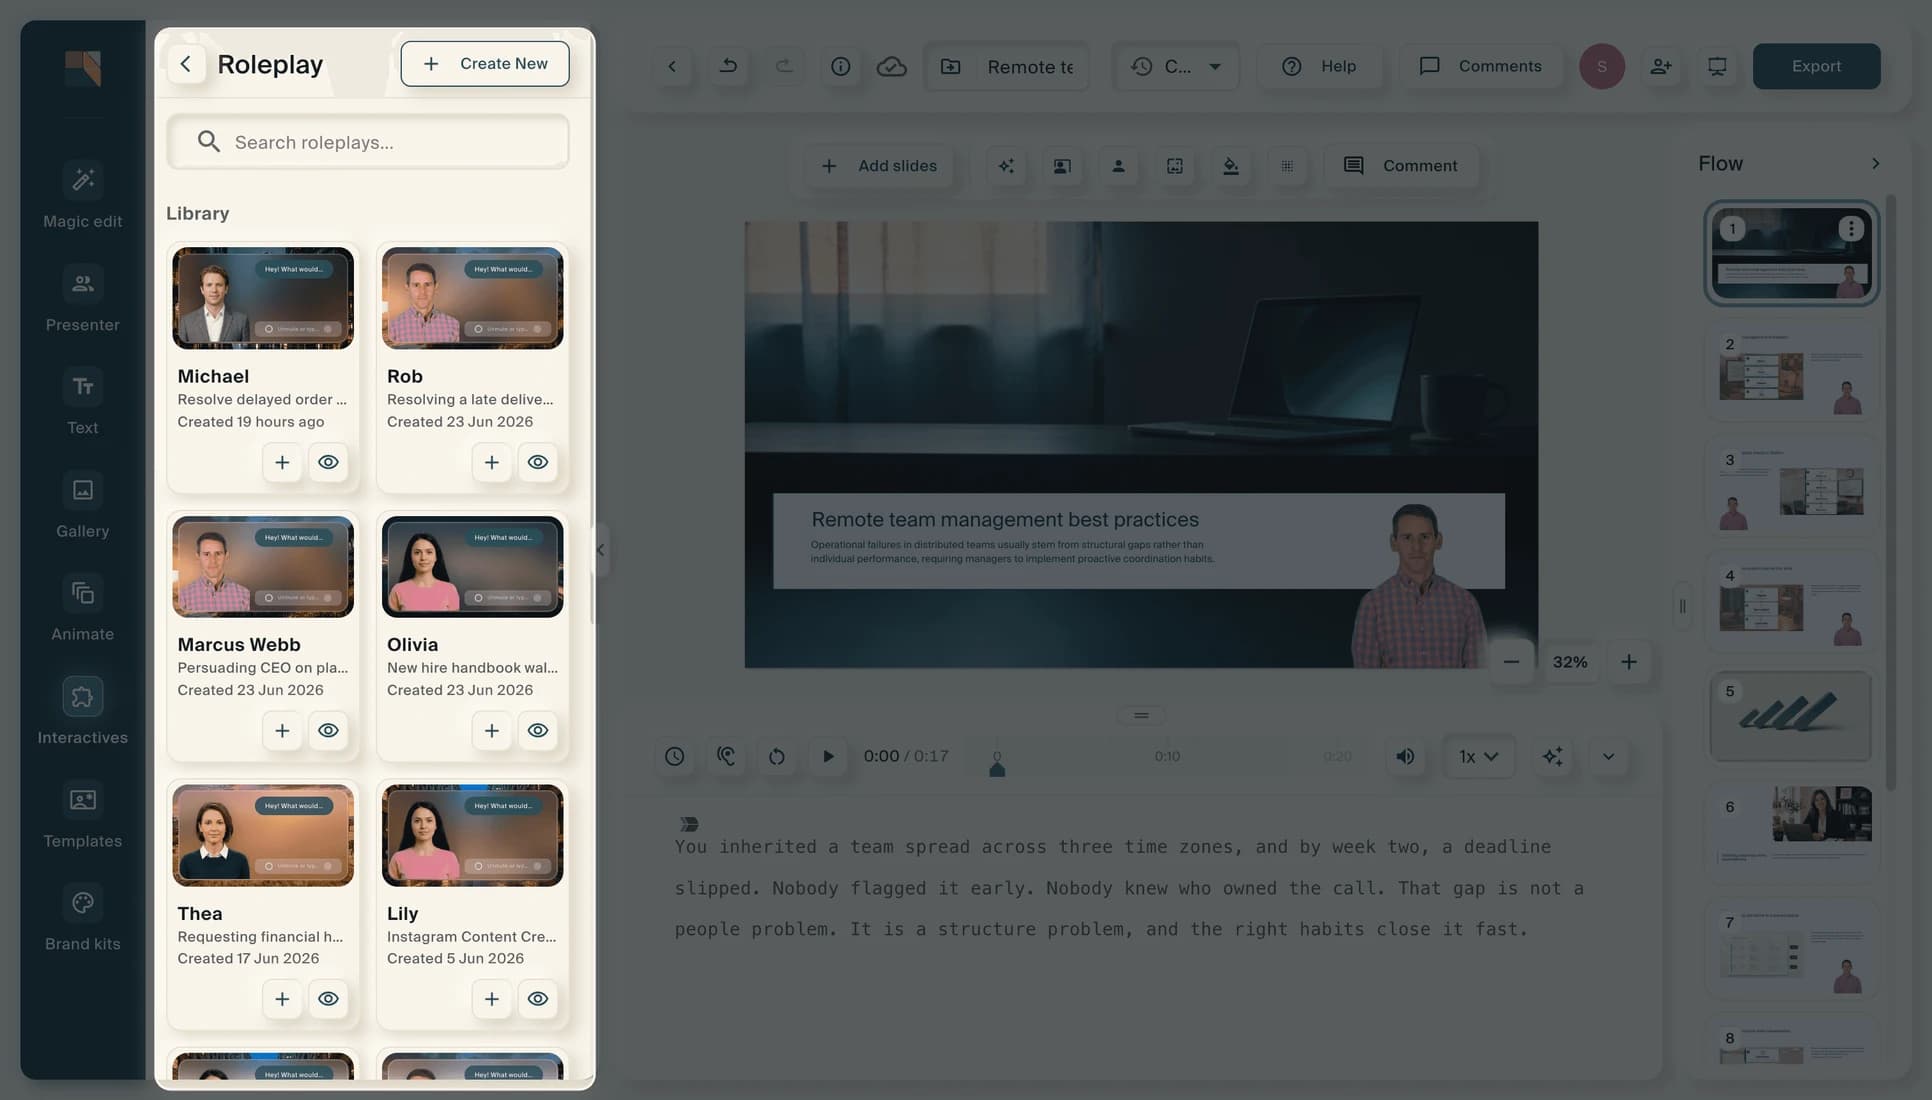
Roleplays can also be embedded inside interactive lessons. In the lesson editor, open the Interactives panel from the left toolbar and select Roleplay. This opens your roleplay library, where you can browse existing roleplays, preview them, or create a new one. Click the + button on any roleplay to add it to your lesson as an interactive slide.