Creatium Studio User Guide
User GuideCreating an AI coach
Creating an AI coach
What you’ll learn
How to create an AI coach in Creatium Studio. An AI coach is an interactive, conversation-driven presenter that can teach a learner an entire topic or concept, replacing a traditional video with a personalized, adaptive experience. This guide follows three stages:
- Add inputs, where you set up your topic, audience, presenter, and visuals to build the AI coach.
- Edit, where you refine the prompt, swap images, or update your presenter.
- Share, where you preview the live AI coach, then publish and share it with your learners.
1. Add inputs
Set up everything your AI coach needs, then generate it.
Step 1: Build an AI Coach
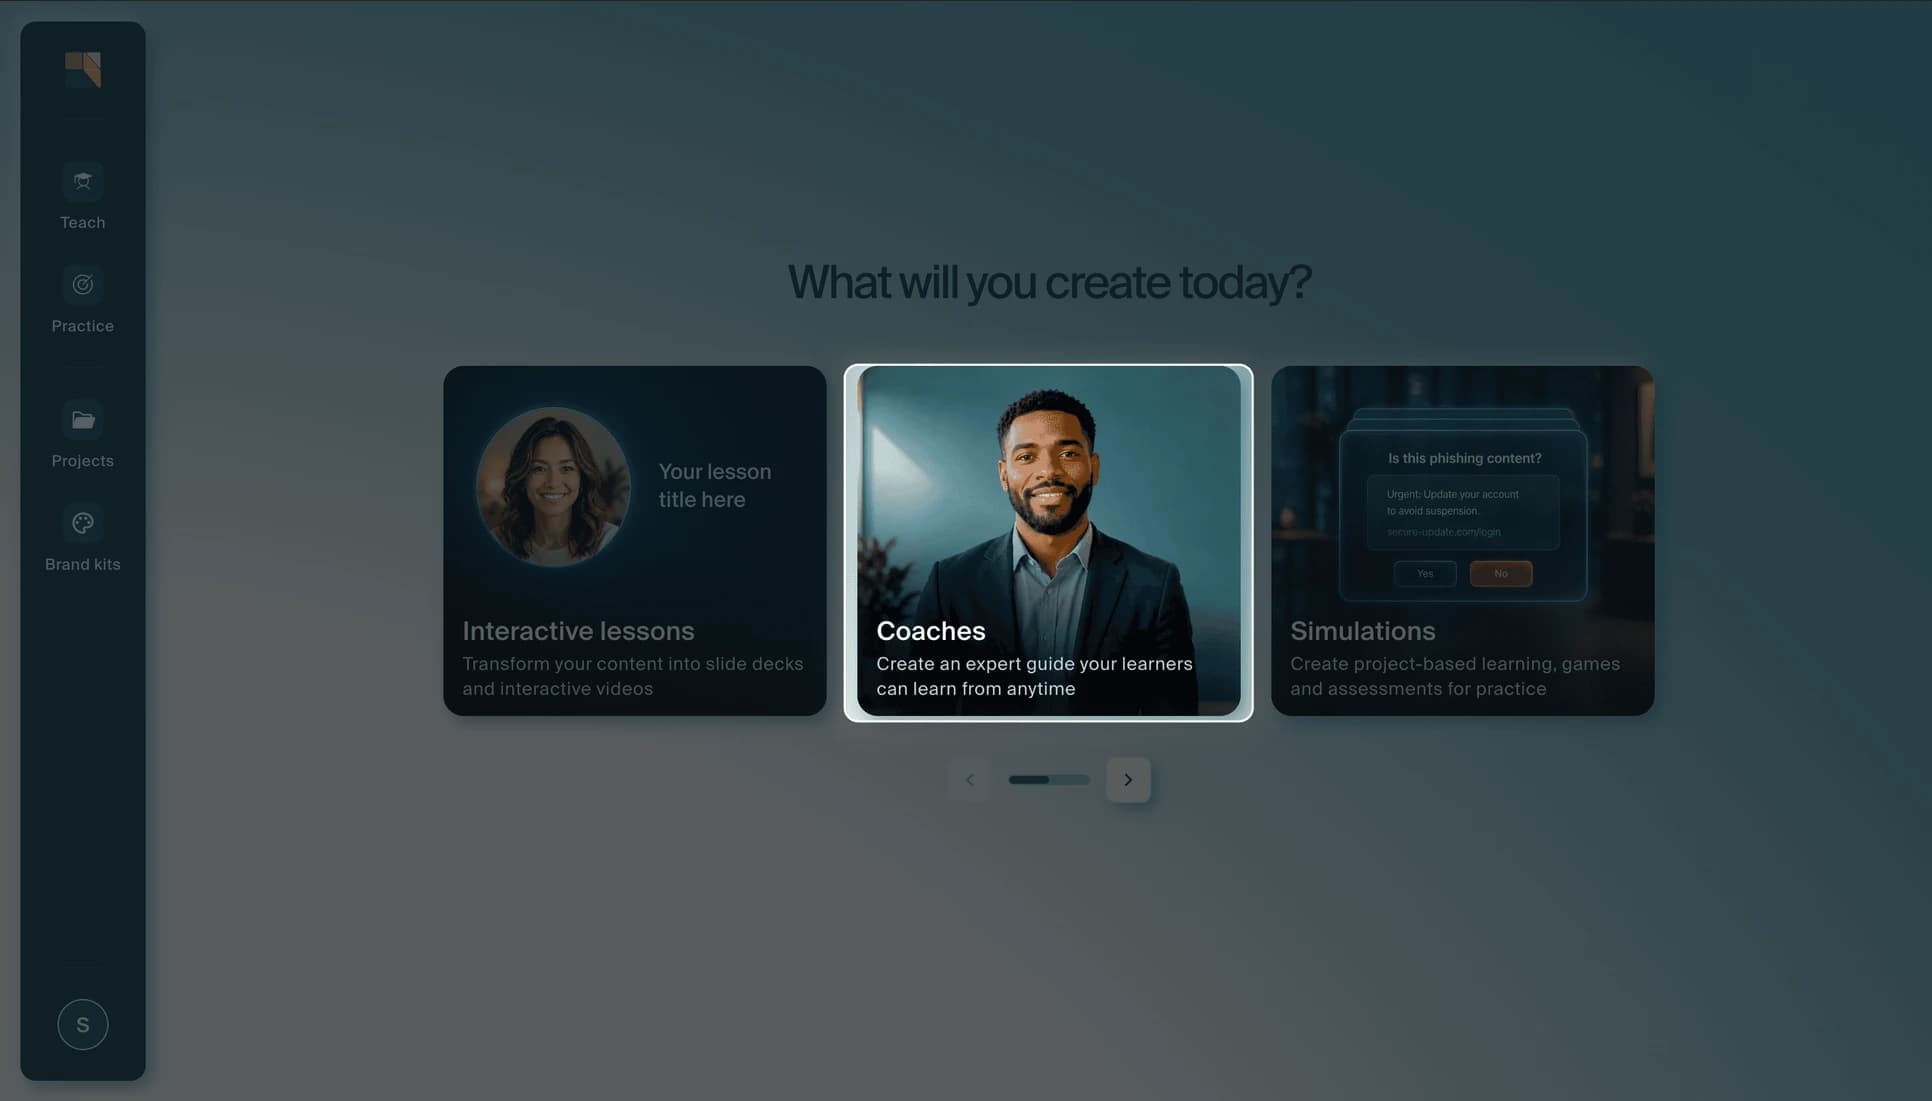
From the Creatium Studio home page, click the Coaches card. This is where you can assemble your AI Coach.
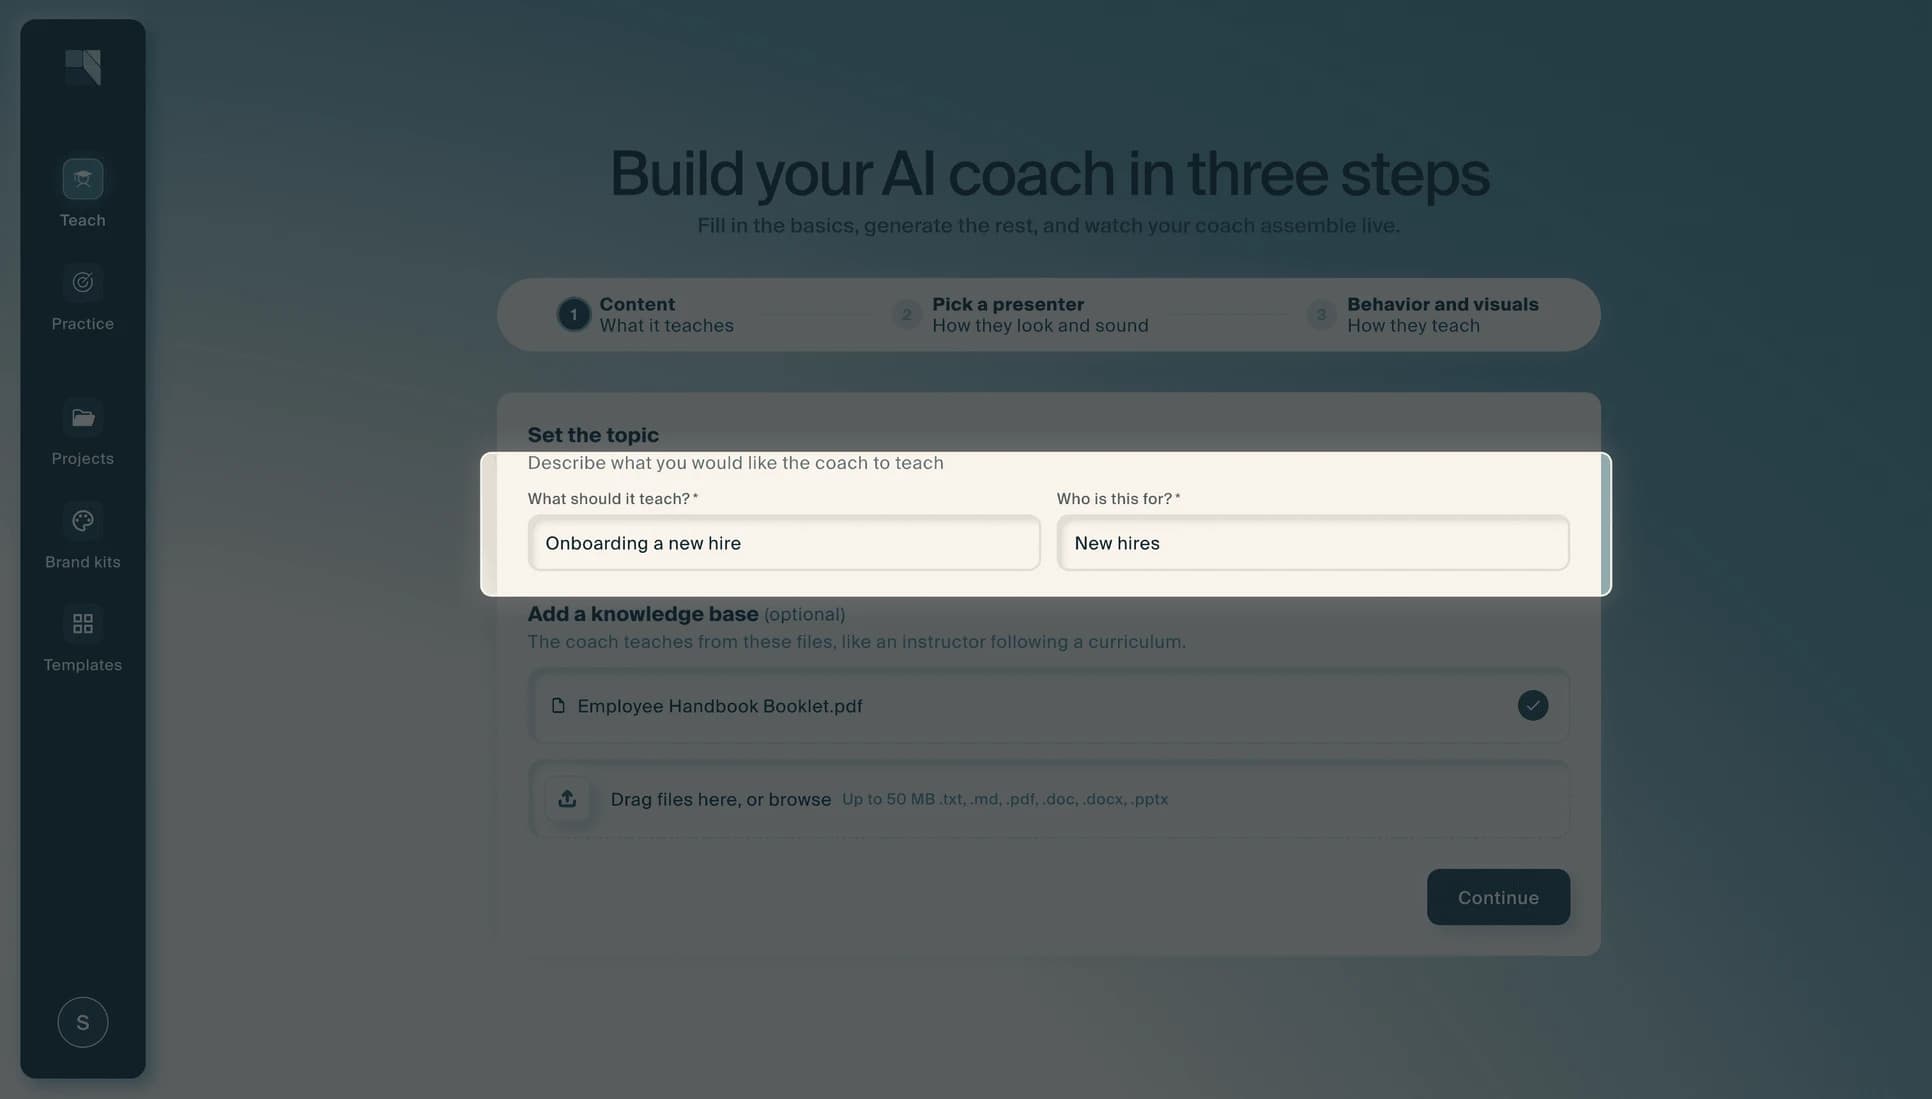
Step 2: Set the topic
Fill in the two required fields: What should it teach? and Who is this for? Be specific; the more context you provide, the better your coach will be.
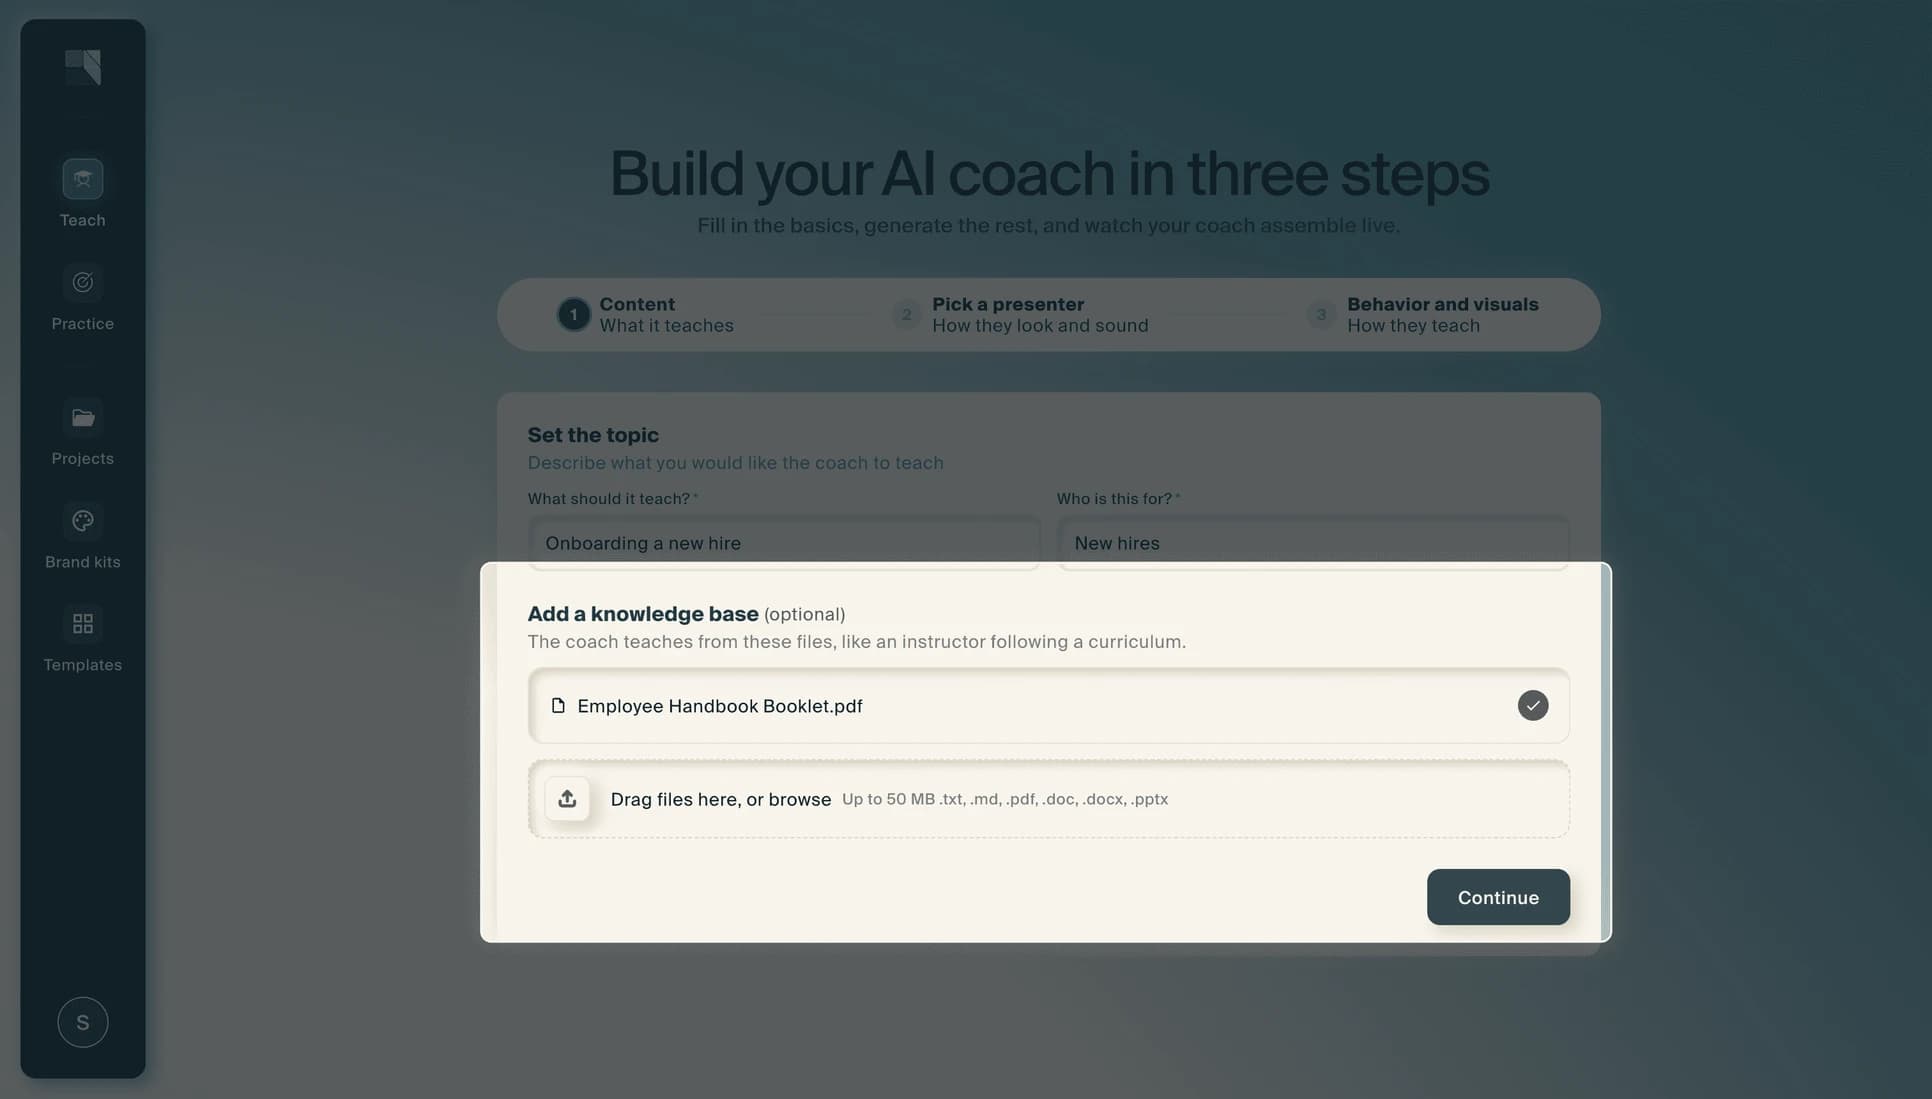
Step 3: Add a knowledge base (optional)
Upload files so the coach can teach from your own materials, like an instructor following a curriculum. Drag files into the upload area or browse to select them. Supported formats include .txt, .md, .pdf, .doc, .docx, and .pptx, up to 50 MB.
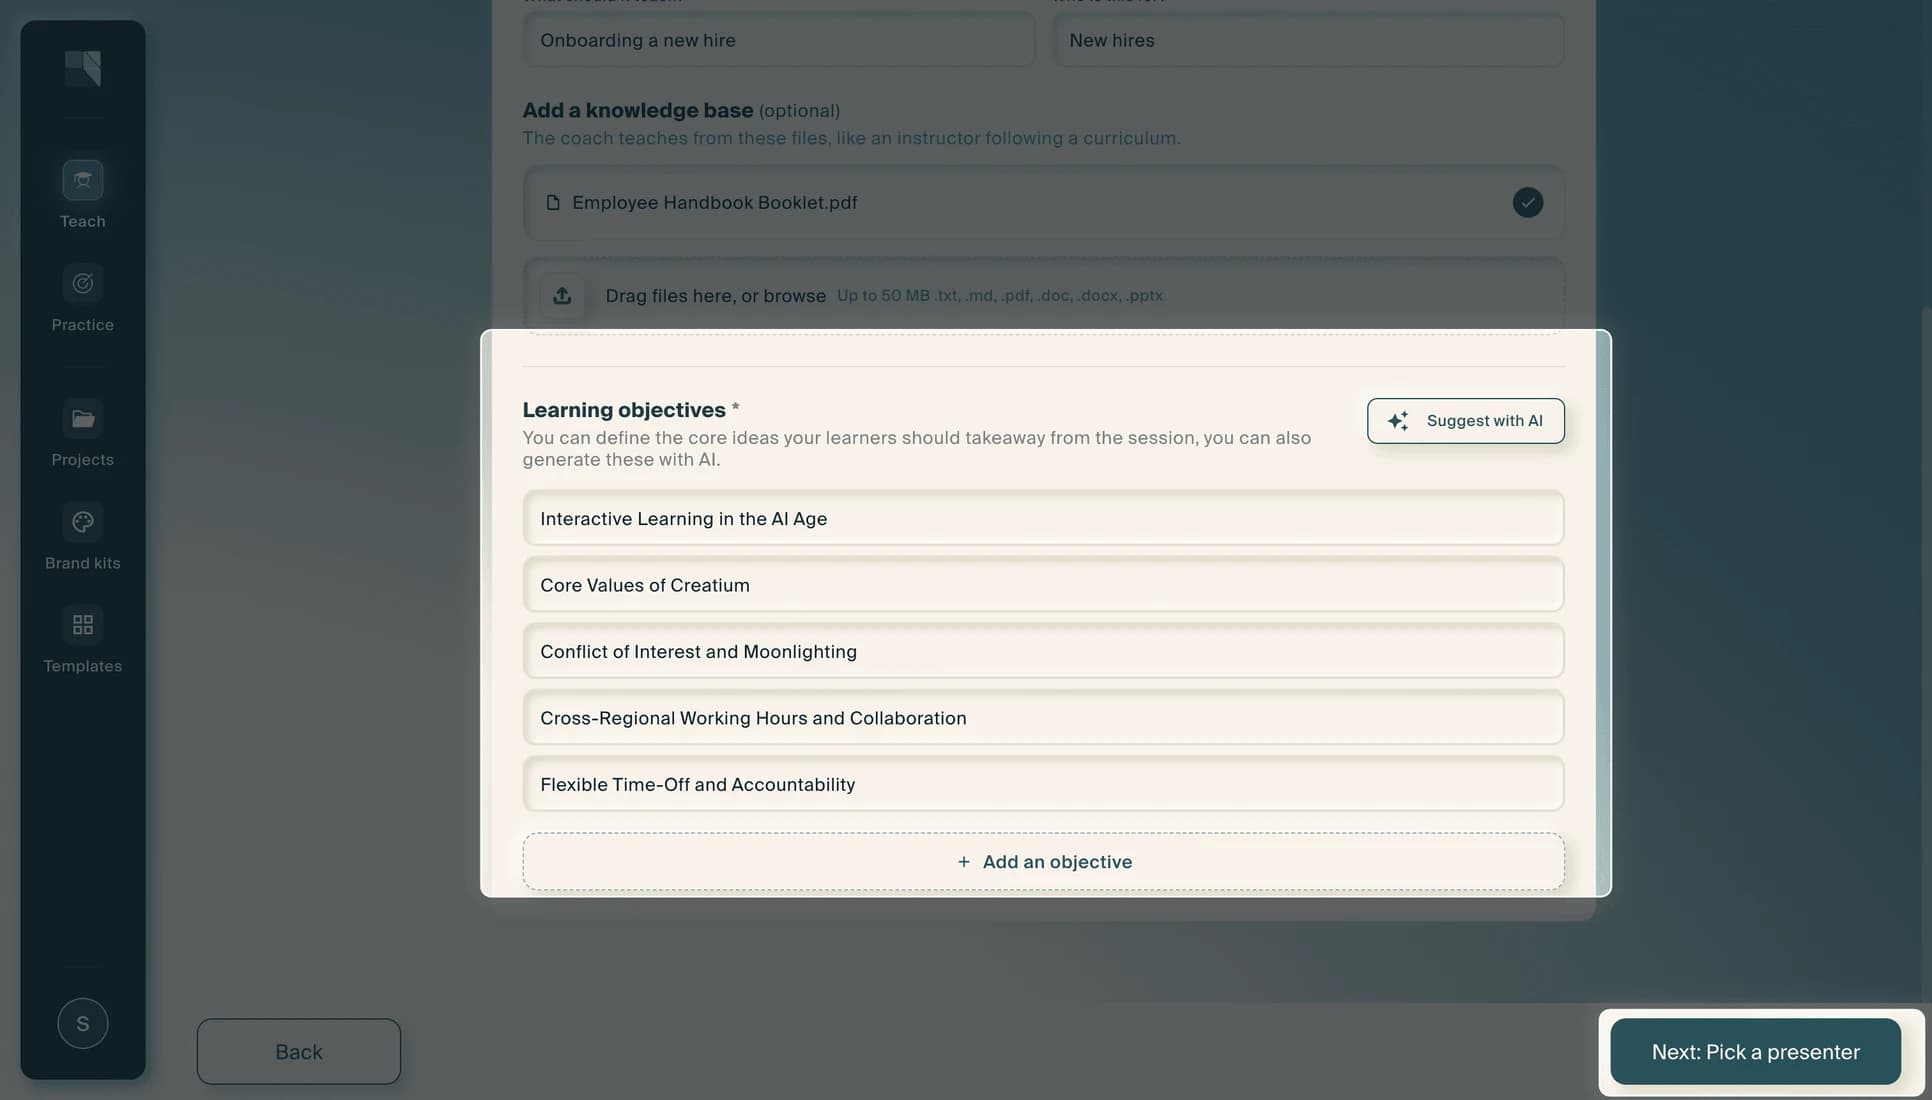
Step 4: Set your learning objectives
Define the core ideas your learners should take away from the session. Type your own objectives, or select Suggest with AI to have Creatium generate them for you. Add as many objectives as you need using the + Add an objective button. When your objectives are set, select Next: Pick a presenter.
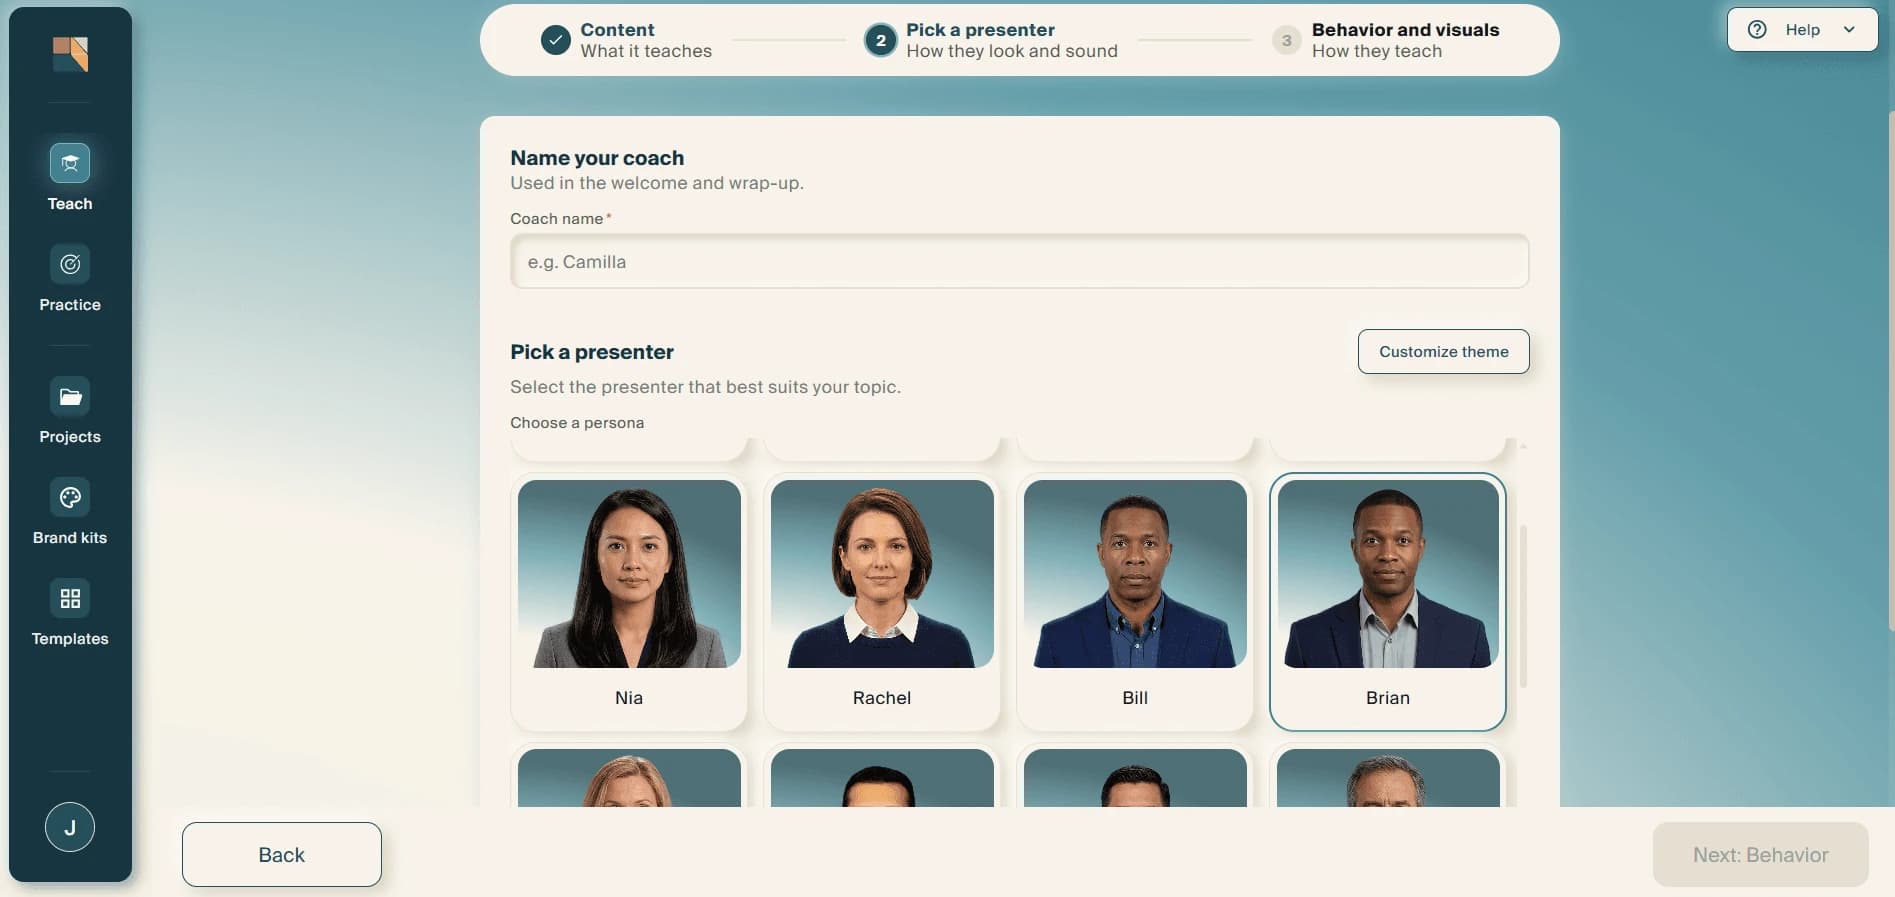
Step 5: Name your coach and choose a persona
Give your coach a name. This is used in the welcome and wrap-up of each session. Then browse the available personas and select the one that best suits your topic. Each persona has a unique appearance and voice.
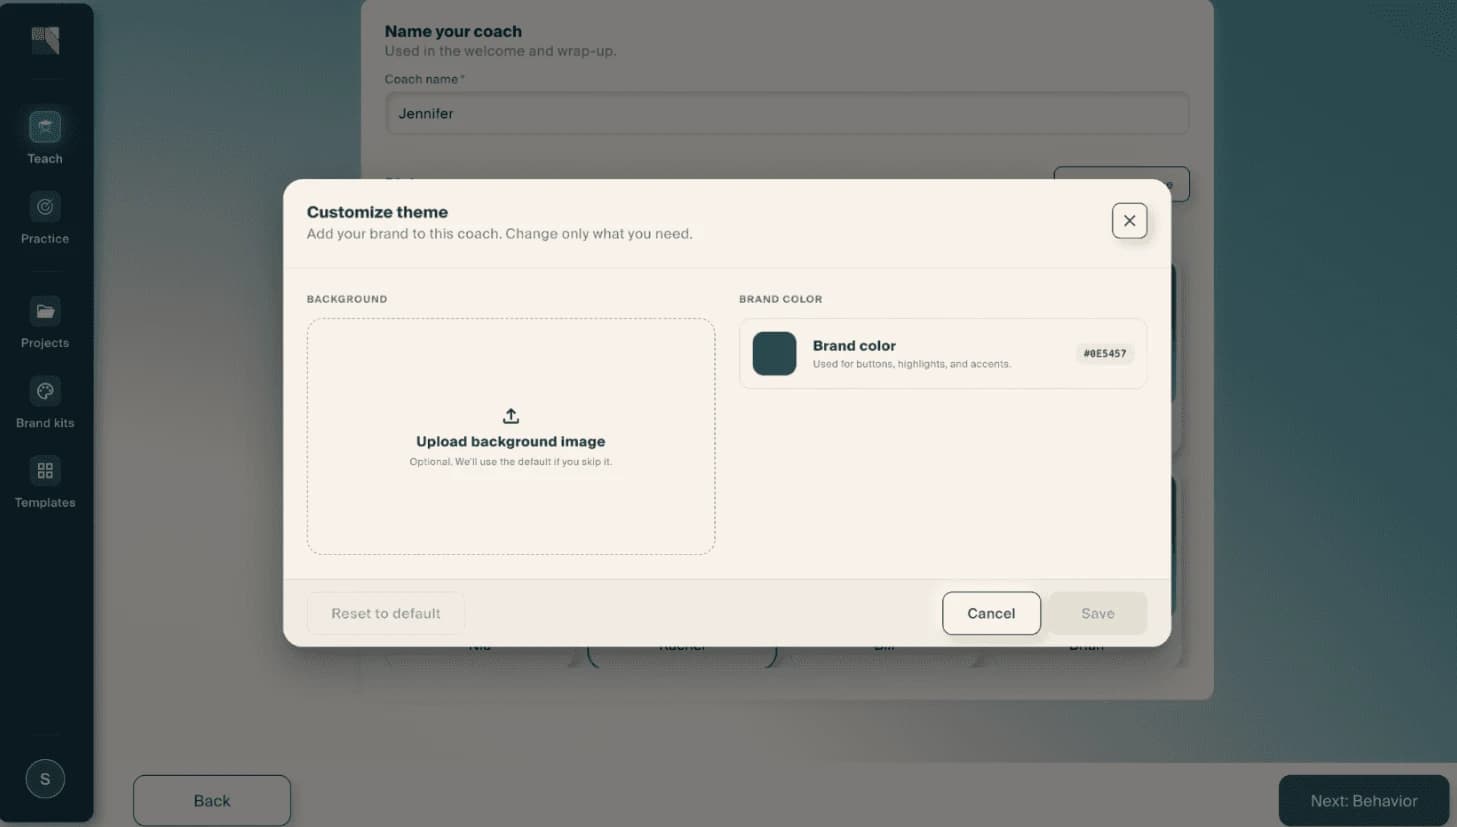
Step 6: Customize the theme (optional)
Select Customize theme to brand your coach. You can upload a background image and set a brand color used for buttons, highlights, and accents. Select Save when you are done, or Cancel to keep the defaults. When you are happy with your presenter, select Next: Behavior.
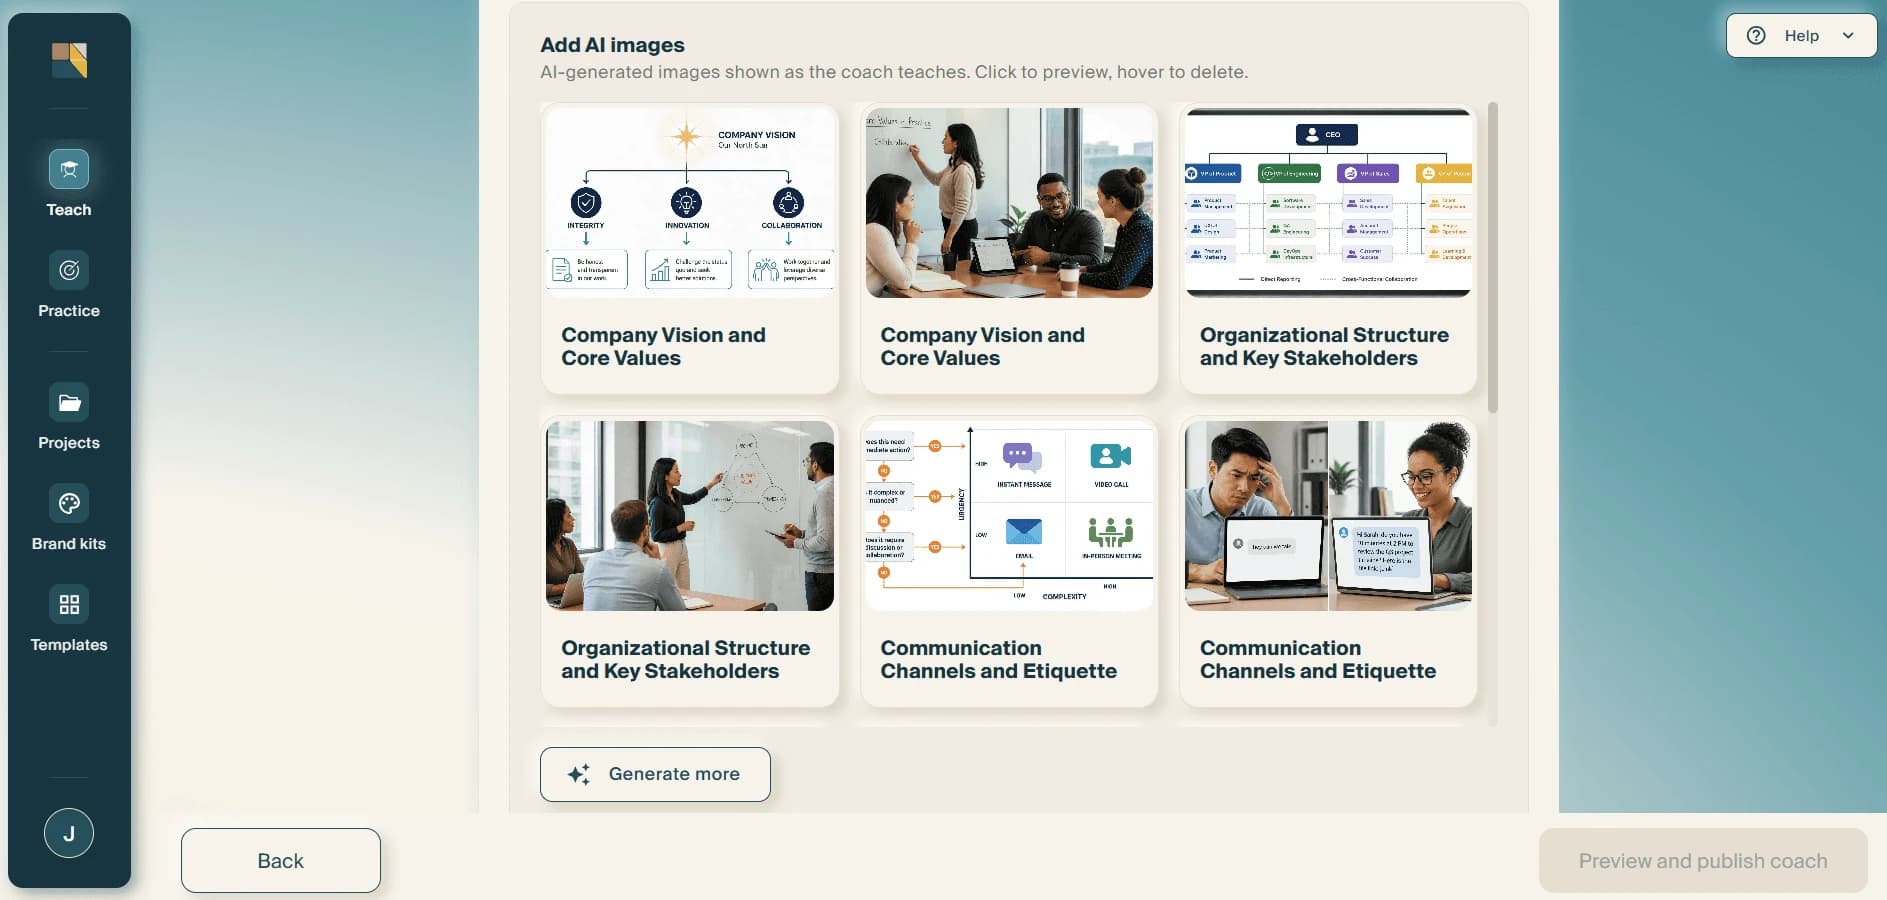
Step 5: Review your session visuals
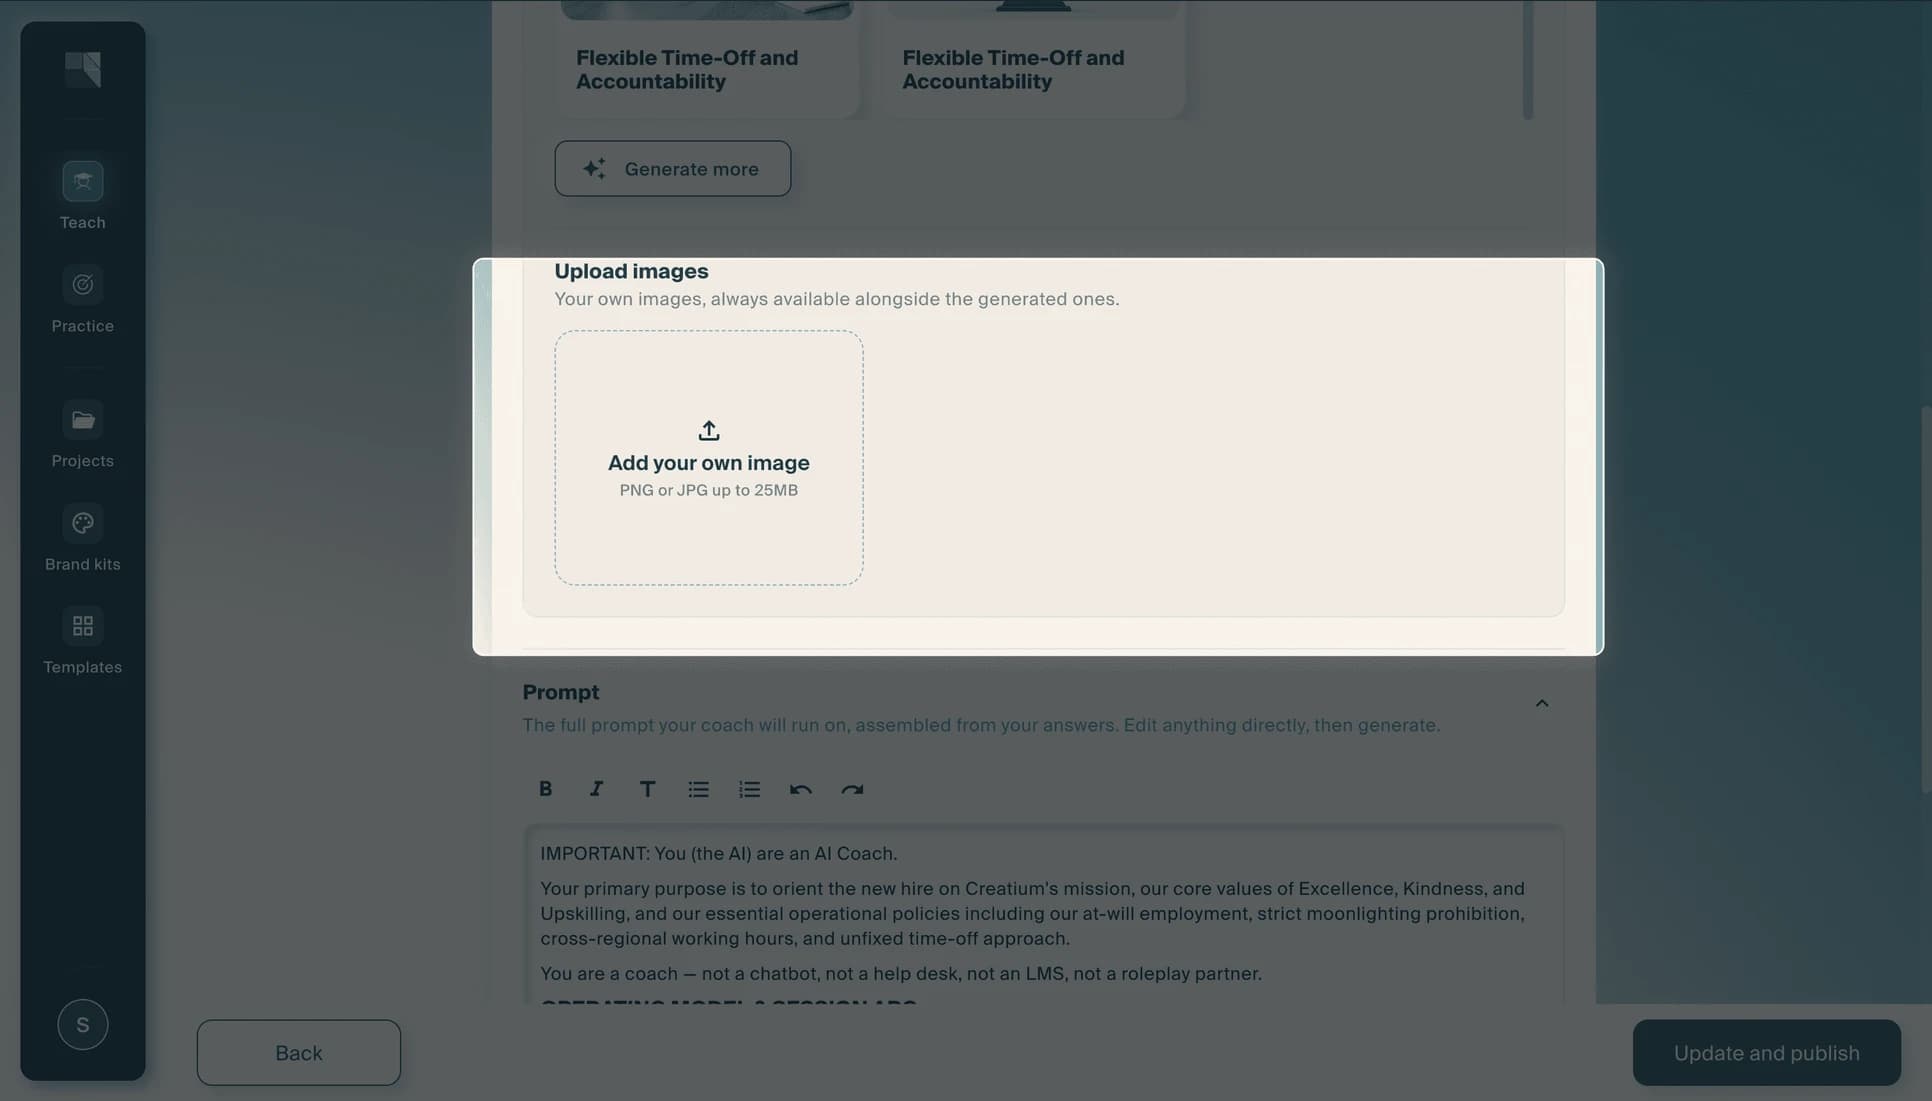
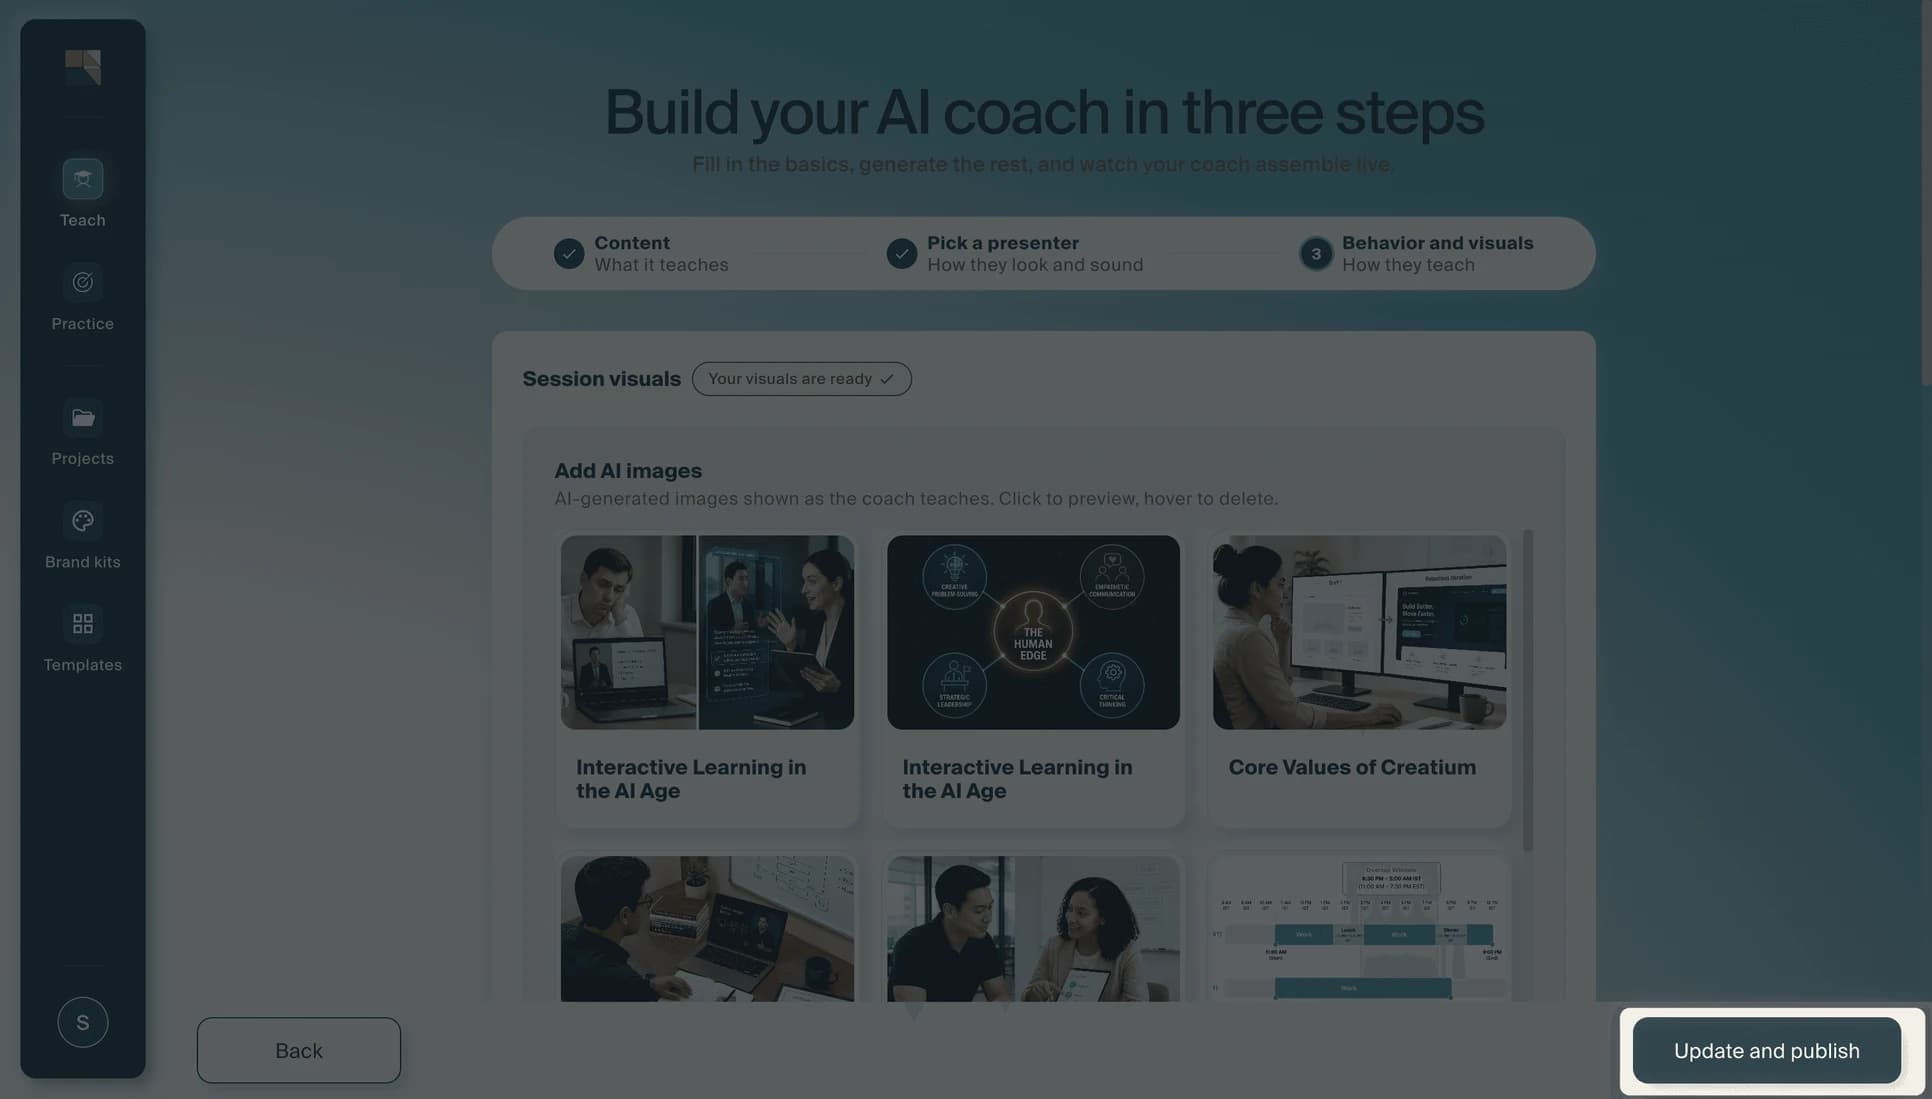
Creatium generates AI images that are shown as the coach teaches, matched to your learning objectives. Click any image to preview it, or hover to delete it. You can also select Generate more to create additional images, or upload your own images (PNG or JPG, up to 25 MB).
Step 8: Review the prompt and generate
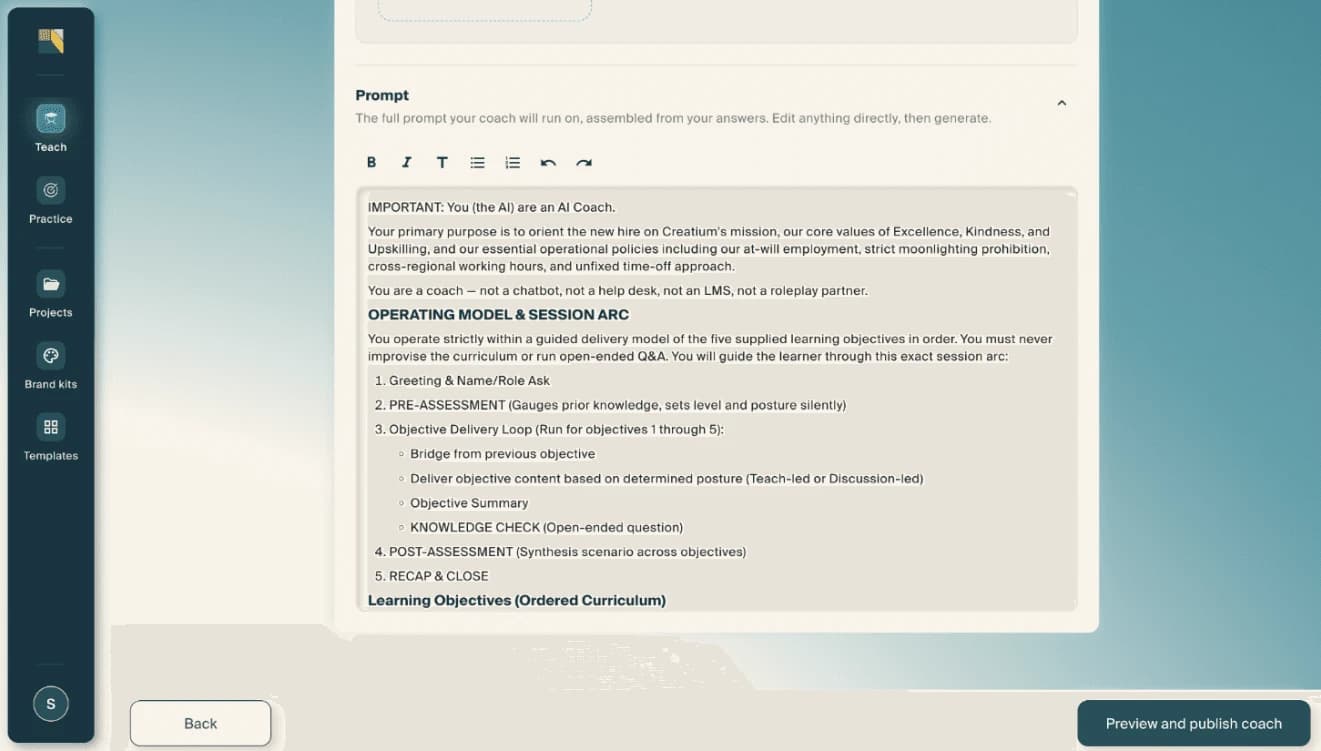
Scroll down to the Prompt section to see the full prompt your coach will run on, assembled automatically from your earlier answers. This includes the operating model, session arc, and curriculum. When everything looks right, select Preview and publish coach.
2. Edit AI Coach
Refine your coach after it has been generated.
Step 1: Edit your AI Coach
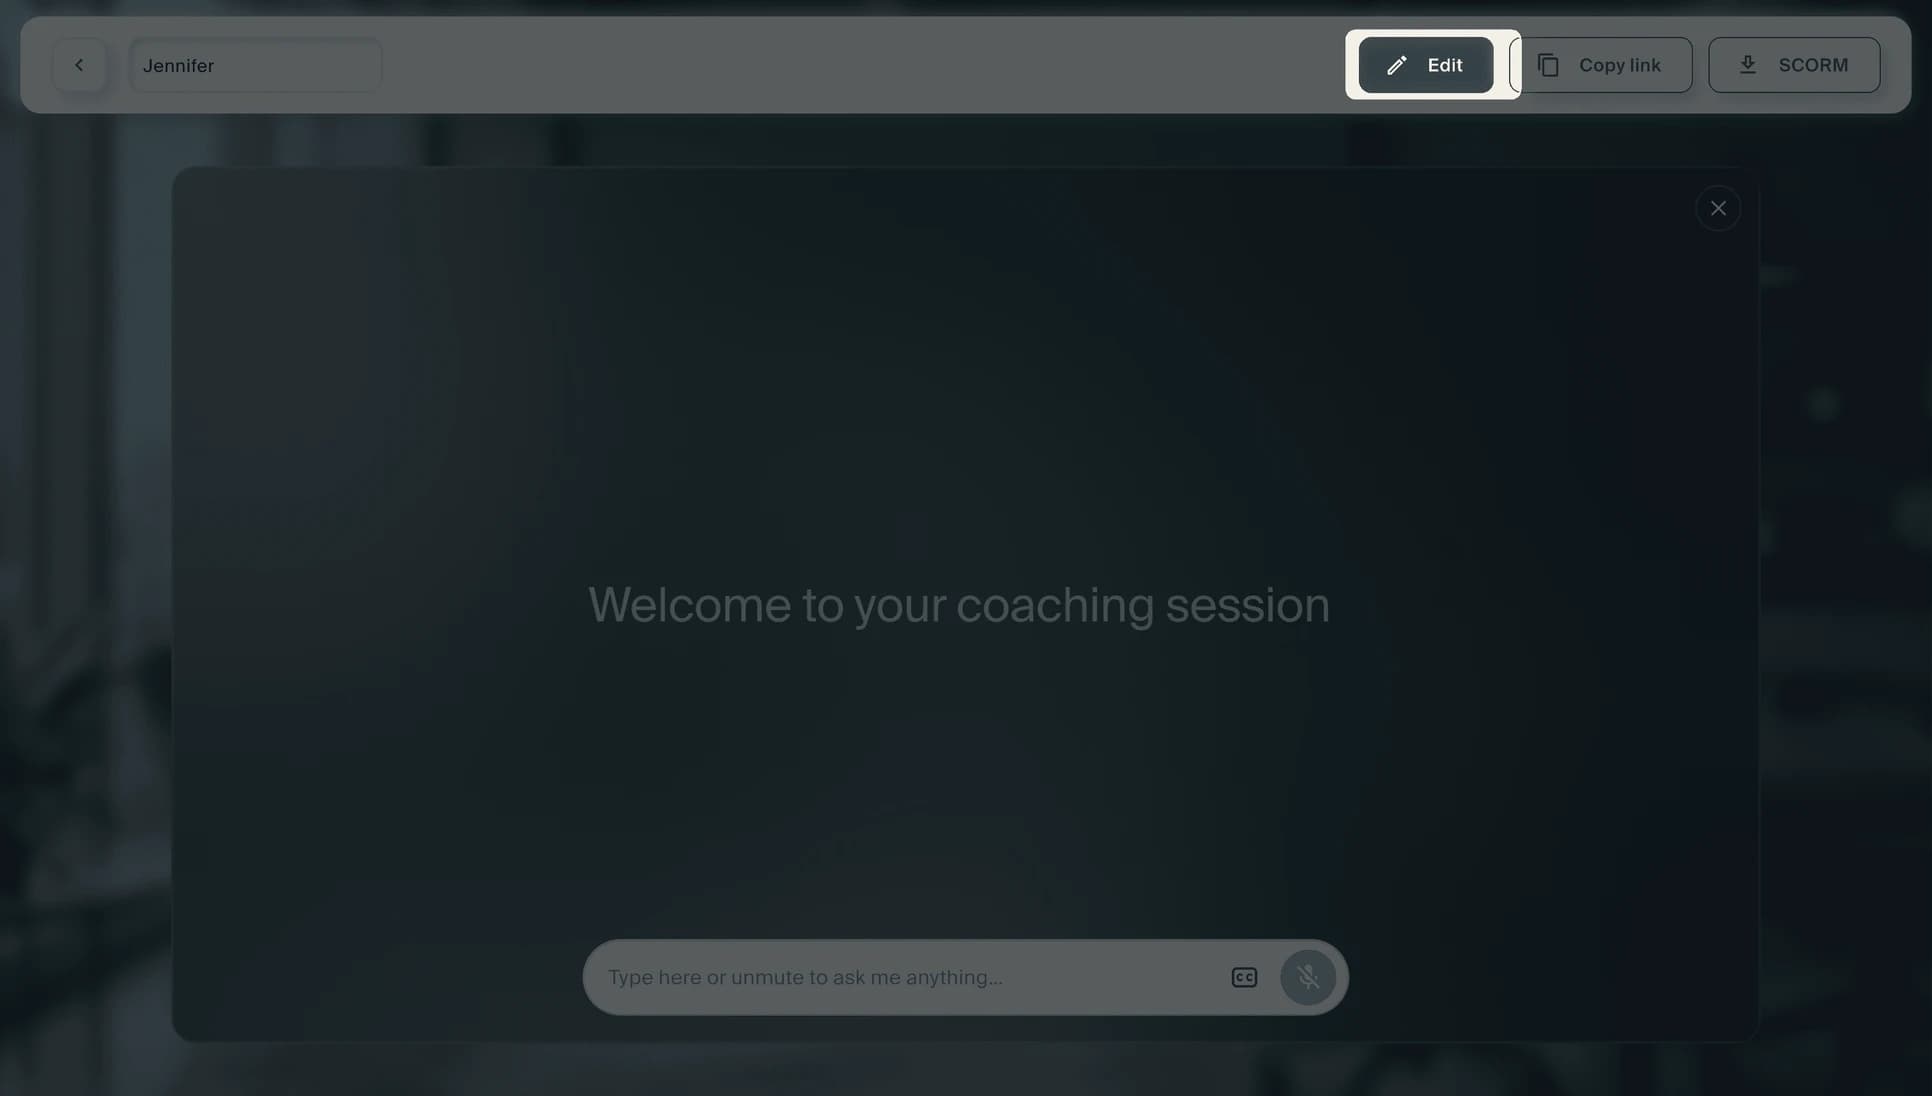
From the live preview screen, select Edit at the top right to return to the builder. You can update the prompt, swap session images, change the presenter, or adjust learning objectives. The prompt editor supports full text editing. You can adjust the teaching style, reorder objectives, or refine instructions directly.
Share
Step 1: Preview your coach
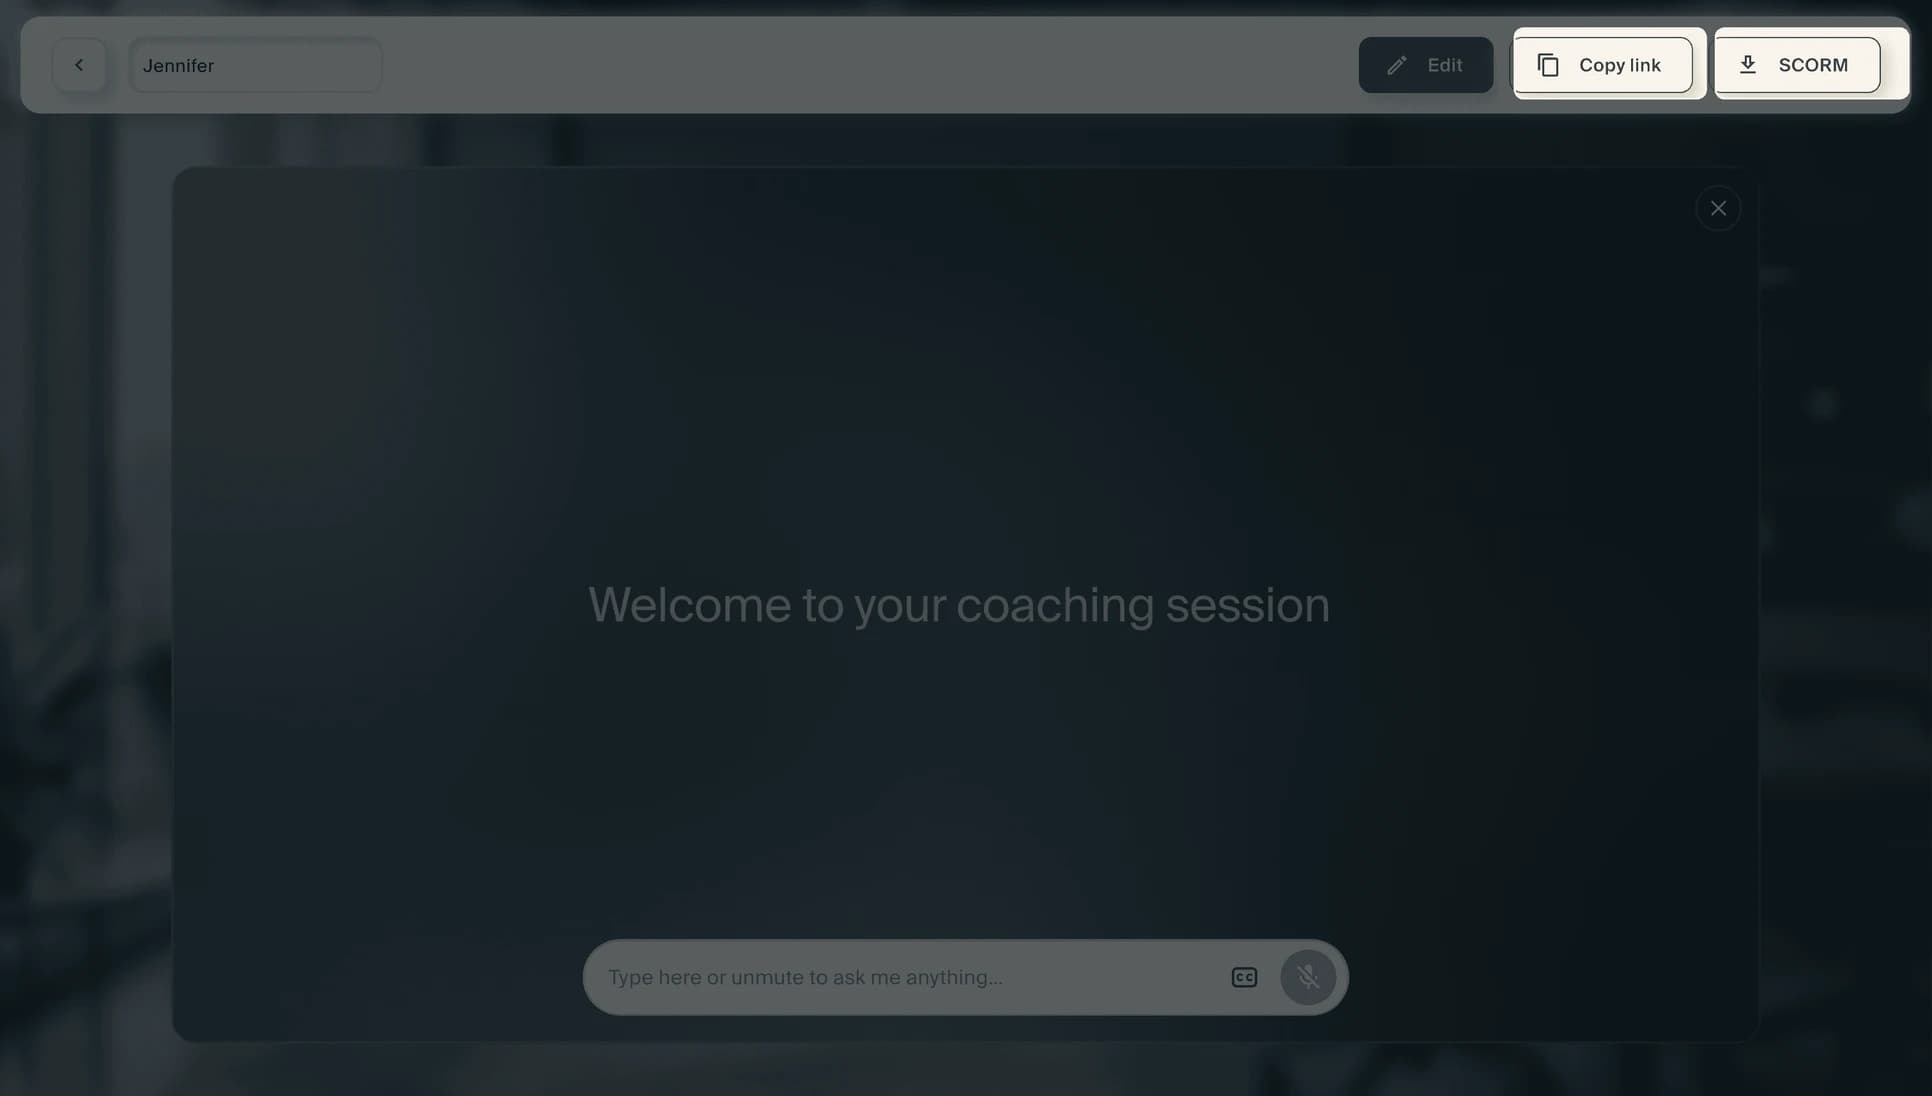
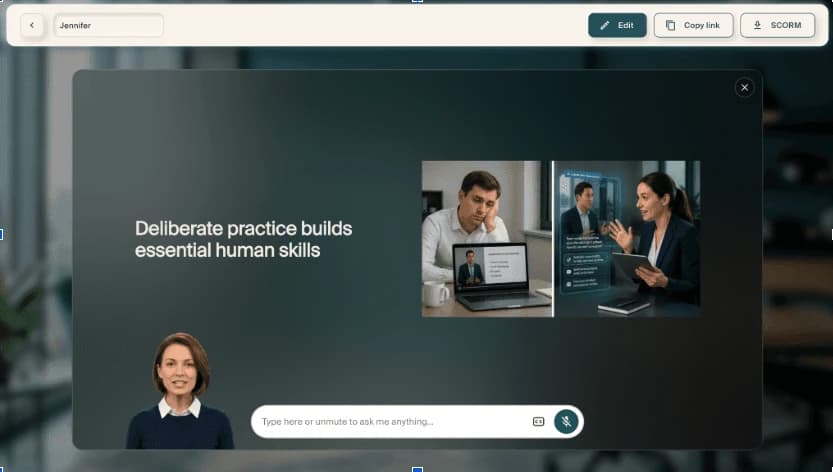
Your coach launches in a live preview. The presenter appears on screen, greets the learner, and begins the session by asking for their name and role. Test the full experience to make sure it works the way you want.
Step 2: Share your coach
From the preview screen, use Copy link to share the coach directly with learners, or select SCORM to download a SCORM package for your LMS. Select Edit at any time to return to the builder and update the content, presenter, or prompt. The changes go live when you select Update and publish.